Azure Arc for servers is a tool that can be used to add on-prem physical / virtual servers or servers running in other cloud providers to Azure, this allow these servers to be centrally organised and to be connected to Azure services like Azure policy or log analytics.
Azure Arc for servers is in public preview, so this should not be used on production system until there is a full release version. Currently the only support OS version’s are below.
- Windows Server 2012 R2 and newer
- Ubuntu 16.04 and 18.04
If there is a content filter or proxy, the URL’s in the below link will need to be white-listed all traffic will go over HTTPS (Port 443)
https://docs.microsoft.com/en-us/azure/azure-arc/servers/overview#networking-configuration
To add a server to Azure Arc, logon to the Azure portal.
Go to All services > Machines – Azure Arc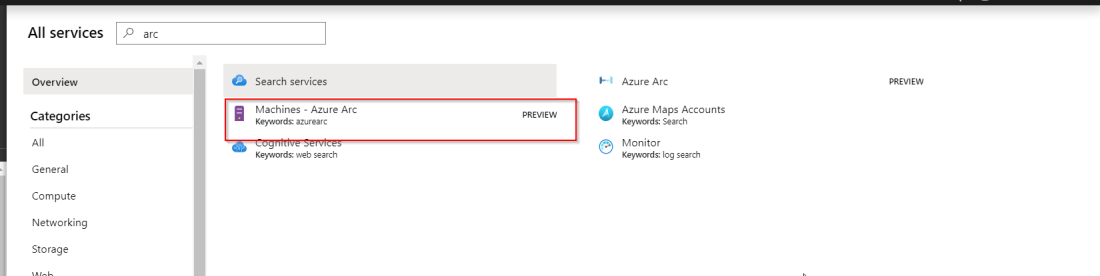
Click on create machine – Azure Arc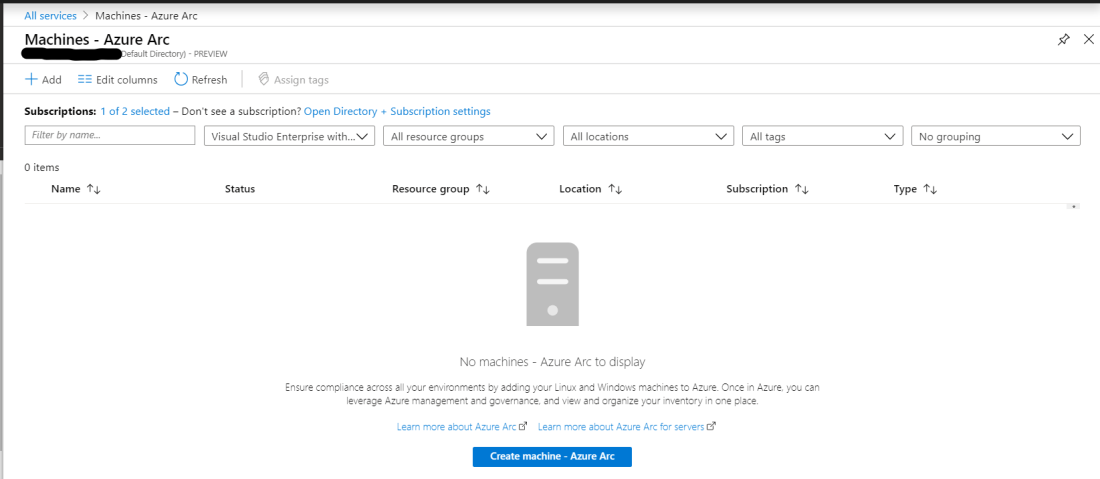 There are two options add machines using interactive script or add machines at scale. In this post we will be using the scripted method.
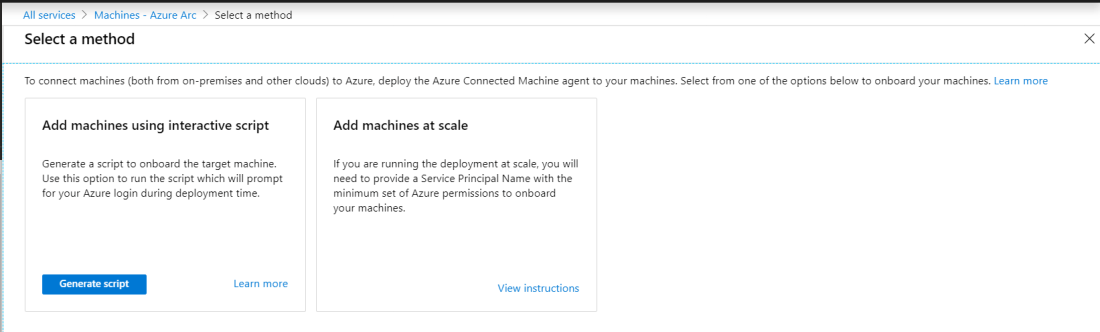
Select the subscription, resource group and region. When selecting the operating system we can chose between Windows or Linux. Windows will create a PowerShell script and Linux will create a Linux .sh script.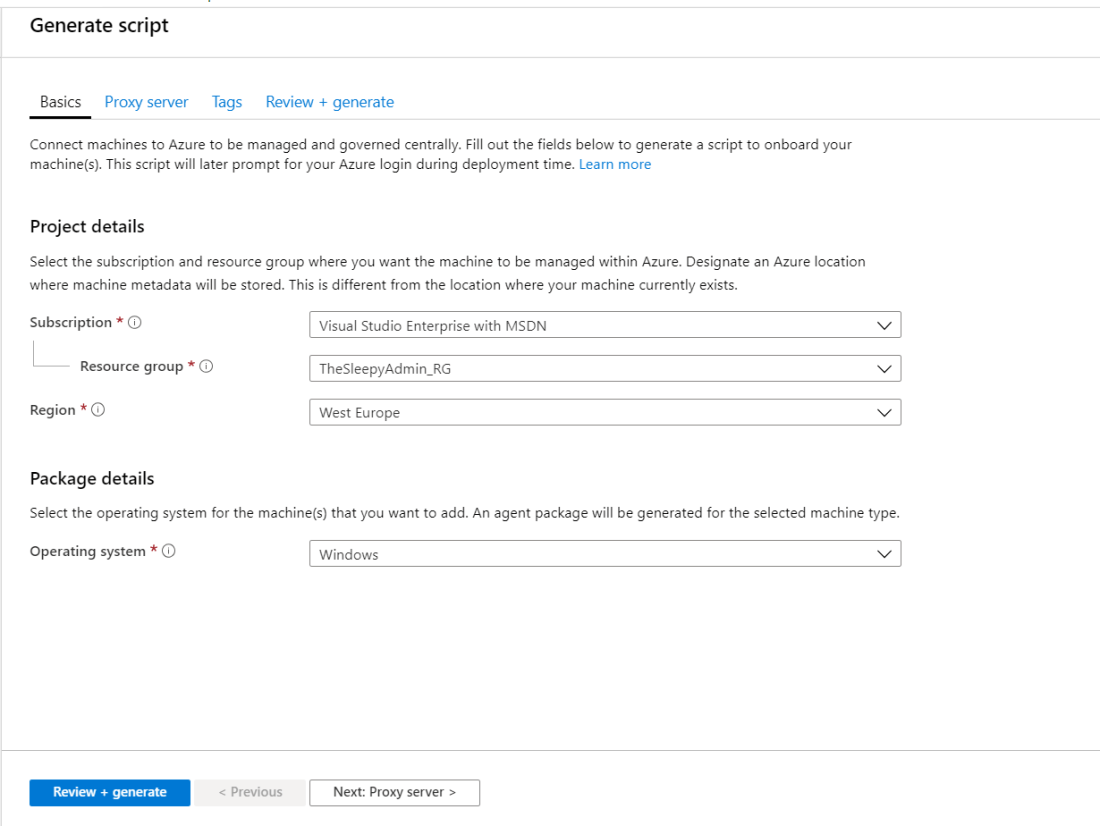
As this feature is currently preview it will ask you to register before completing the download. 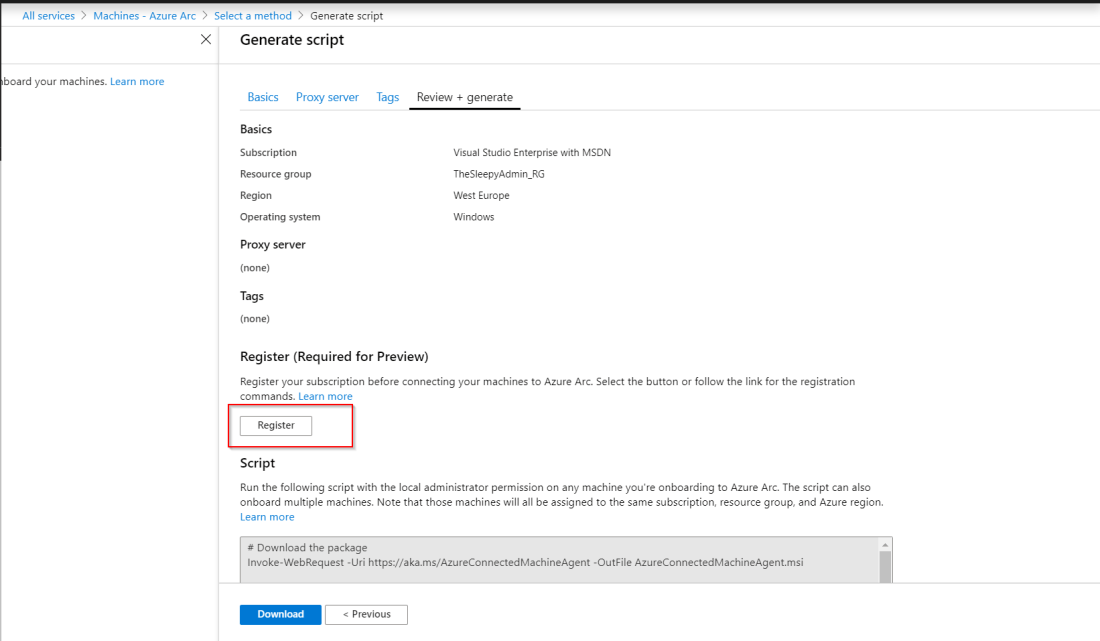
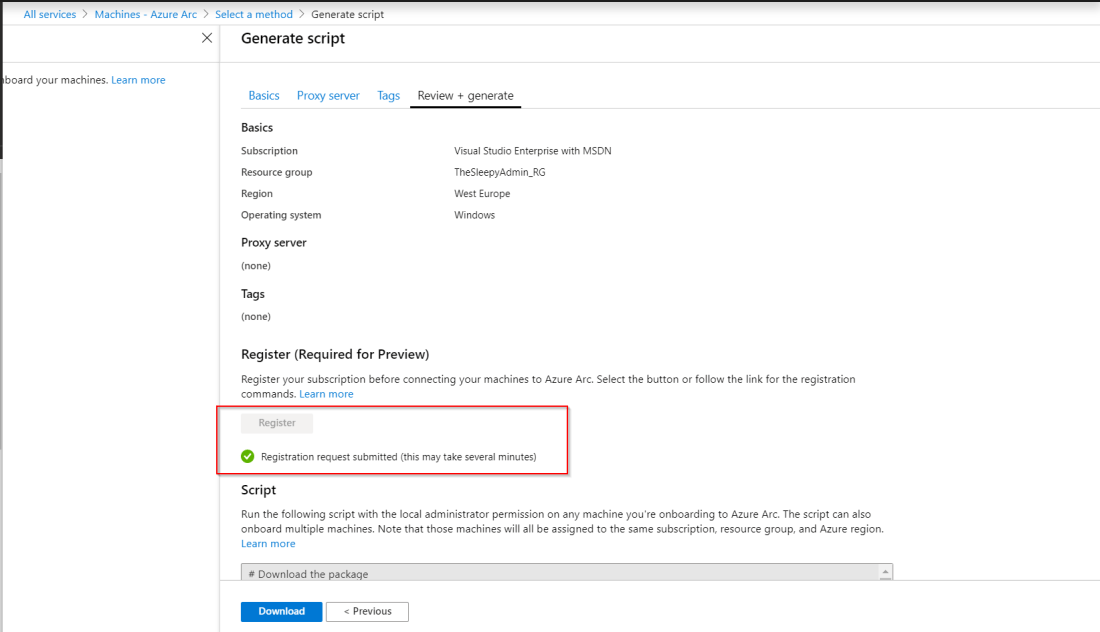 Once the registration is completed, we can either copy the command or click download to get a copy of the PowerShell script. Below is how the script should look the only difference would be the Azure specific setting like resource group, tenantid…
 Once the script has run and the connect command has completed it will request that we connect to the device login site https://Microsoft.com/devicelogin and put in the authentication code.
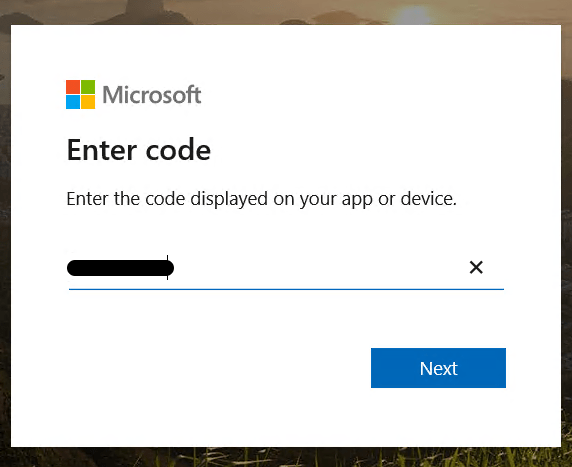

Once completed go back to the PowerShell windows that the script was run from and we should see successfully onboarded to Azure resource. After a few minutes the device should show in Azure Arc.
 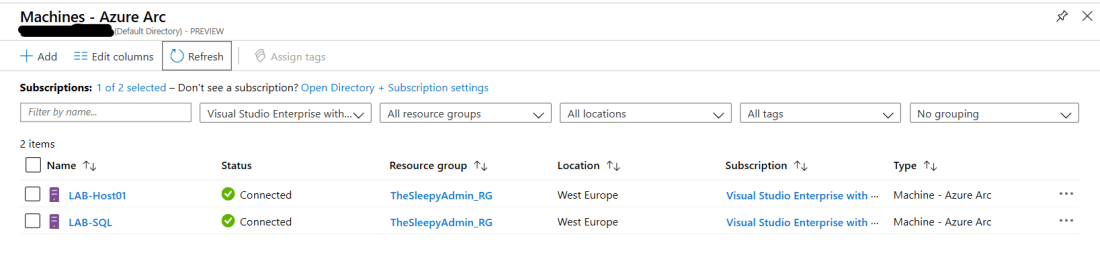 We can now apply Azure policies .
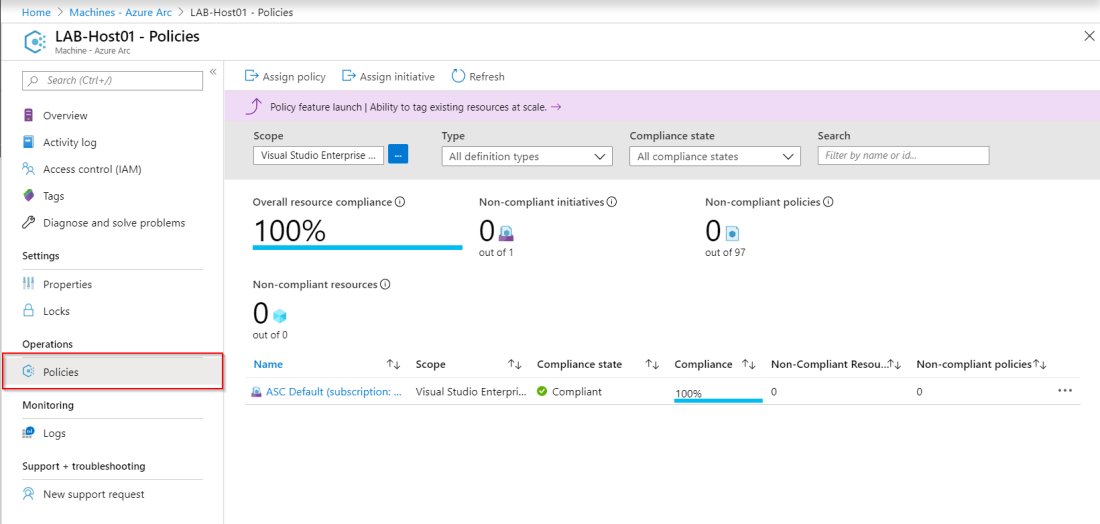
There are some additional steps required to configure the servers to integrate with Azure log analytics.
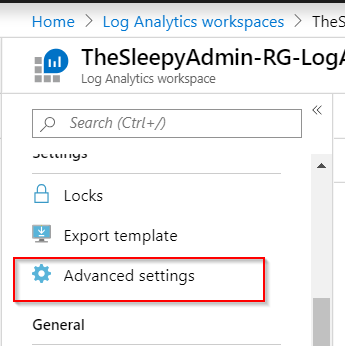
First step is to install the MMA (Microsoft Monitoring Agent) agent, to download the agent go to Log Analytics workspace and select the require workspace > Advanced settings
Select the required connection source, then OS version. We will also need to take note of the workspace ID and Primary Key which will be used during the agent install to connect to the log workspace.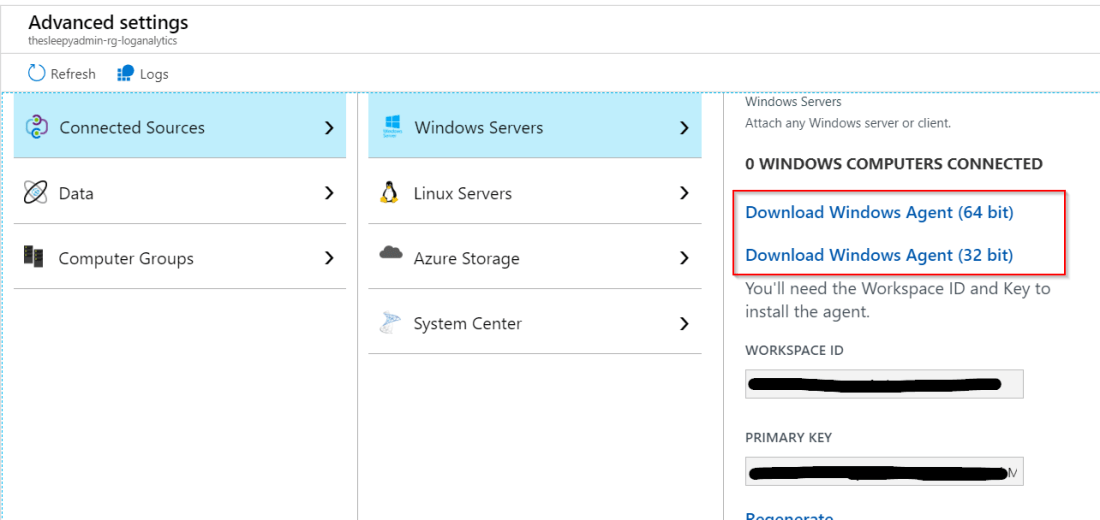
Go through the agent install.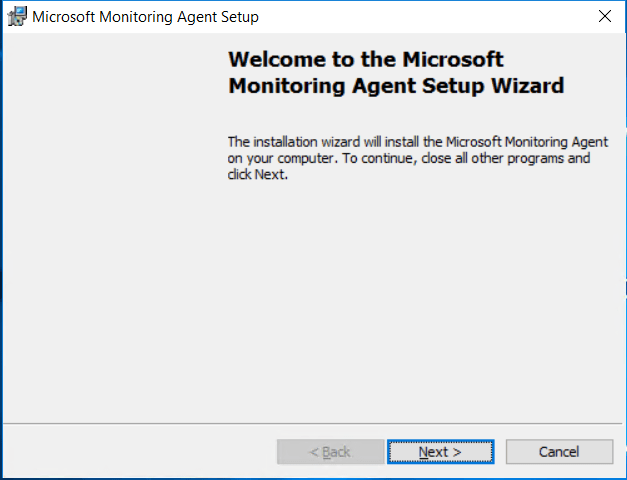
Select Azure connect the agent to Azure Log Analytics (OMS).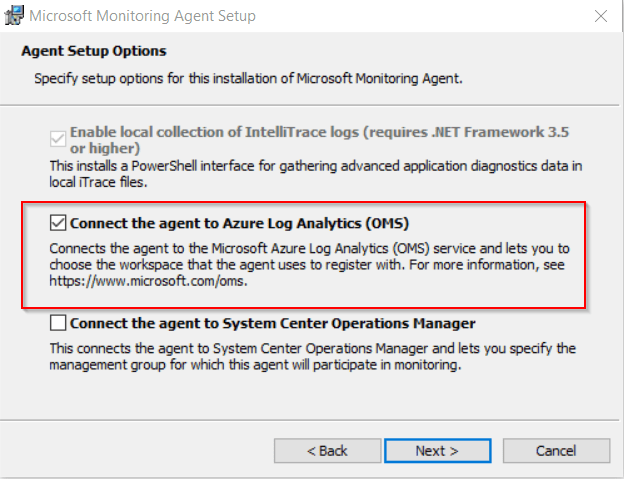
To connect to Azure log analytics put in the workspace id and key.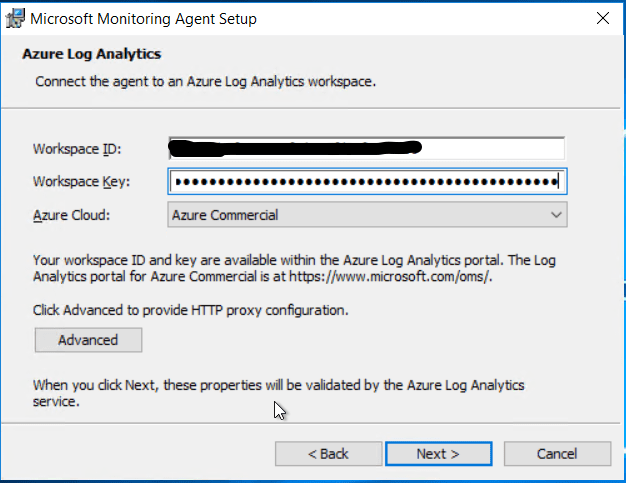
Once the install has finished we can check the agent in control panel > All Control Panel Items > Microsoft monitoring agent.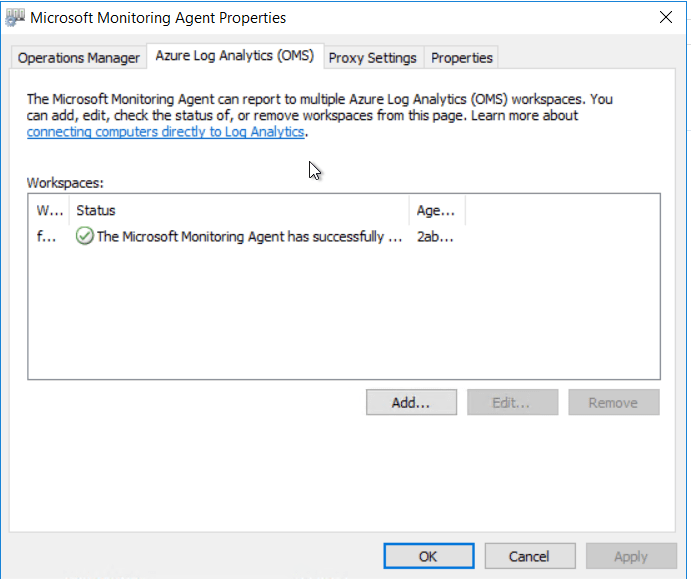
We should now be able to query log from the server in Azure Arc for servers. 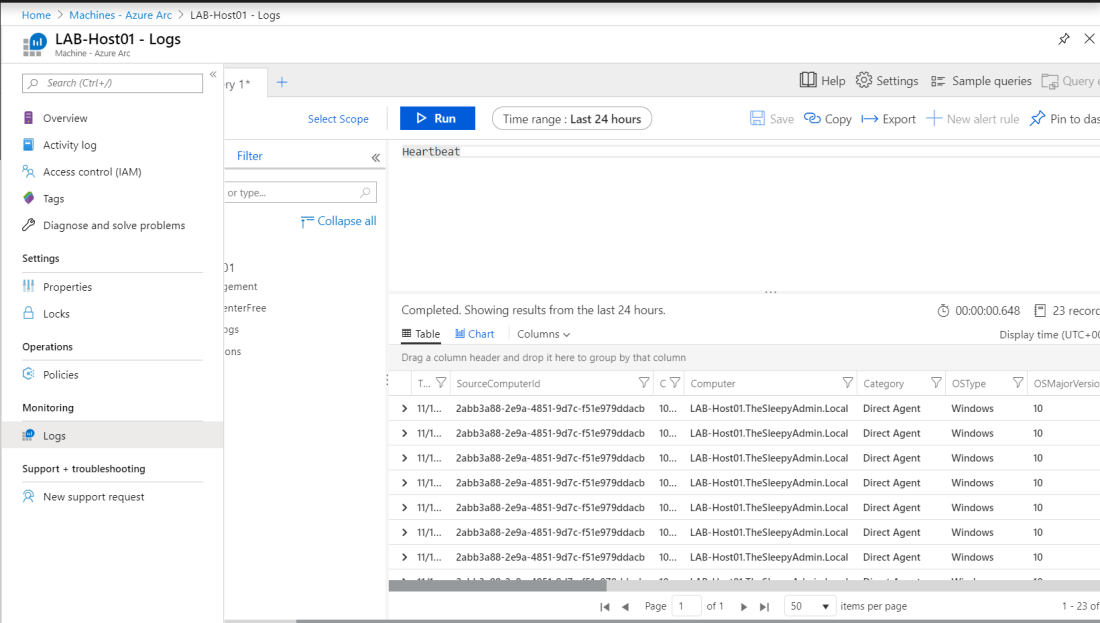
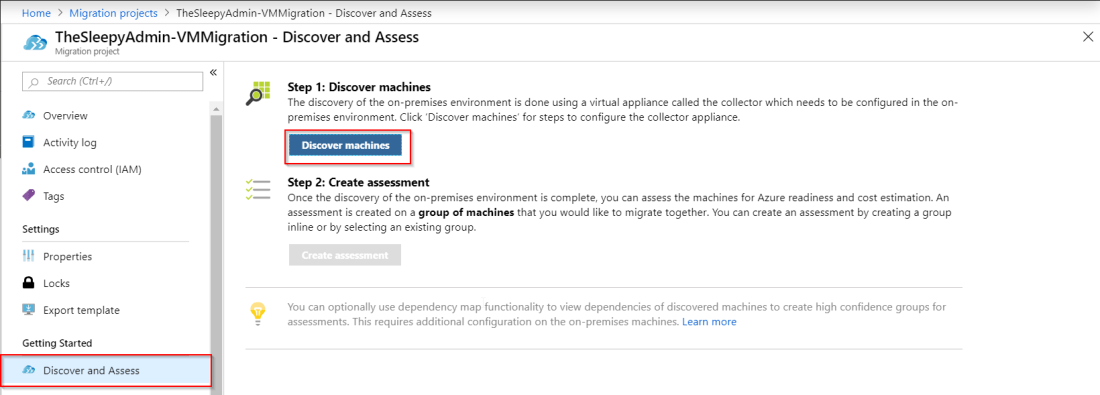
 Go to the already configure vault, select Site Recovery and click on prepare infrastructure
 Once the wizard has started select the require goals
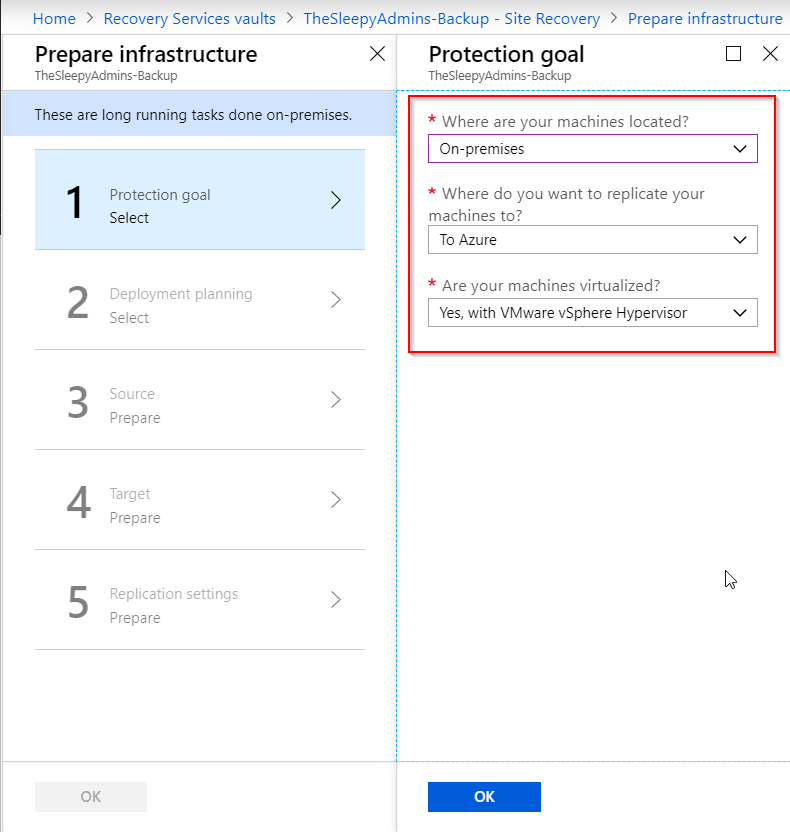 I am not running the planning tools as this is a test but it is recommended to run before starting a deployment to verify the required bandwidth.
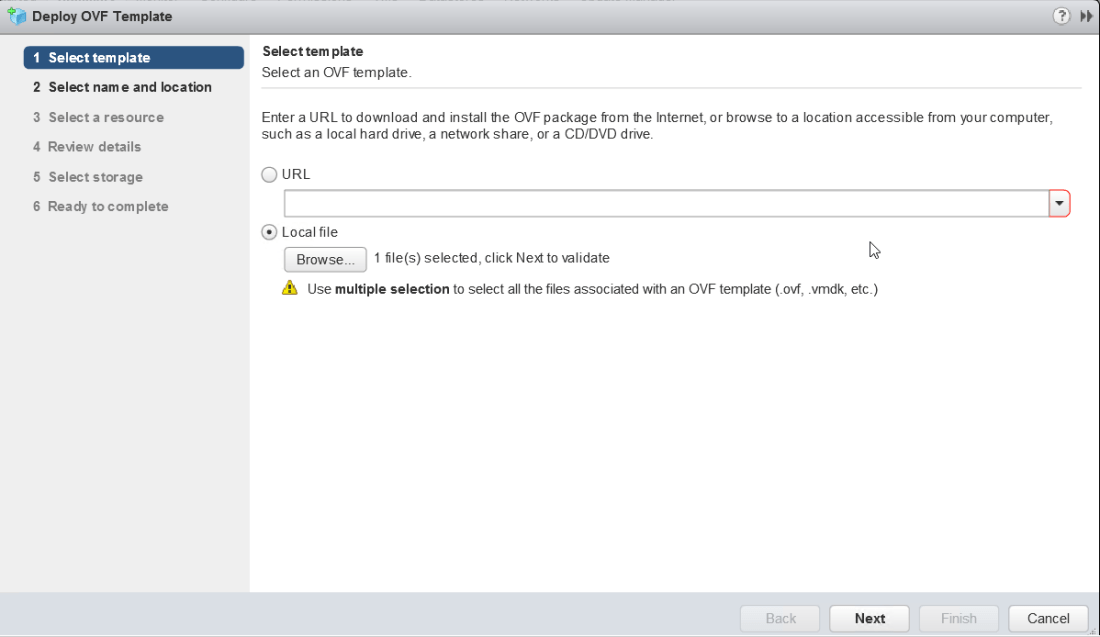
 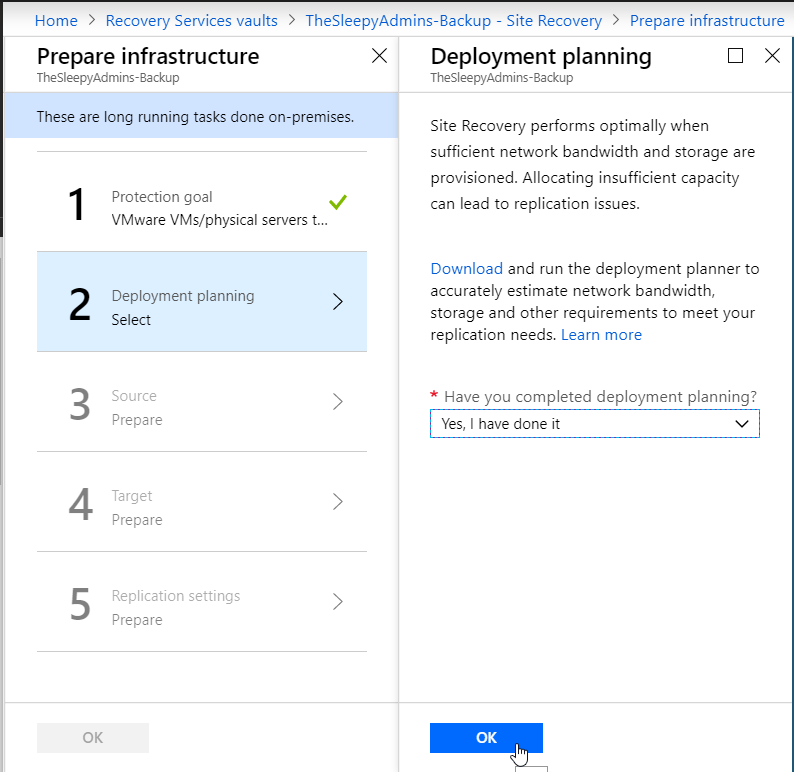 Next we will download the OVA appliance that will be imported to VMware
 Once the OVA has been downloaded and imported to VMware on boot up the server will require you to read / accept a licence agreement and provide an administrator password.
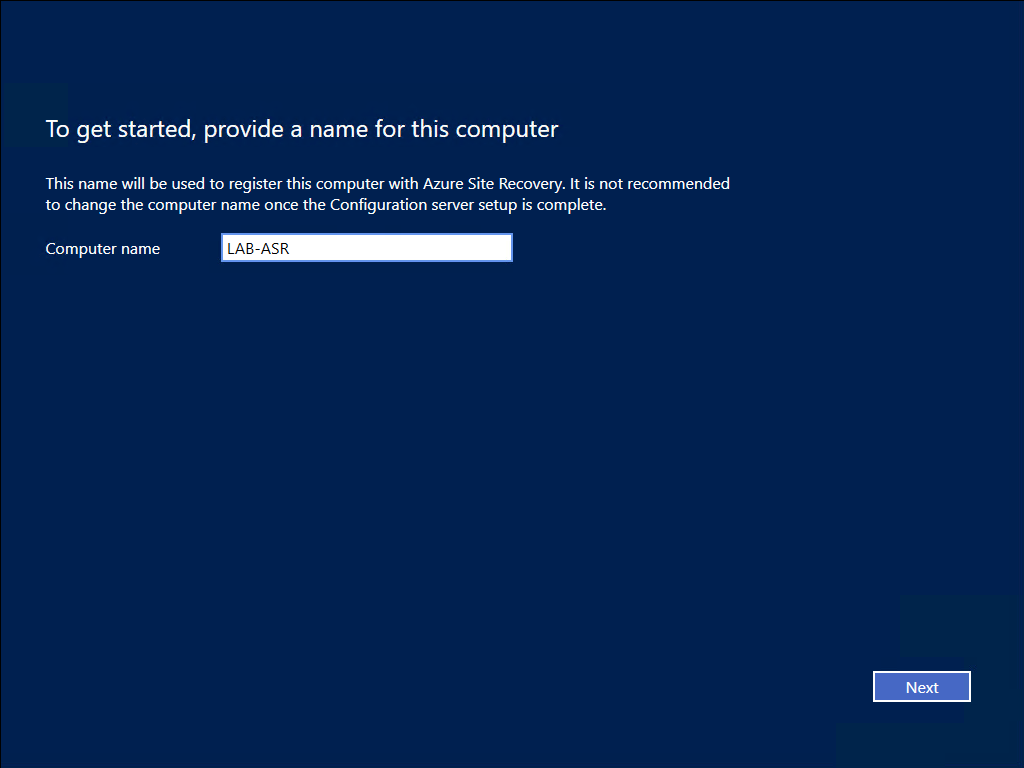 Next step is to sign in to Azure tenant that the server will connect to for replication
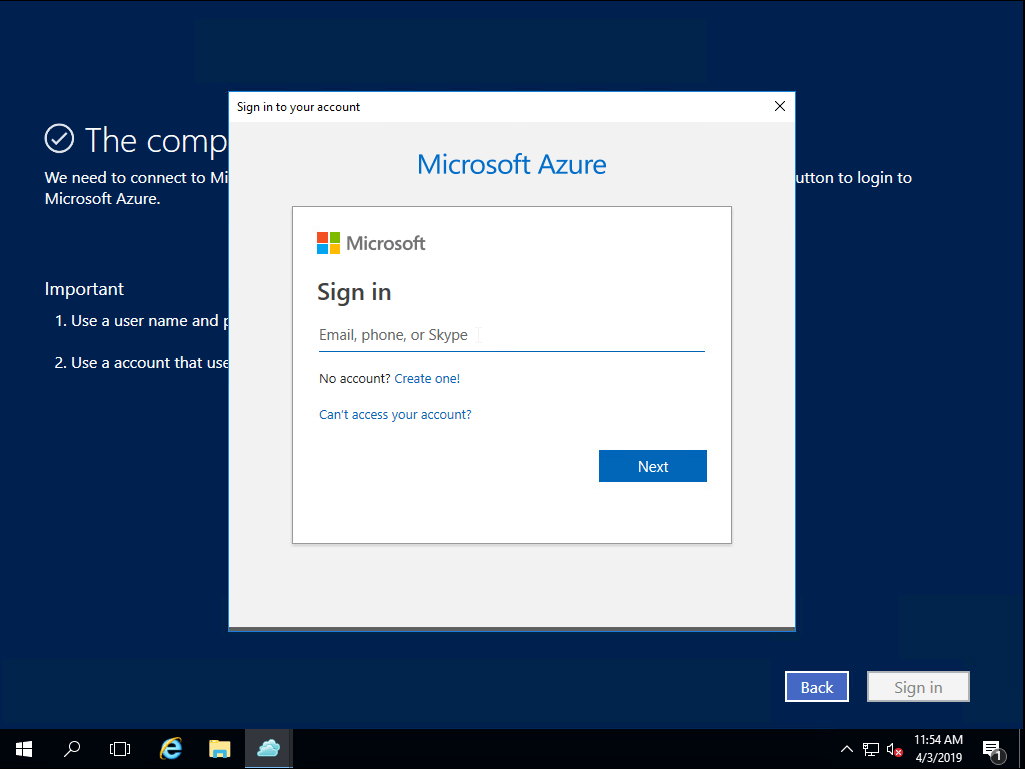 Next we will go through the configuration steps first step is to set the interface that will be used to connect to on-prem devices & connection back to Azure there can be two different NIC’s assigned if required.
 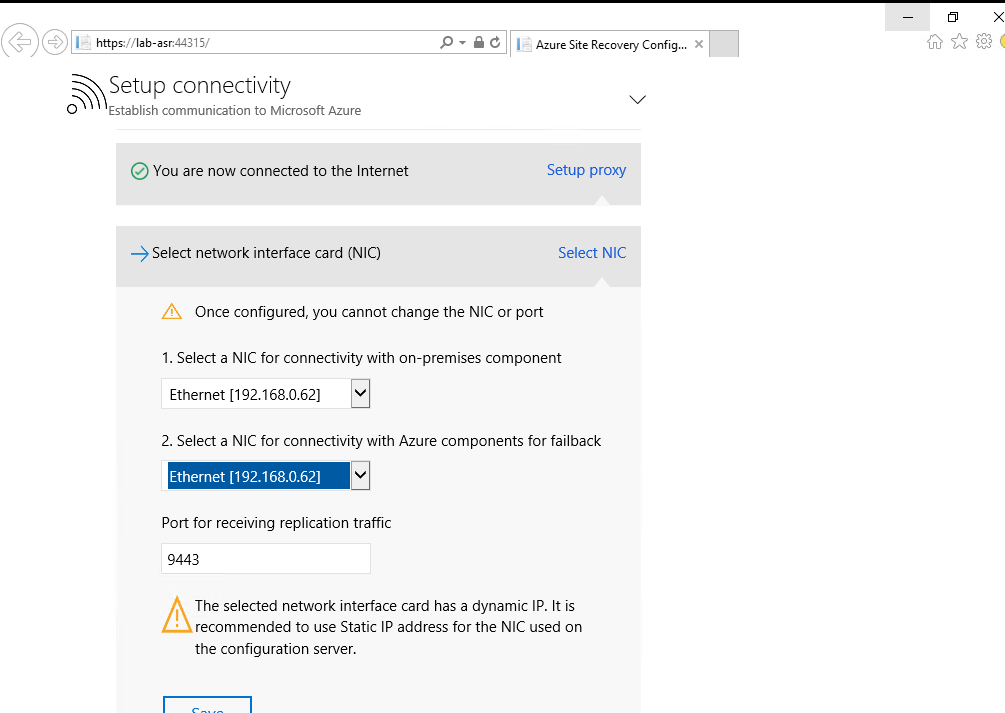 Next is to configure the Recovery vault that will be used, select the subscription, the recovery vault RG and recovery service vault that has been configured.
 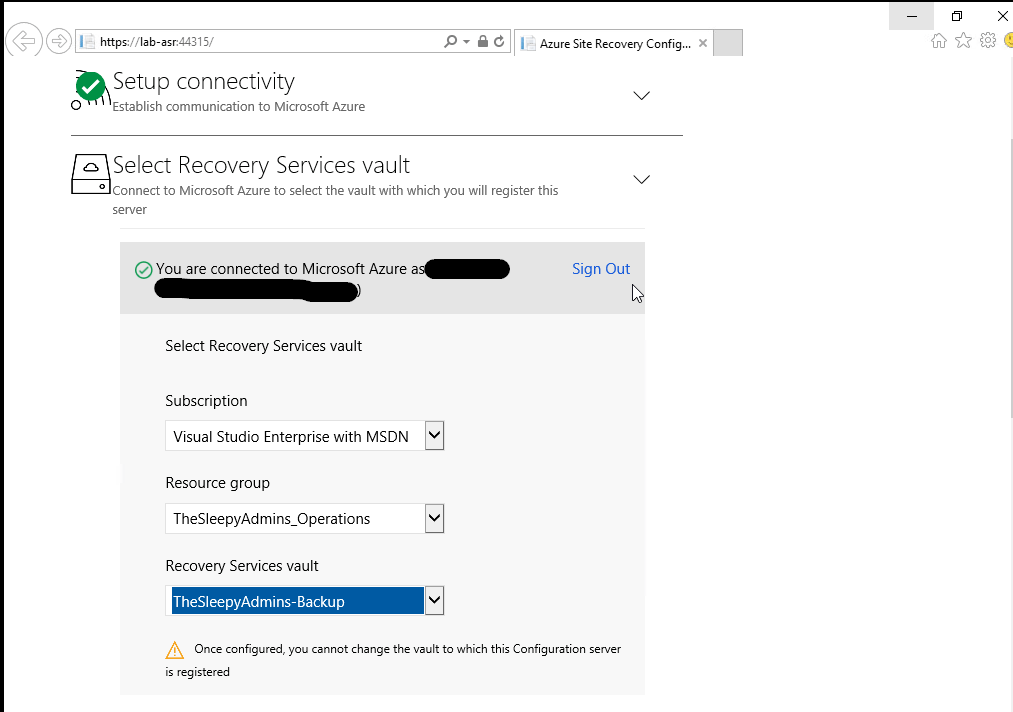 Install the MySQL software
  Next a validation test will run. (I am getting a warring for memory and CPU as I didn’t have enough memory / CPU and had to edit the VM to run on less resource but it will still complete)
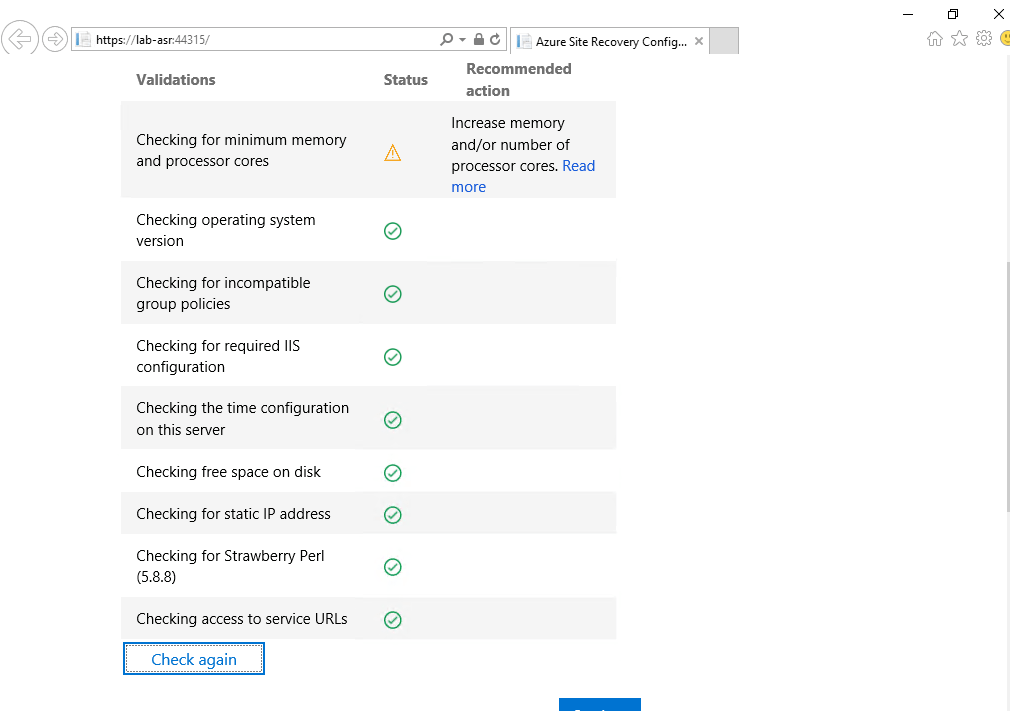 Next is to connect to the vCenter server that is running the VM’s that are to be replicated to Azure.
 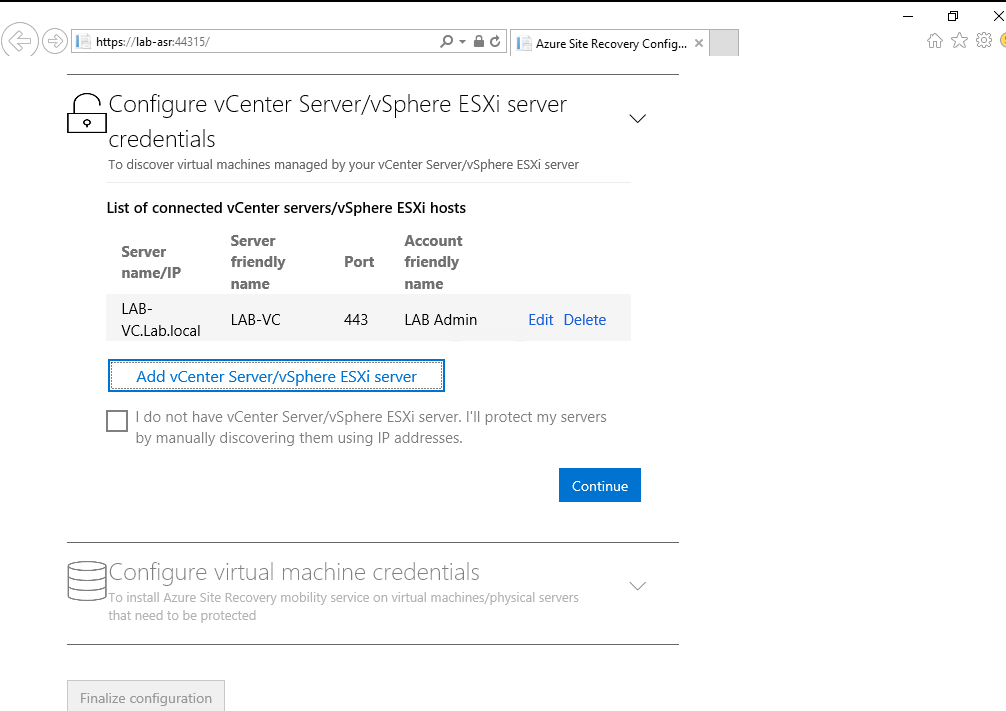 Last step will configure the configuration server in Azure.
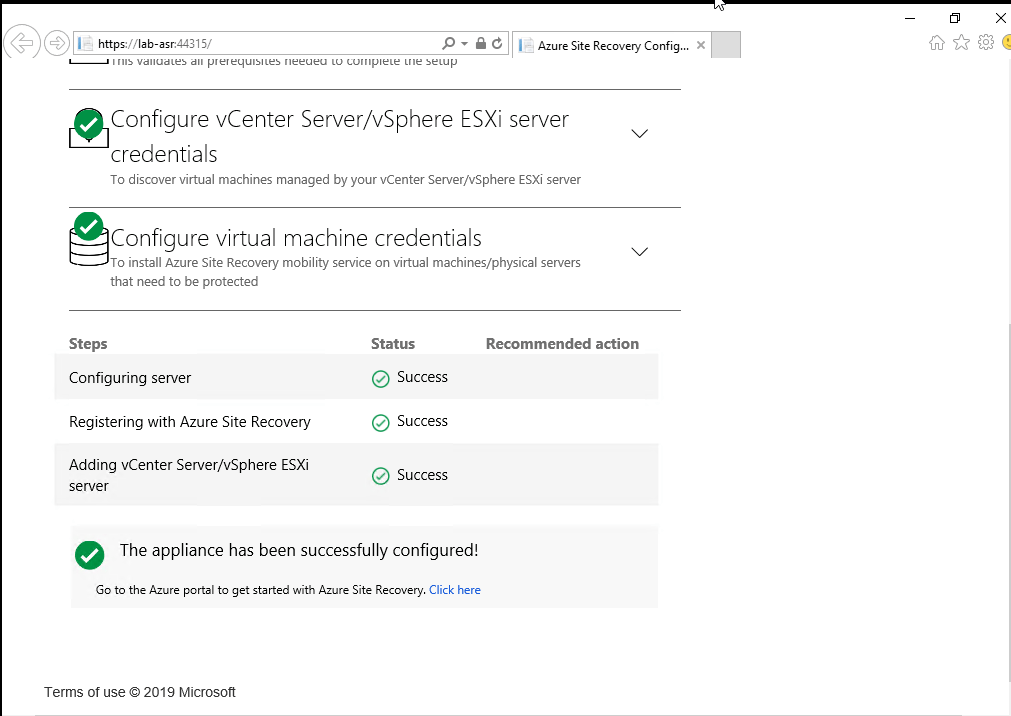 Once this has been completed we can go back to the Azure portal and we should now see the configuration server show under prepare infrastructure setup
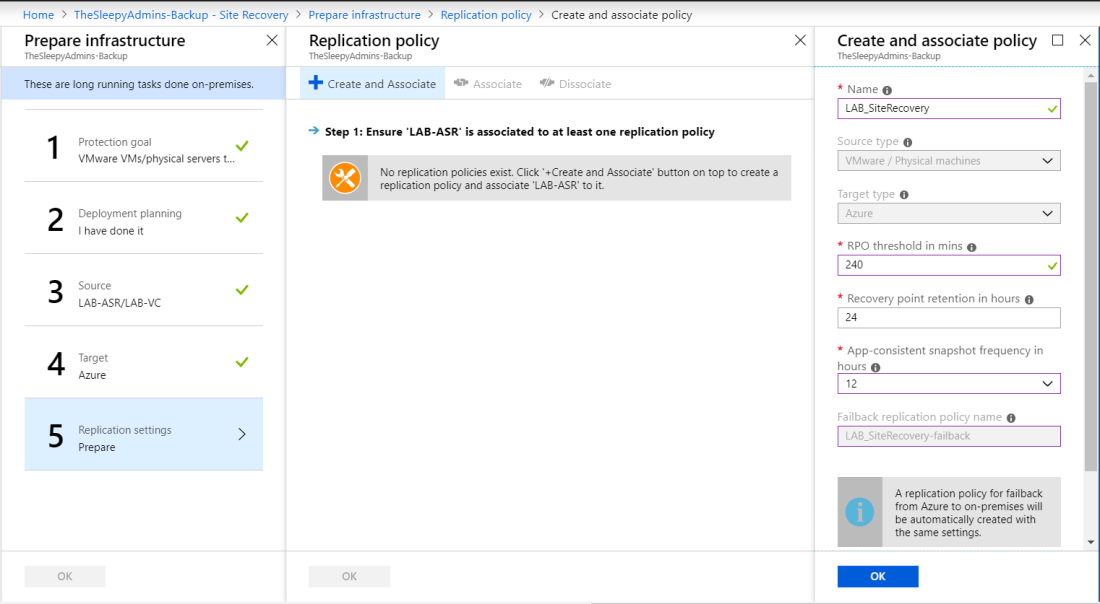
 Next create a replication policy to apply to the ASR configuration server.
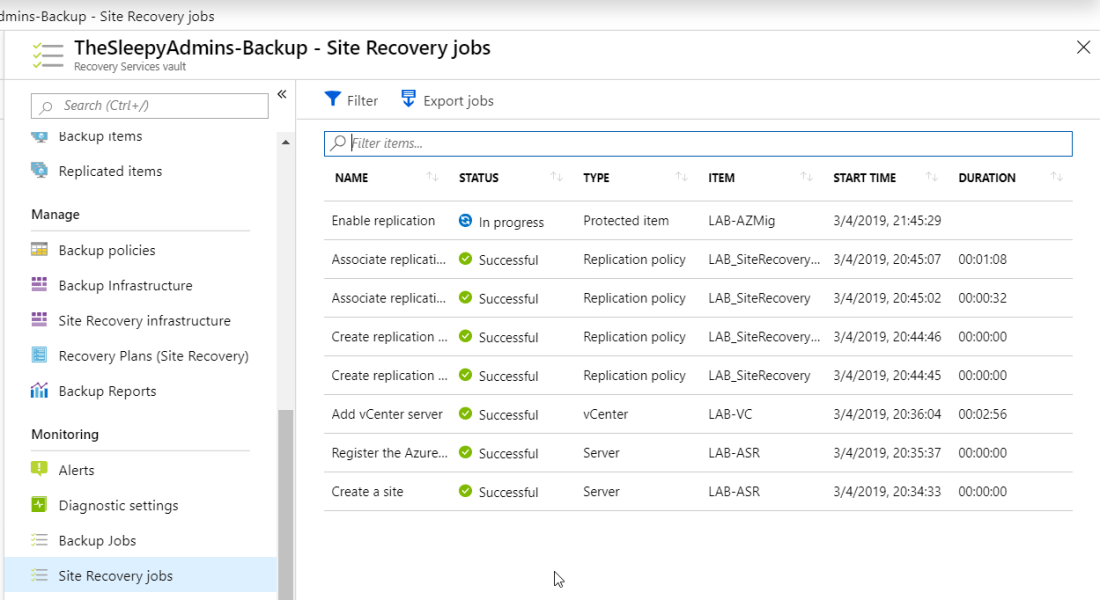
 Once the configuration is done we can now protect and replicate our on-prem VM’s , go back to site recovery and select step 1: Replicate Application
 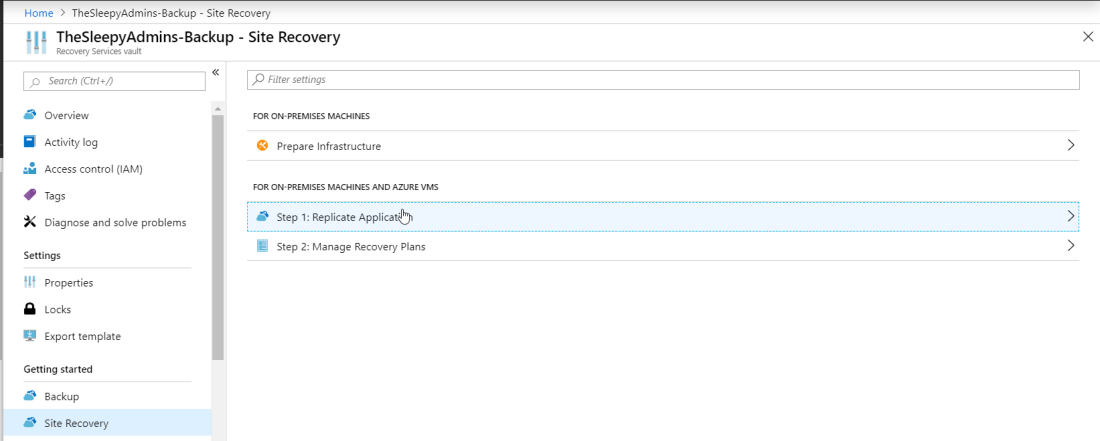 Select source, source location (Configuration server on-prem)Machine type (Physical / virtual), vCenter (If virtual) and the process server
 Select the subscription, RG that the VM will replicate too and the deployment model
 Next select the server that will be replicated the VM must be powered on and be running VMware tools be available for replication other wise they will be grey-out
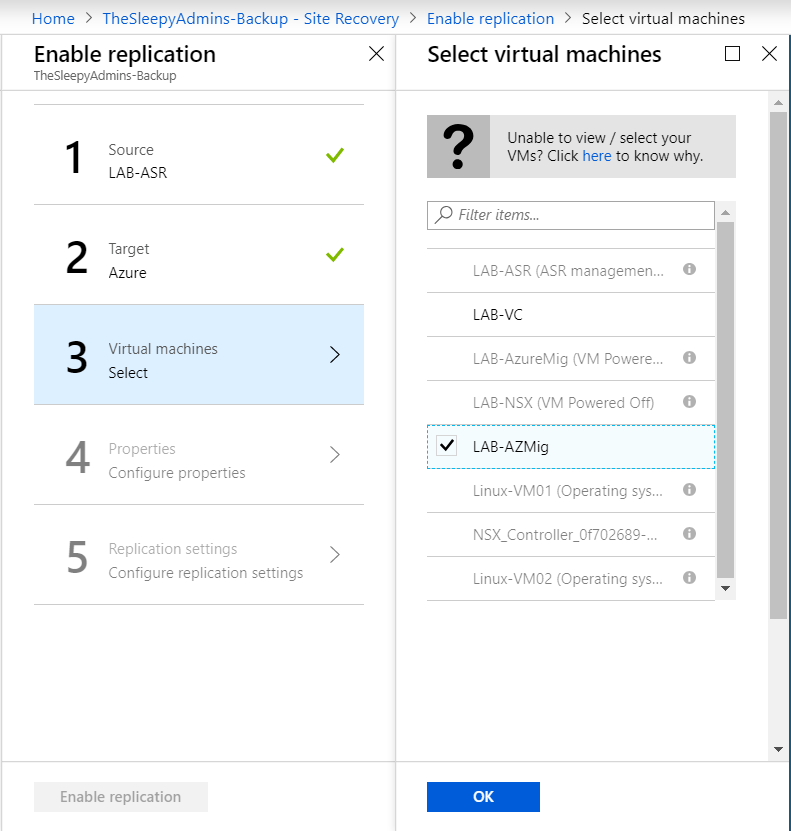 Select the required disk type, storage account
 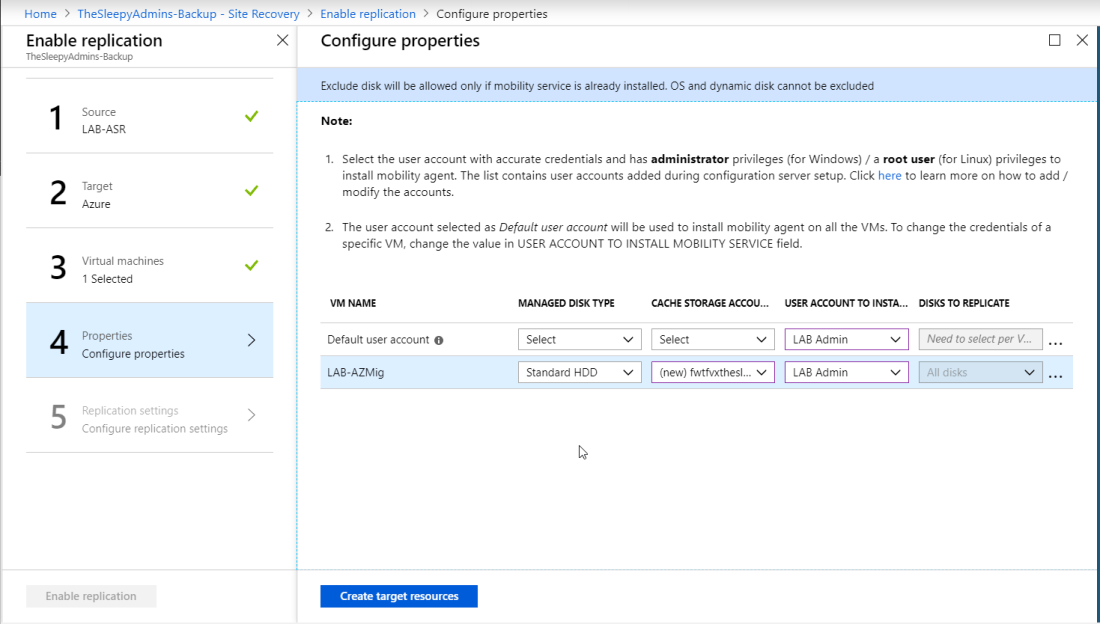 last step is to assign the policy required (Multiple policy can be created base on the recovery time requirements and retention times)

 Once replication has completed we can create a recovery plan, go to recovery Plans (Site Recovery and select Recovery plan
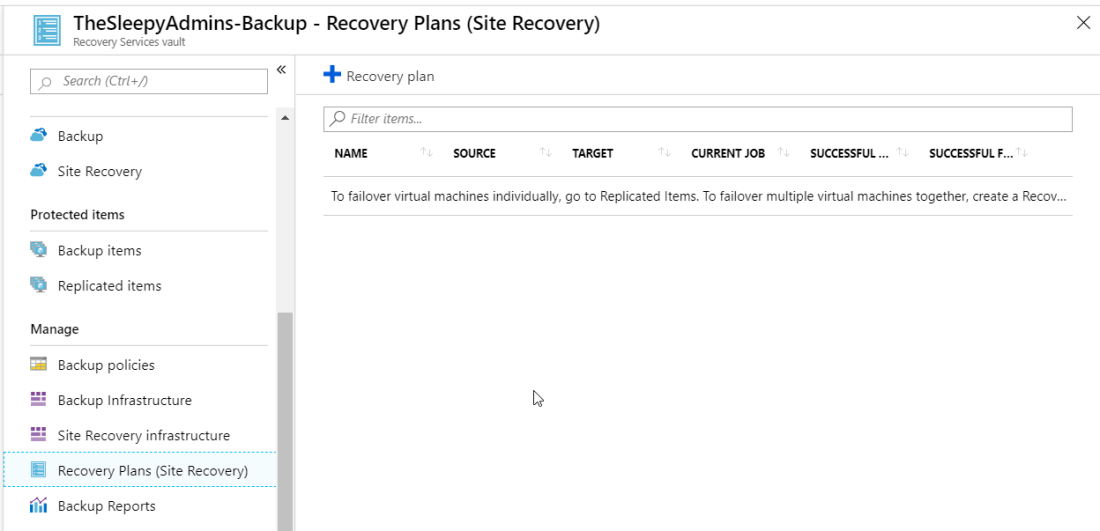 Give the plan a name, select source, target , deployment type and select the VM’s that will be added to the recovery.


 download OVA. The system requirement for the OVA are:

 Select the Name and location of the OVA
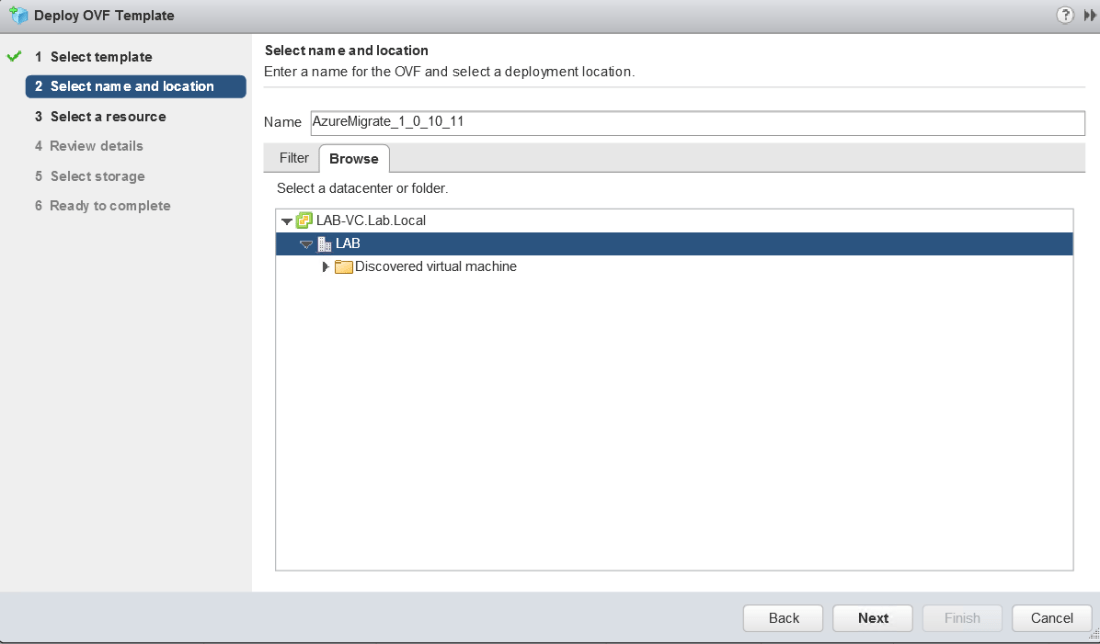 Select the destination cluster
 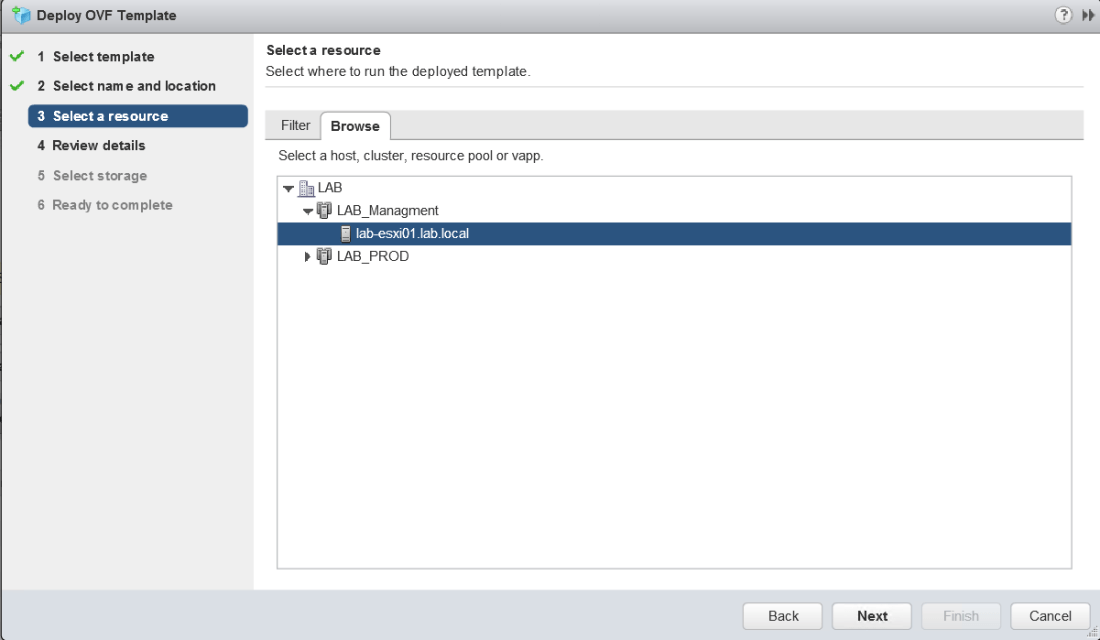 Click Next
 Select destination data store and specify either thick or thin provisioned disk
 Select the port group tha the VM will use
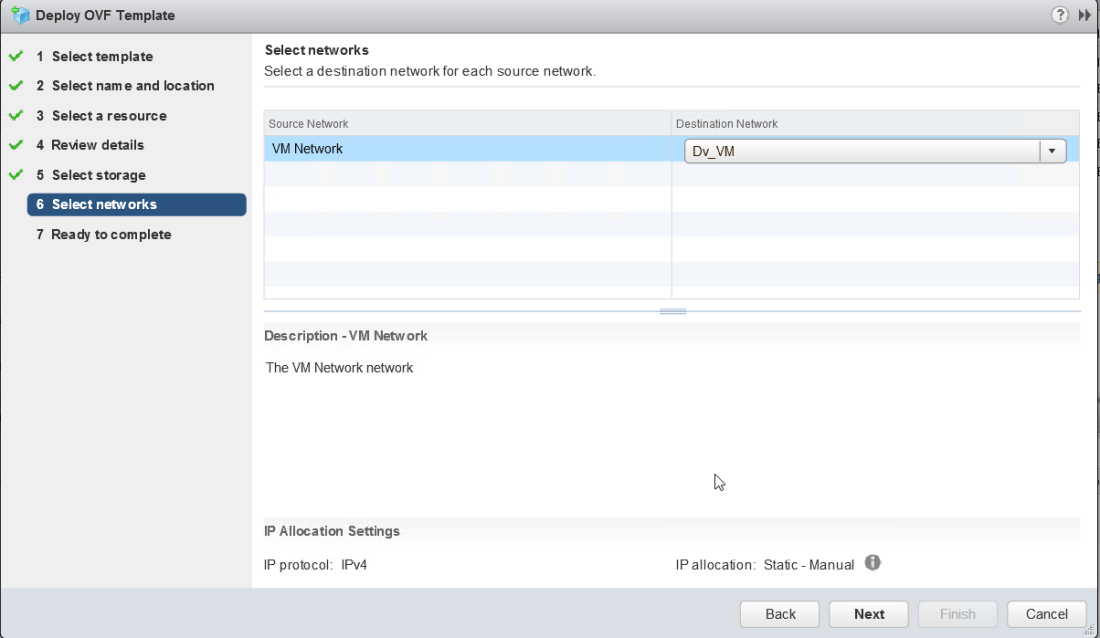 Review and confirm settings