There are a few different way’s to update to vCenter server appliance (VCSA). In this post we will be going through using CLI method to apply vCenter patches. Before updating VCSA make sure you have a current backup and take a snapshot before proceeding in case of any issues with the update.
First we need to connect to the vCenter server using SSH. I will be using the inbuilt OpenSSH feature in PowerShell but you can use what ever SSH client you prefer.
Next we need to connect to the vCenter server using ssh.
vCenter SSH Login
Next we can run the below command to view the vCenter update history
software-packages list --history
Patch List
We can use the below command. This will list the current update settings, if the vCenter server has no internet access then you could update the URL to use an internal web site that contains the update files.
update.get
Update configuration
We will be using the default URL from the update.get command when running the update
VMware is depreciating Integrated Windows Authentication in vSphere 7.0. The feature will be removed in a later release. Below is from the VMware KB.
Support for IWA continues to be available in vSphere 7.0 and will be phased out in a future release. Although IWA can still be configured, we highly recommend using AD over LDAP or Federated Identity (AD FS).
In this post we will be going through changing over to using Active Directory over LDAP. We will also be using LDAPS as this is secured with certificates and is much better from a security side and Microsoft are requiring this on applications that use LDAP.
If you haven’t configured a certificate on your domain controller yet to allow LDAPS I would configure this first before proceeding with the swap over to Active directory over LDAP identity provider.
If we check the existing AD IWA we can see the warning that the feature is depreciated.
I usually create a new account for each applications LDAP connections just so I keep track of what account is used where.
For LDAP authentication in a Windows domain a standard account with just domain users right should have enough permission as it best to use least privilege for service accounts.
To confirm in an Windows AD domain is setup to use LDAPS we can use the ldp on a devices that has the active directory tools enabled to confirm LDAPS connection.
Open and click connect and add in the server name, set port to 636 and tick SSL.
If the configuration is retuned then LDAPS is working.
Once we have the account created and confirmed that LDAPS is working we can start setting up AD over LDAP in vCenter.
Since we will be using the same domain name as the IWA source we need to remove this first or it will cause error when trying add the LDAPS source.
Logon to vCenter web client > Menu > Administration > single sign on > configuration.
Under Identity sources select the IWA and click remove.
Click ok to confirm removal.
Once the IWA is removed we can now add the AD LDAP connection.
Click Add in the Identity source page and select Active Directory over LDAP
Add in the required details.
Name: Friendly name for the identity source.
Base DN: Is the level at which search in AD will start for user or groups to search all AD just use the top level or select sub OU to limit the searches.
Domain name: FQDN of the domain
Domain alias: this is the NetBIOS / pre windows 2000 domain name
When I select any domain controller I was getting the below.
Cannot configure identity source due to Failed to probe provider connectivity [URI: ldaps://domainl ]; tenantName [vsphere.local], userName [User] Caused by: Can’t contact LDAP server.
To work around this I had to specific my DC manually.
As I have a certificate issue from an internal certificate authority I will be selecting the CA cert for LDAPS as this should trust any cert issued by the CA on my domain controllers.
Click Add to complete the AD over LDAP identity source.
If we check the websso.log under /var/log/vmware/sso on the vCenter appliance, we can see the certificate being verified when we logon with a domain account.
We have now move from IWA to AD over LDAP all existing groups and roles should still work.
As part of our VMware 6.7 to 7.0 Upgrade we wanted to audit the existing vCenter server permission. We have a lot of contractors who come in to do work and users who have had permission assigned but these permission are not always removed.
We wanted to get a report that export each of the permission assigned in vCenter.
I could do this manually but this would take a while and is not that easily repeatable so I decided to create a quick script that will export the required information.
The script will be calling two command (Get-VIPermission to export permission and Get-VIRole to export the assigned privileges) and then formation the results.
The script also has some mandatory variables (one for the vCenter server and one for the export path) and there is some error handling incase there is no connection to vCenter server or the export folder doesn’t exist.
There are three type of object in VMware permissions.
Privilege: Allow specific actions (create, delete, manage.. ) or rights to view specific properties
Role : A set of privileges assigned to an object to allow assignment
Permission: Is either a set of a users or groups that have been assigned to a role
If we run Get-ViPermission on we will see all permission returned.
We can select one specific permission by using -principal and expand using format-list. This gives a bit more information but we are missing the assigned privilege’s.
This is where we use Get-VIRole as this has a property that shows privileges that have been assigned to the role.
There was a recent VMware local privilege escalation vulnerability in VMware tools version 11.2.6 and below. See VMware advisors VMSA-2021-0013 (vmware.com).
The vunerablity has been fixed in VMware tools version 11.3
We needed to update the version of VMware tools running manually as the tools are not currently included in any of our standard baselines we apply to our ESXi hosts.
I decided to do a post on how to update the version of VMware tools using VMware Lifecycle manager baseline as it’s a little bit different than VMware Update Manager.
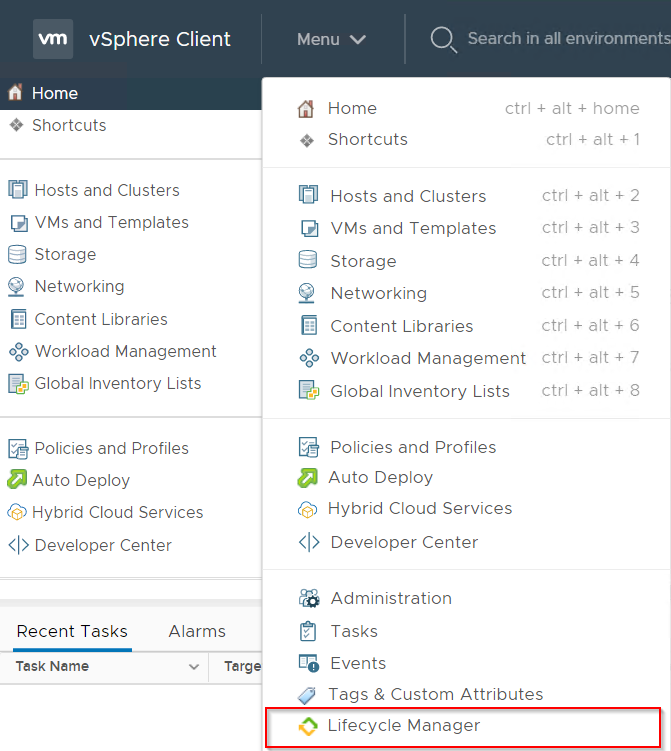
First we need to go to Lifecycle Manager, open the vSphere web console > Menu > Lifecycle Manager
In Lifecycle manager the tools should be synced as previously in VMware Update Manager the tools need to be manually uploaded.
The quickest way I find to check the latest tools that have been synced is by click on image depot and select components.
We could also check under updates and turn off show only rollup updates. (If the tools required a reboot it would show under impact)
Next we will create a baseline to apply the latest tools.
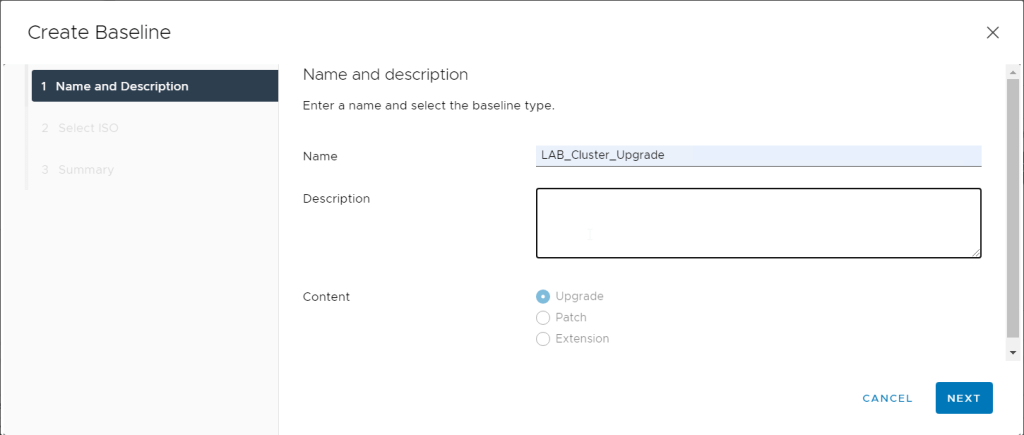
Go to baselines and select new baseline.
Give the baseline a name and select patch
Untick Automatically update this baseline
Untick show only rollup updates and filter for VMware tools, there will probable be a different VMware tools for 6.x and 7.x so check before adding to the baseline.
Click next and complete the baseline creation.
We can check the current tools status by going to the esxi host > Updates > VMware tools and check status.
We can now apply the baseline and run the check again and it should show as out of date.
The baseline can be applied either directly to the ESXi host or to the cluster we will be applying to the cluster as it saves time having to apply to each host individually .
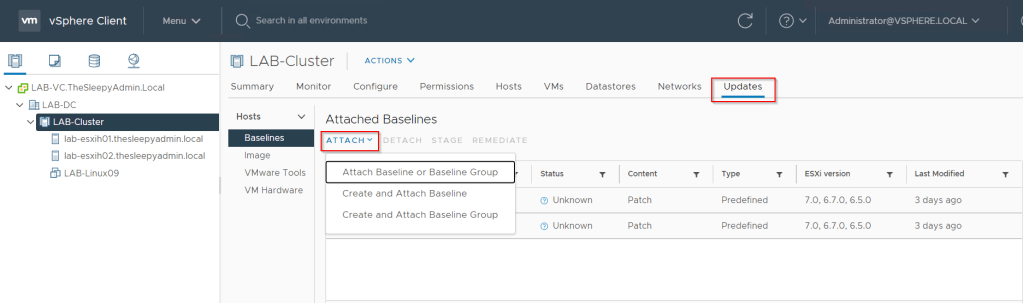
Go to the cluster > Updates > attach and select attached baseline.
Select the VMware tools baseline and attach.
Next run a compliance check on the ESXi host.
Check the baseline status.
Next we will remediate the baseline to apply the latest tools.
If there are no issue with the pre-check click remediate.
Once the remediation is done the tools should show as compliant.
Once applied the VM should now pickup that there is a new tools version available.
The tools can now be applied to the VM either using a script, updated on reboot or manually.
In this post we will go through using vSphere Lifecycle Manager VLM to upgrade an ESXI host from 6.7 to 7.0. Lifecycle Manager replaces vSphere Update Manager in vCenter server 7.0 the process is pretty much the same as in VUM.
Before upgrading to a new version of ESXI first step should be to check VMware compatibility, this can be done by either checking the VMware compatibility matrix.
Or in VLM we can now use Hardware compatibility, This syncs a list of compatible hardware and this can then be checked directly on the host to verify if the ESXI host hardware is supported.
To check using VLM, Open the vSphere web client > Menu > Lifecycle Manager
We then need to sync the hardware compatibility list. Click Actions > Sync HCL
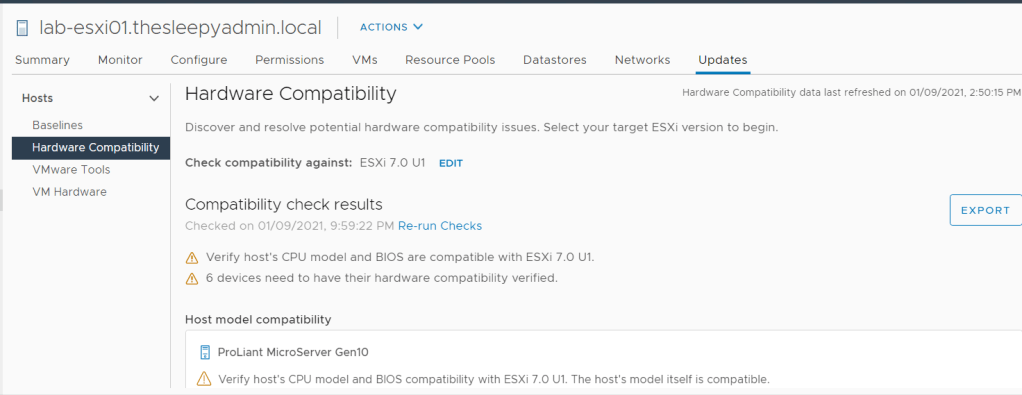
Once synced we can run a compatibility check from the Host > Updates > Hardware Compatibility
After the compatibility is all confirmed and no issues are found, we can go ahead with the upgrade.
Next we need to download the ISO image for ESXI 7.0 that will be imported to VLM and used in the upgrade baseline.
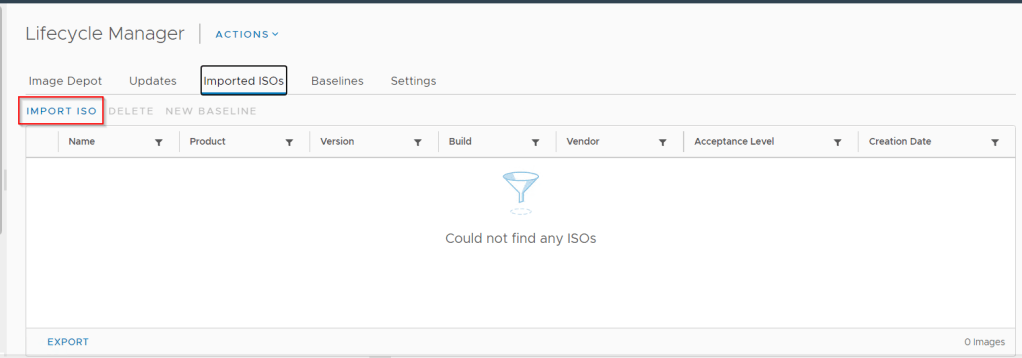
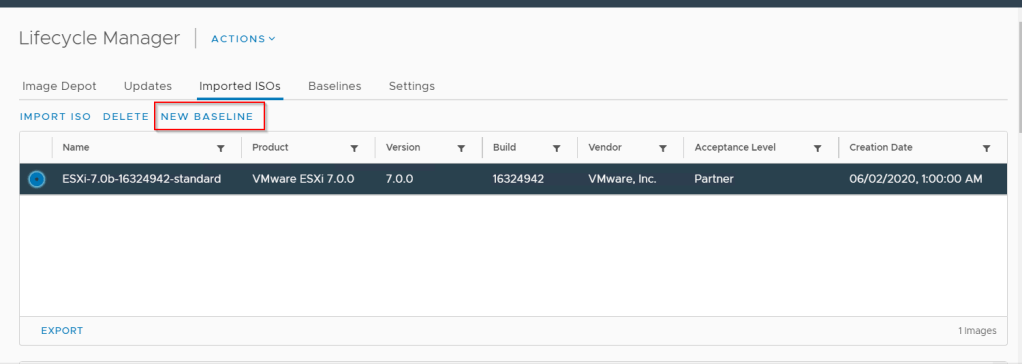
To import the ISO go back to VLM > Imported ISOs > Import ISO
Click browse and select the ESXI ISO that was downloaded earlier.
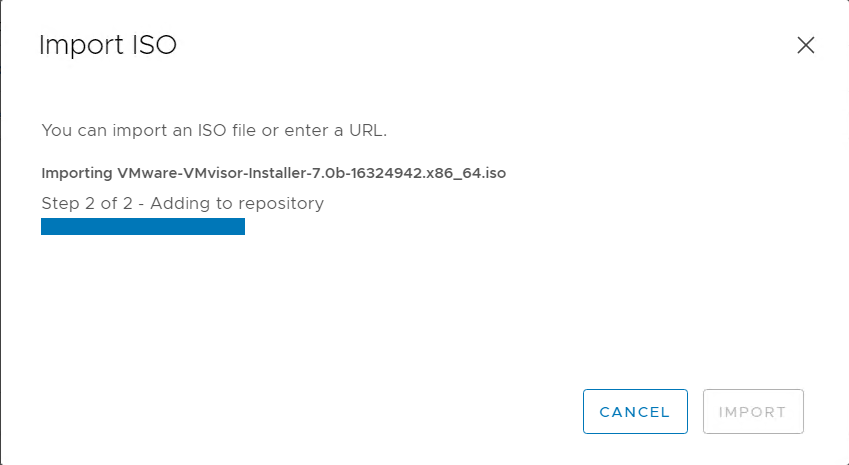
The ISO will then start to import.
The ISO should now show under Imported ISOs
Next we need to create a new upgrade baseline, this can either be done under baseline or by selecting the image and clicking on New Baseline.
Give the baseline a name
Select the ISO to be used
Click next and finsh off the baseline
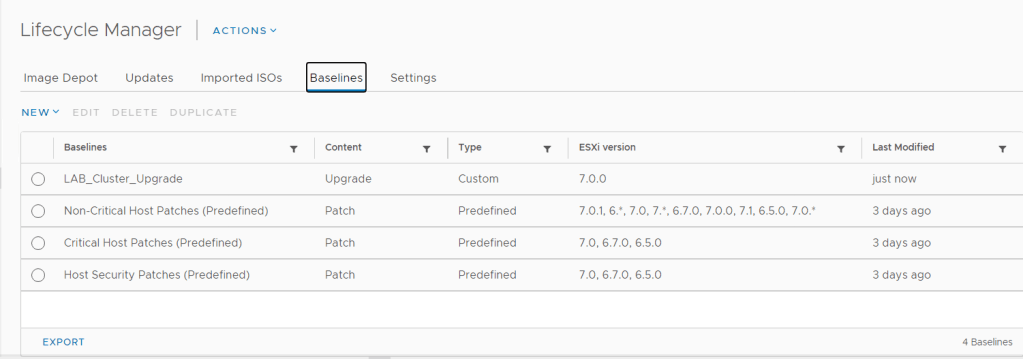
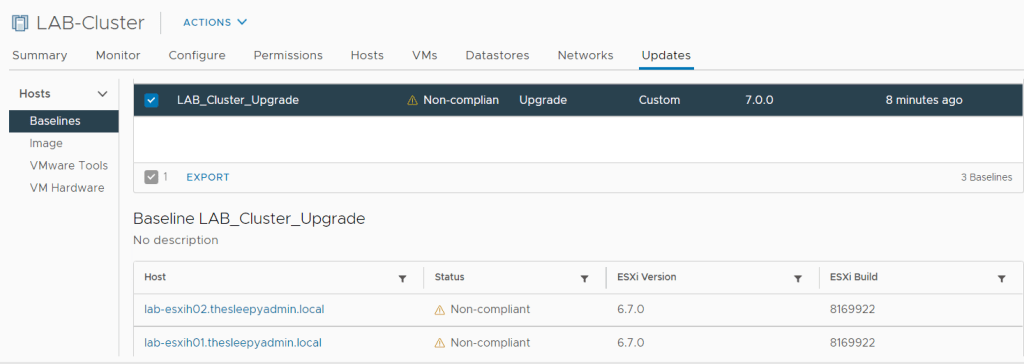
Check baselines to confirm the creation has completed.
The baseline can be assigned to the host individually or the cluster. I am going to apply to the cluster. Go to the Cluster and select Updates > Attach.
Select the upgrade baseline.
We can check the compliance for the baseline for all host in the cluster.
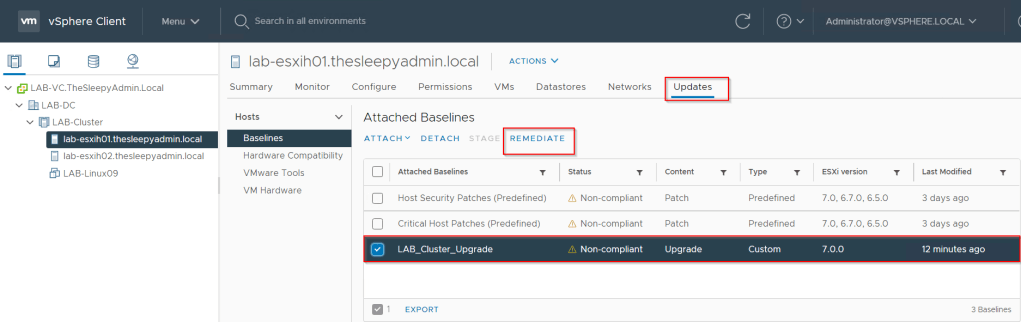
To remediate you can either do this from the cluster or on the individual host. I will remediate from the host itself.
Go to the host, Select Updates > Baseline > Upgrade Baseline > Remediate
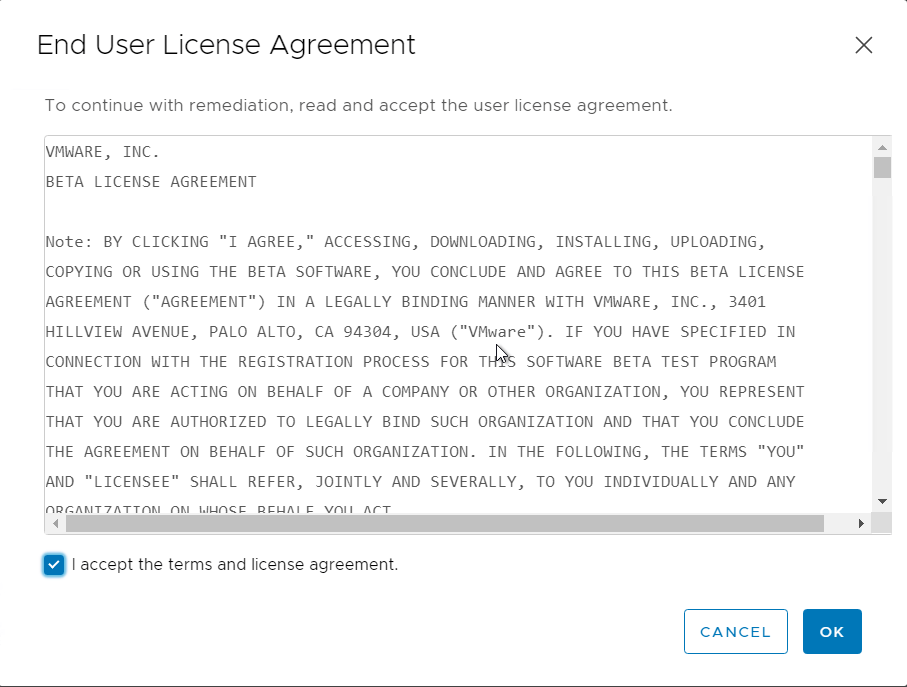
Accept the end user agreement.
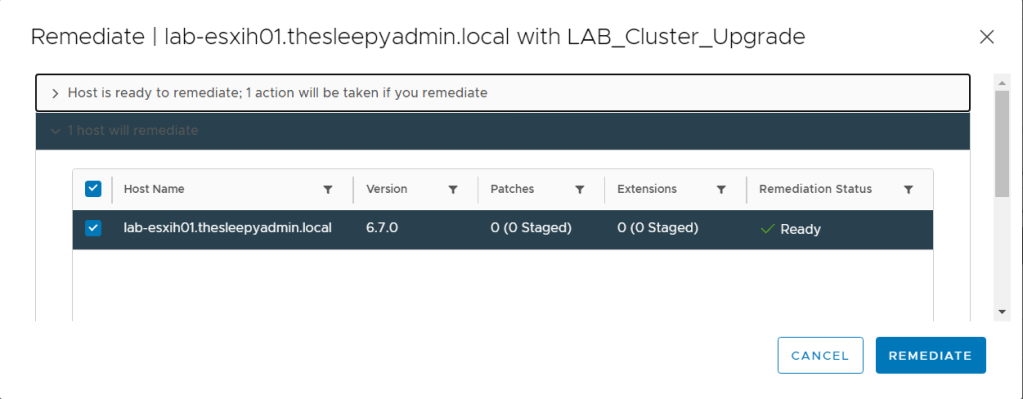
The upgrade will do a remediation pre check before allowing the upgrade.
Once you click Remediate, the upgrade task will start
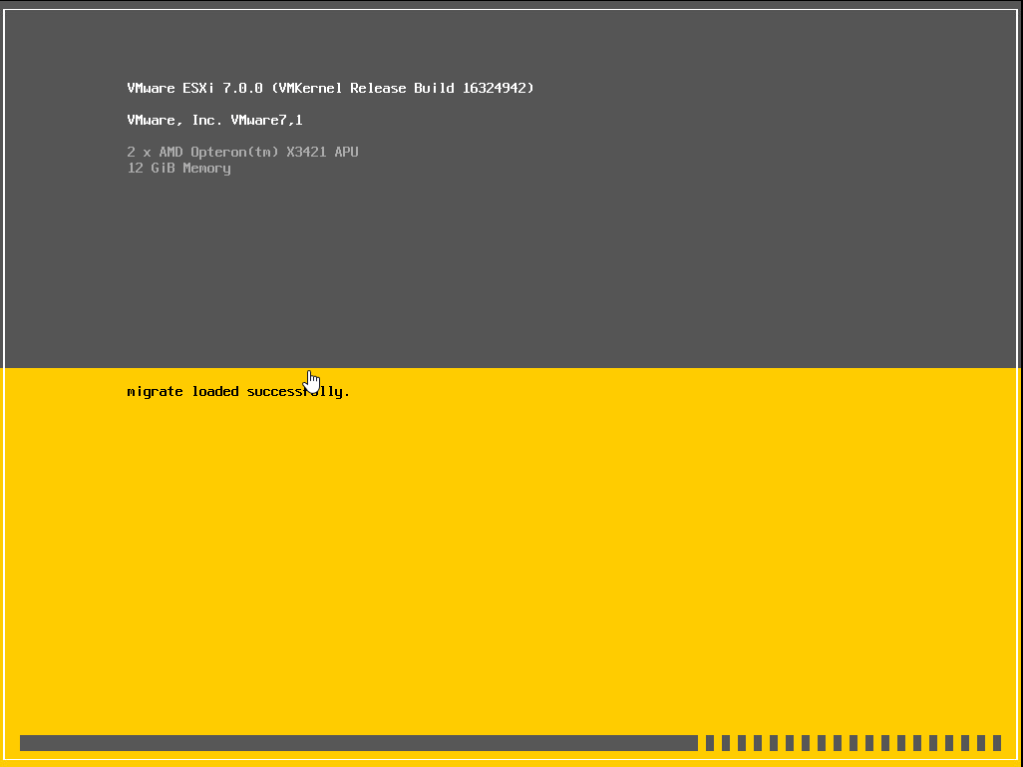
The host should now reboot and start the upgrade.
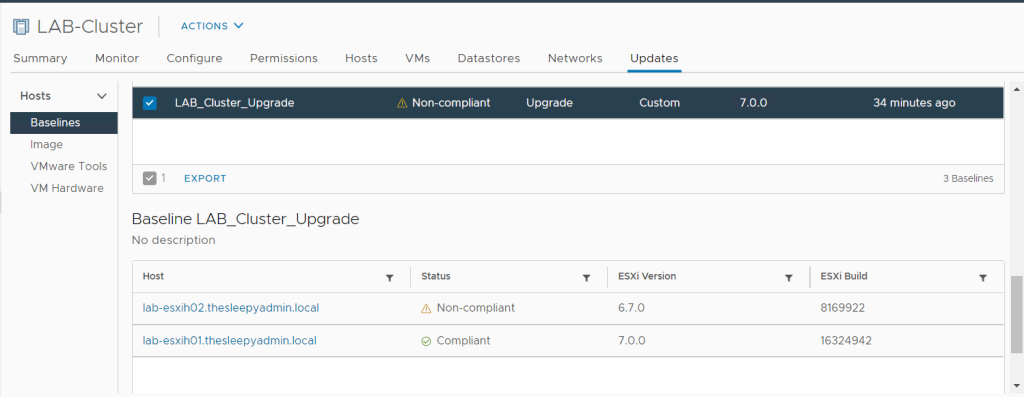
When we check the baseline the host should now show as compliant and running ESXI 7.0.
Upgrading a host using VLM is a straight forward process and makes it easy to keep your ESXI host at the latest release version.
The process of patching vCenter server appliance has become a lot easier in recent years. Keeping vCenter fully up to date is important for stability and security.
In this post we will go through the process of patching for vCenter 7.0 to the latest version using the GUI connecting to the internet. You can also update using command line or by downloading and mounting the ISO image.
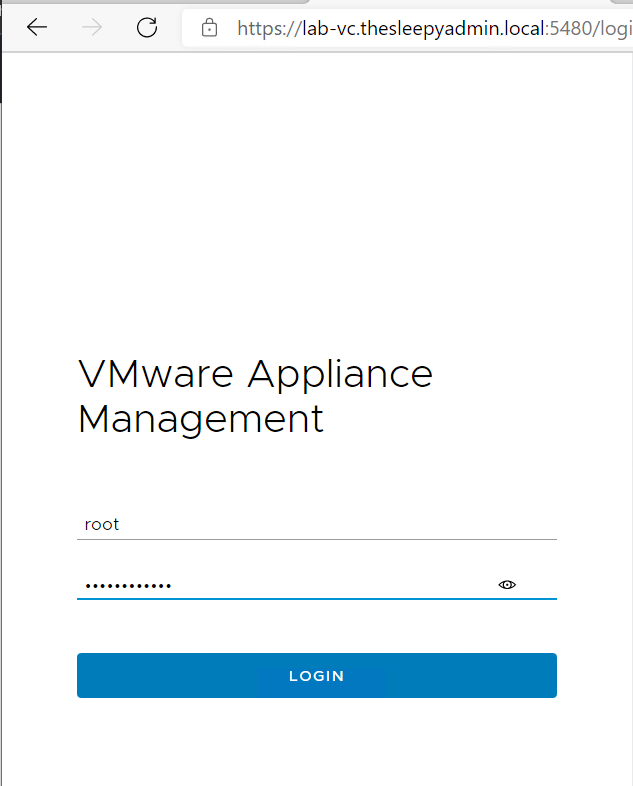
First we need to logon to the admin management console.
Use the root logon that was configure when setting up the appliance.
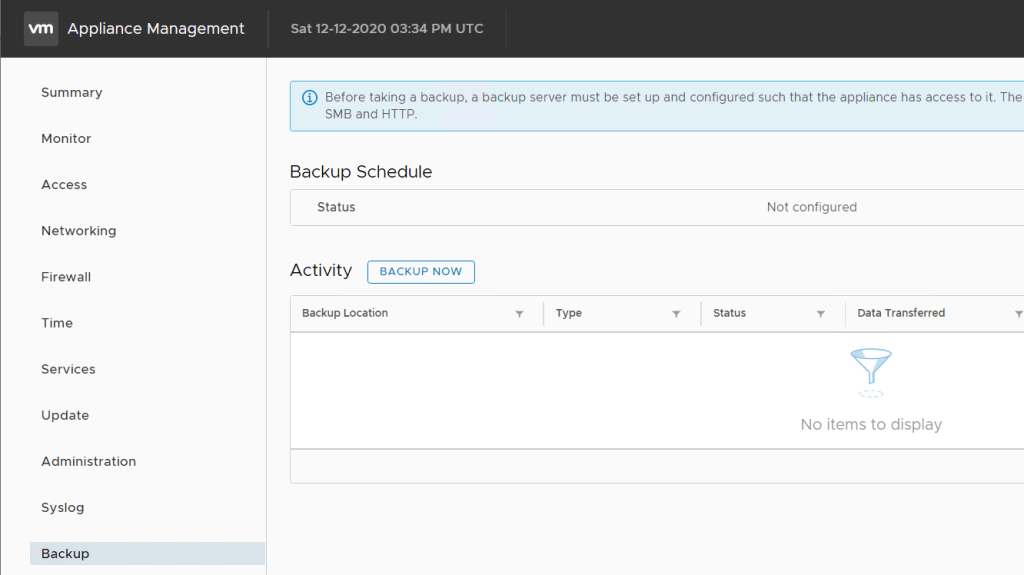
First steps is to confirm there is a valid backup of the appliance.
Click backup now.
There is an issue with vCenter 6.7U2 and above where it fails on SMB with SMB location is invalid if SMBv1 is disabled. So if you get that error you can just enabled SMBv1 temporarily or enabled OpenSSH on Windows to allow SSH connection which is what I would do in production.
Once completed the backup should kick off.
I also usually take a snapshot as that is the quickest recover option.
Once we have a back up, we can now continue with the updating the appliance. The current version of the appliance is 7.0.0.10100.
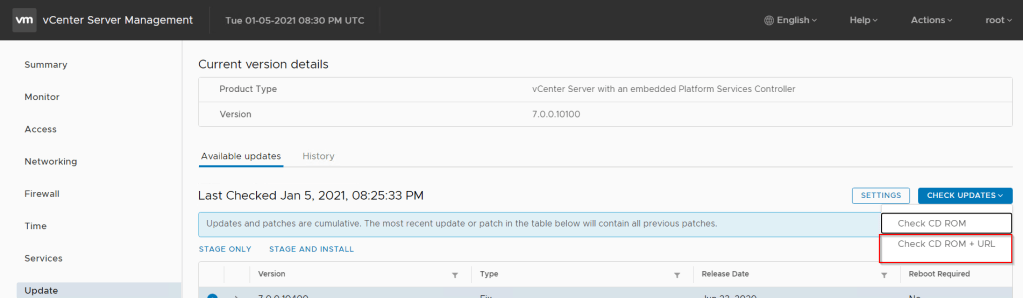
Go to Update and click check updates
Once the check is completed select the latest patch. Select either stage only or stage and install if you want the update to be installed straight away. The version we will be updating to is 7.0.1.00200.
Accept the end user agreement.
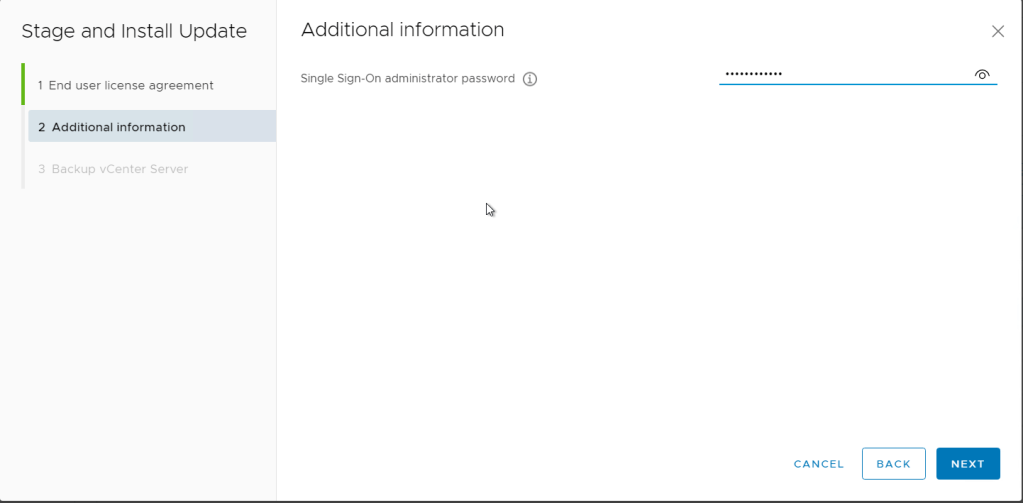
This will run a pre-check on vCenter before the upgrade will continue. Once no issue are found put in the administrator’s password.
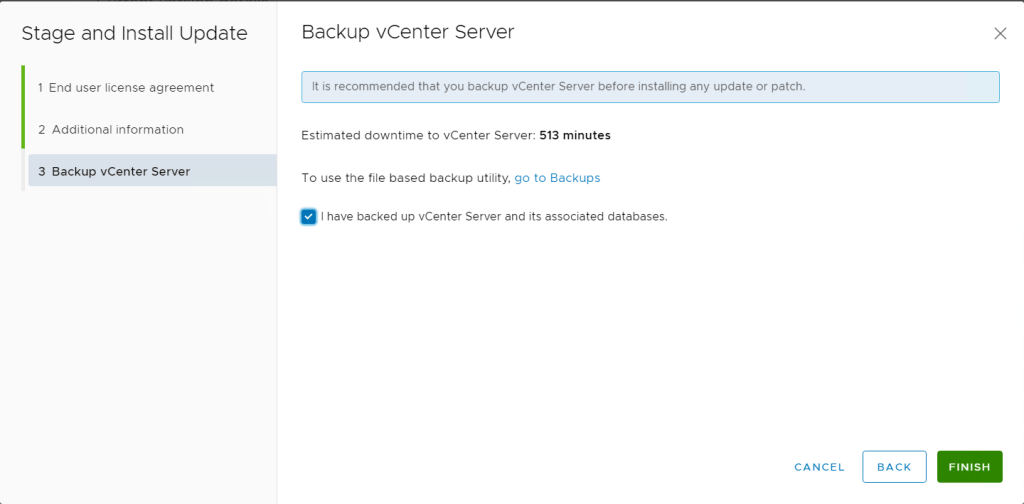
Tick the box to confirm that a backup has been completed.
The install will now start and can take a hour or so to complete.
During the upgrade there will be outages to vCenter while services restart.
a
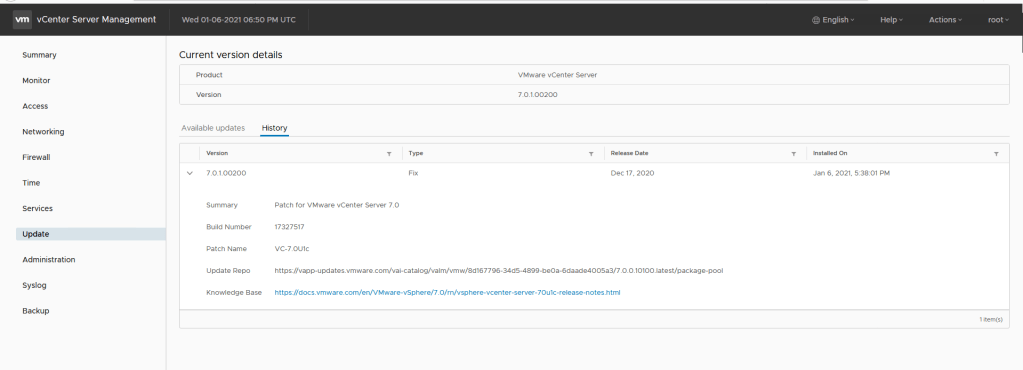
vCenter should now be update to the latest version.