Recently we had an issues where some software updates where missed during regular patching cycle, I wanted to have an automated report to list all updates that where required on more than one system but no deployed.
First I checked the Microsoft SQL views for software updates
The three tables I used where,
V_UpdateComplianceStatus: This table is used to the get status code for updates. Status of 2 means the update is required.
v_UpdateInfo: This table is used to get information on each update
v_Update_ComplianceSummary: This table is used to get compliance of each update to see how many devices are missing the updates.
select distinct
UI.DatePosted as ‘Release Date’,
UI.articleid as ‘ArticalID’,
UI.Title,
Update_Required=(case when UCS.Status=2 then ‘Yes’ end),
CS.NumMissing,
Updates_Deployed=(case when UI.IsDeployed=0 then ‘NotDeployed’ end),
UI.InfoURL as InformationURLfrom V_UpdateComplianceStatus UCS
join v_UpdateInfo UI on UI.CI_ID=UCS.CI_ID
join v_Update_ComplianceSummary CS on CS.CI_ID=UCS.CI_ID
WHERE UCS.Status=2 and UI.IsDeployed=0
order by NumMissing desc
Below is what the query return looks like in SQL Management Studio. To confirm the query is working we can create a search filter for all software updates to make sure they match.
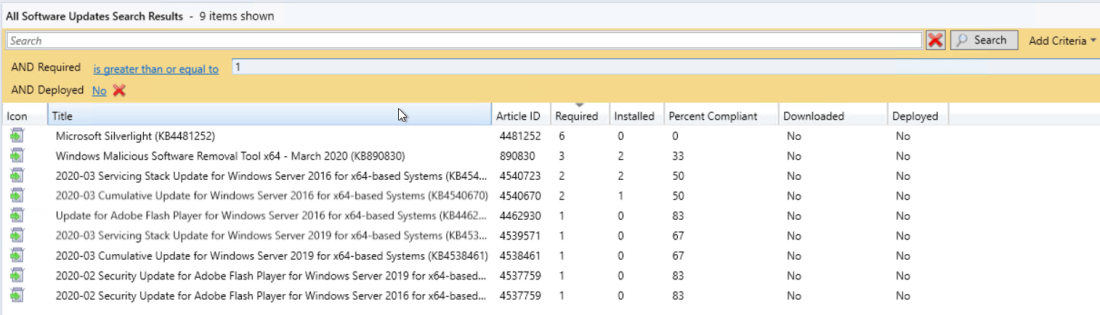 Last step was to create a weekly email report using SQL Server Reporting Services (SSRS).
To create a new report (MECM reporting point role will need to be installed for this) go to Monitoring > Reporting > Reports. I created a custom Reports folder to keep any report I created.
Right click on reports and click create report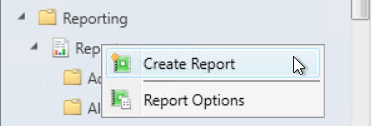
Give the report a name and a folder path the report will be stored.  Follow the report wizard to finish the report creation.
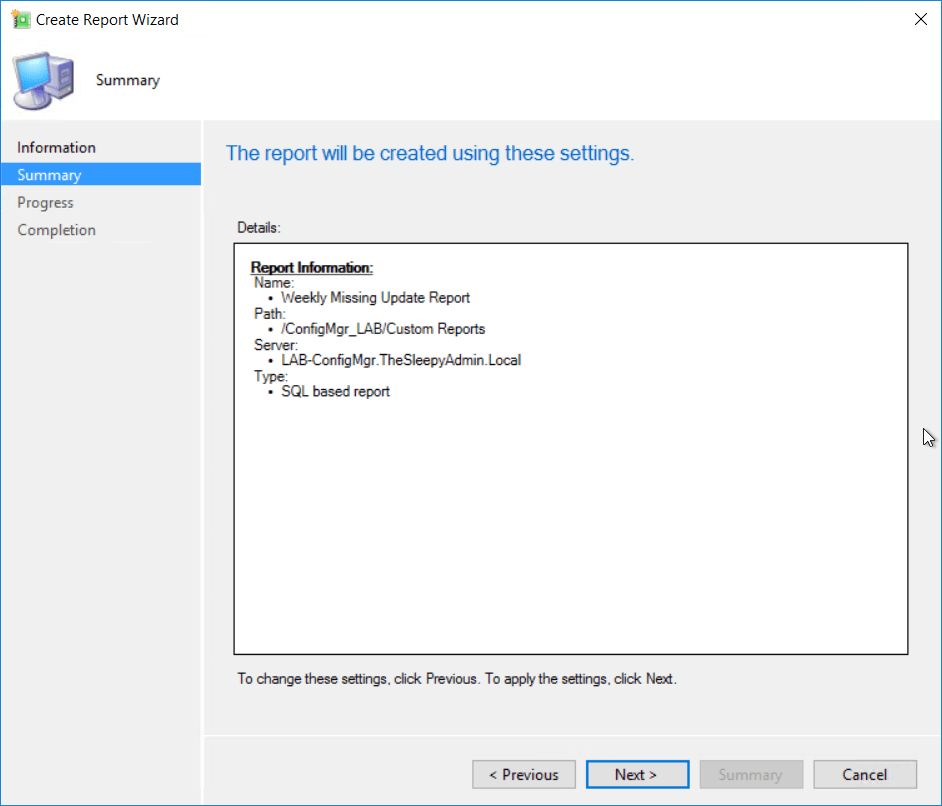
 Once the report wizard completed the report builder should load.
  First create a new dataset. Right click on Datasets > Add Datasets
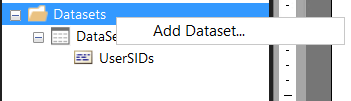
Give the Dataset a name, Use a dataset embedded in my report, Data source and select the MECM data source and query type as text. Last part is to copy the query to the query field. Once that click ok and the dataset should show under datasets.
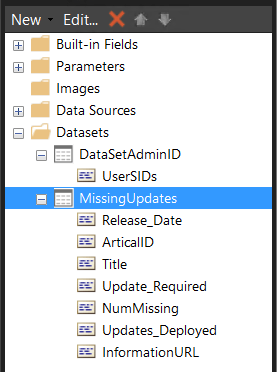
Next we create a table for the report view.  Select the dataset we create.
 I just wanted to use all values so drag all row to the value box.
 Next just go through the rest of the wizard. Once completed you should see something similar to the below. I added a text box at the top for a tile and added in some grey filling on the table.
 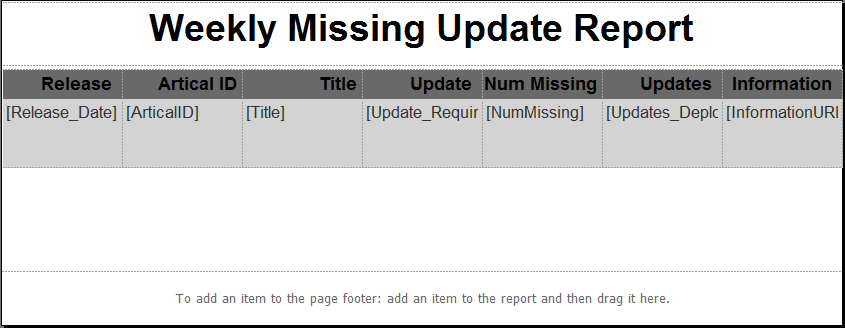 Now save the report and we can run from the MECM console to see what the report will look like.
  Last step is to create subscription to send a the weekly report
 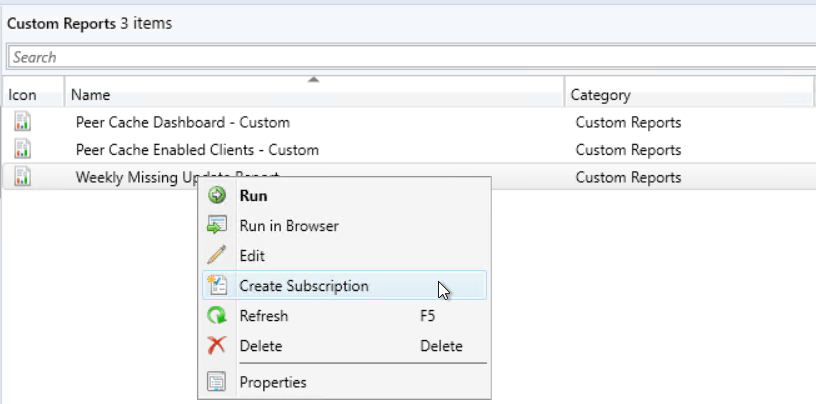 Select report delivered by Email and put in the required detail and report to be included.(Email settings need to be configured in SSRS before you can select email as a deliver option)
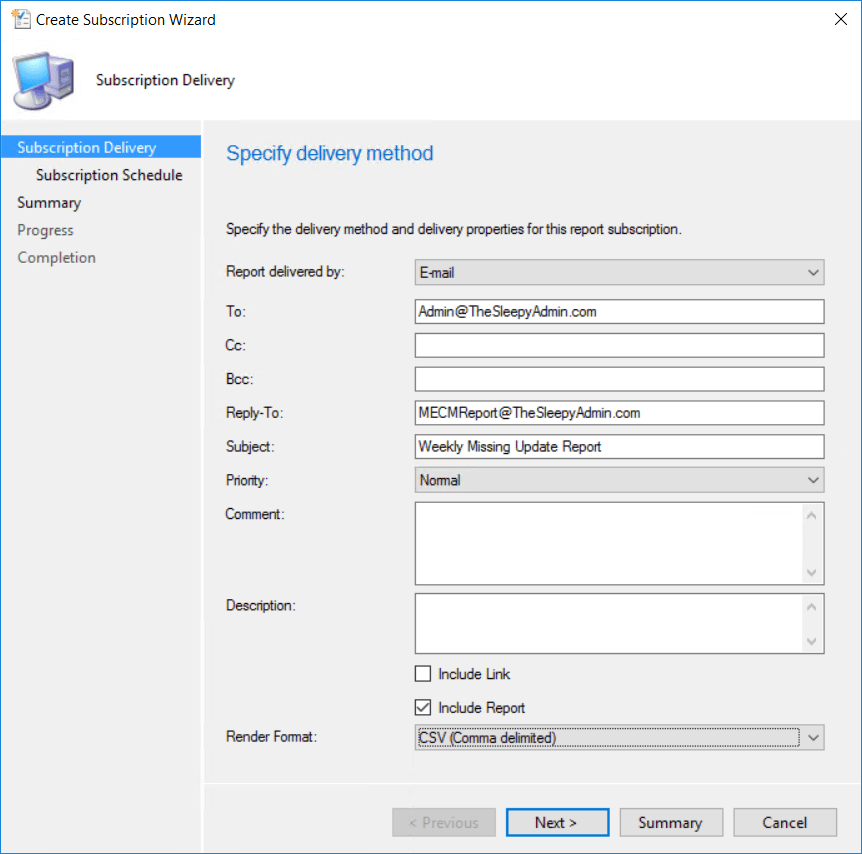 Set the schedule that is required and complete the wizard.
 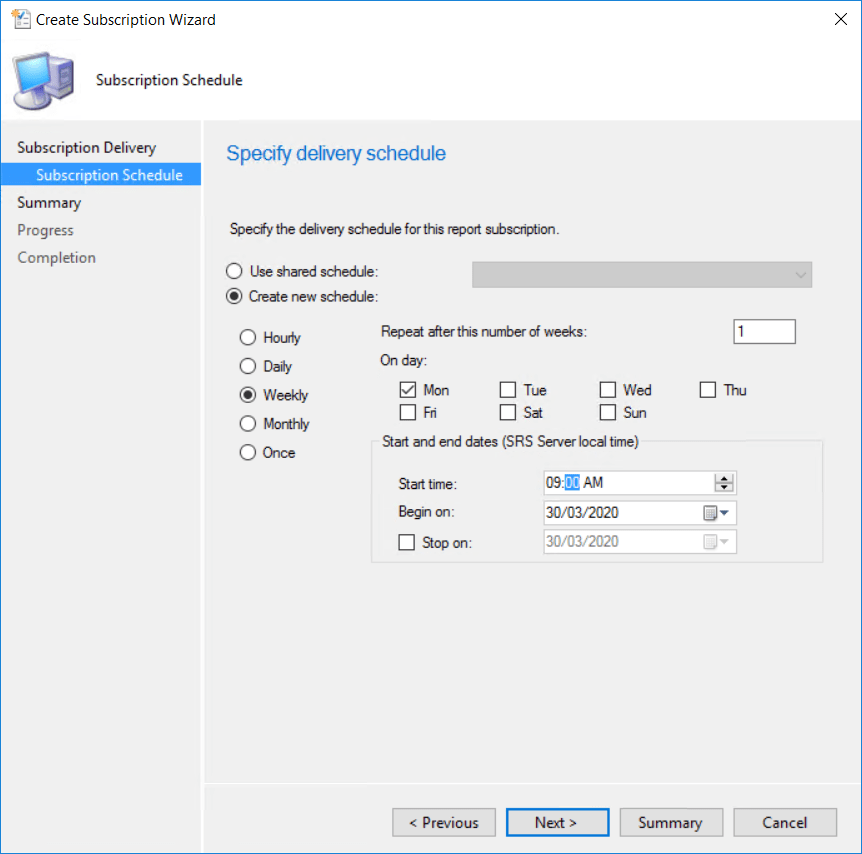 The report should now be sent out weekly as a csv file.
 Accept the terms.
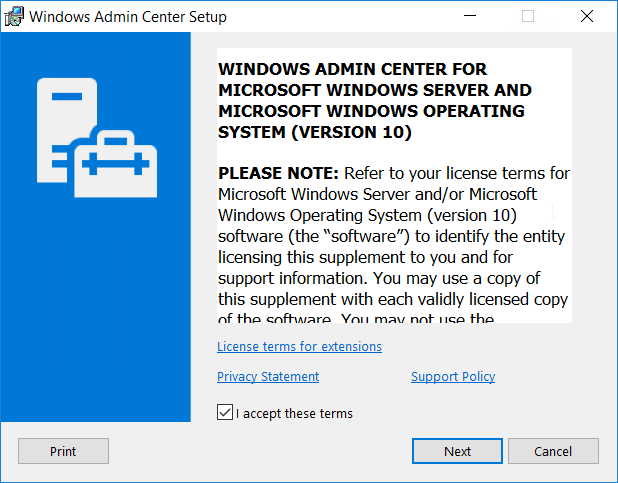

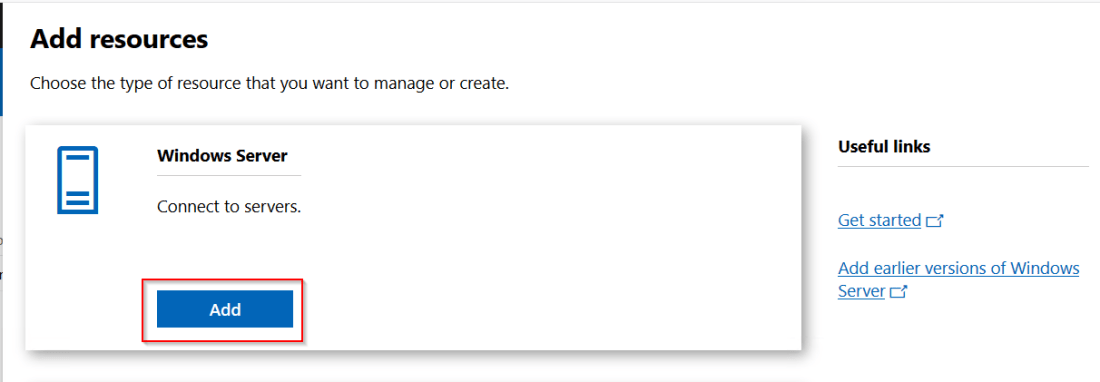
 To add a server click Add.
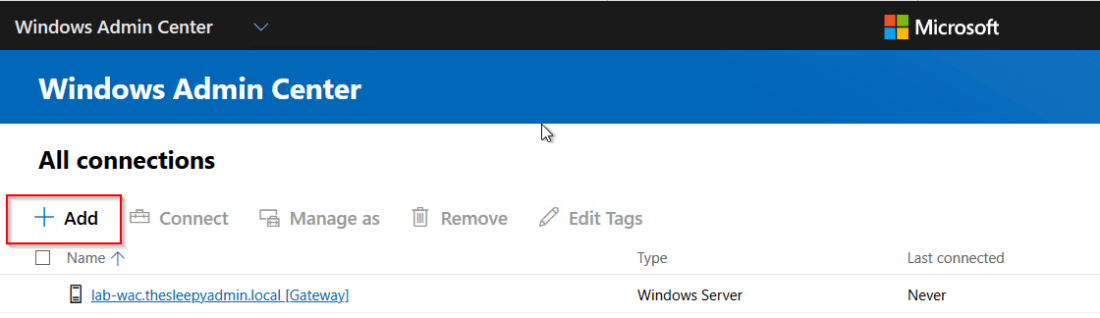
 Click search active directory and put in the server name.
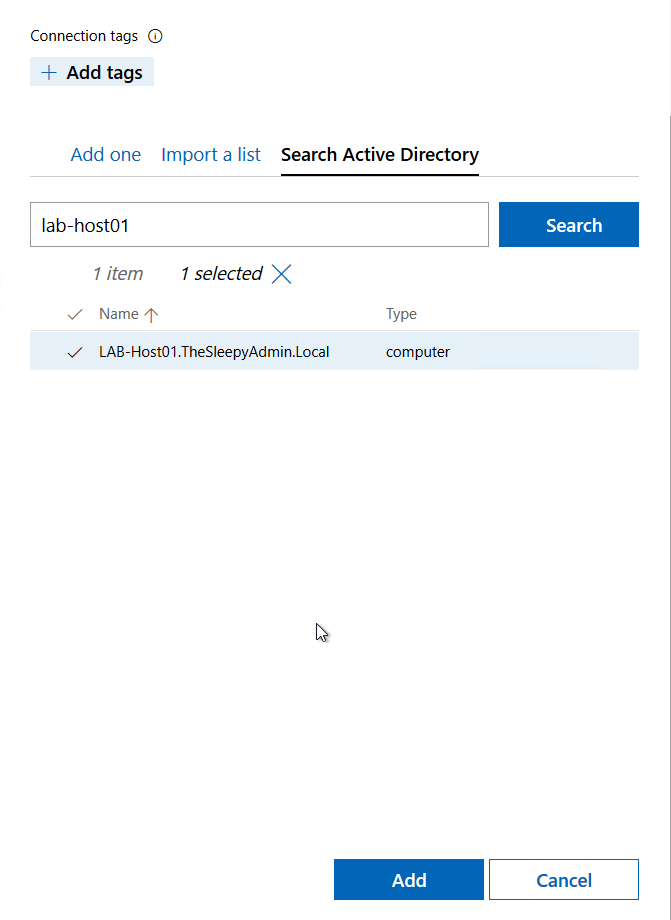
 When connecting to servers, to allow single sign on there is an additional command that need’s to be run. If this is not done you will see the below warning when connecting.
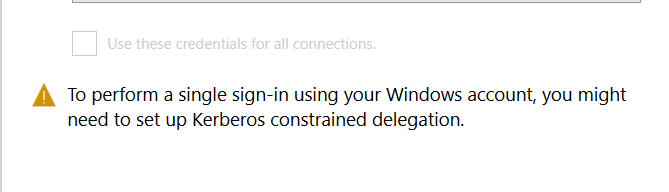
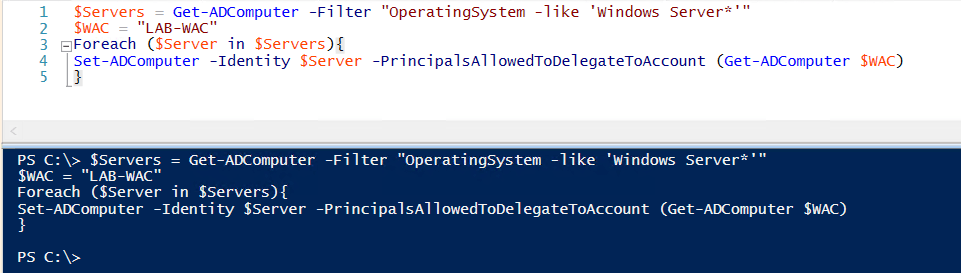 The above command adds the admin server to the below attribute.
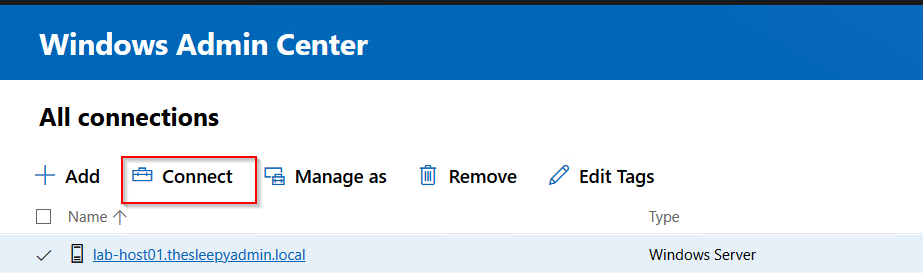
  Once this has been done when you click connect it should now use SSO.