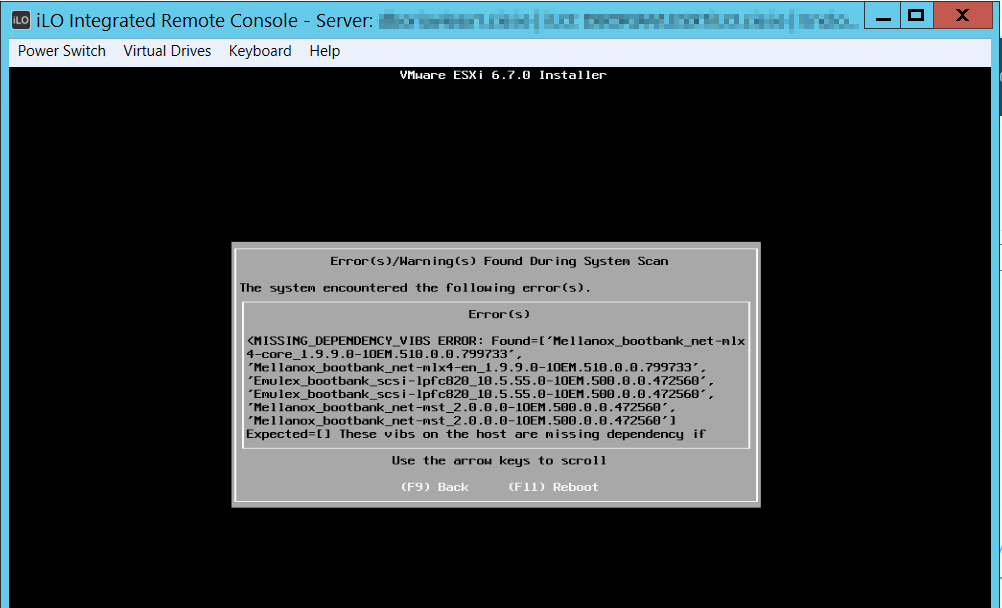
We needed to check for the GRUB vulnerability on our Windows 10 devices.
See advisory below:
https://portal.msrc.microsoft.com/en-US/security-guidance/advisory/ADV200011
We have a few thousand devices to check, so checking manually was going to be a issue, we decided to use MECM baseline to run a script to check for devices that had the issue.
Microsoft give the below command in the advisory to check if the issue exist
[System.Text.Encoding]::ASCII.GetString((Get-SecureBootUEFI db).bytes) -match ‘Microsoft Corporation UEFI CA 2011’
If this command returns a true value the device is vulnerable.
To use the command in a baseline we used the try / catch in PowerShell to get a compliance response as the above command is a terminating error and wont return a result other wise.
try{
$GRUBCheck = [System.Text.Encoding]::ASCII.GetString((Get-SecureBootUEFI db).bytes) -match ‘Microsoft Corporation UEFI CA 2011’
if ($GRUBCheck -eq $true){
$complinant = ‘False’
}
else
{
$complinant = ‘True’
}
}
catch {
}
$complinant
Once we had the script we needed to create the configuration item and baseline.
To create the configuration item open MECM console > Assets and Compliance > Overview > Compliance settings > Configuration item
Create Configuration Item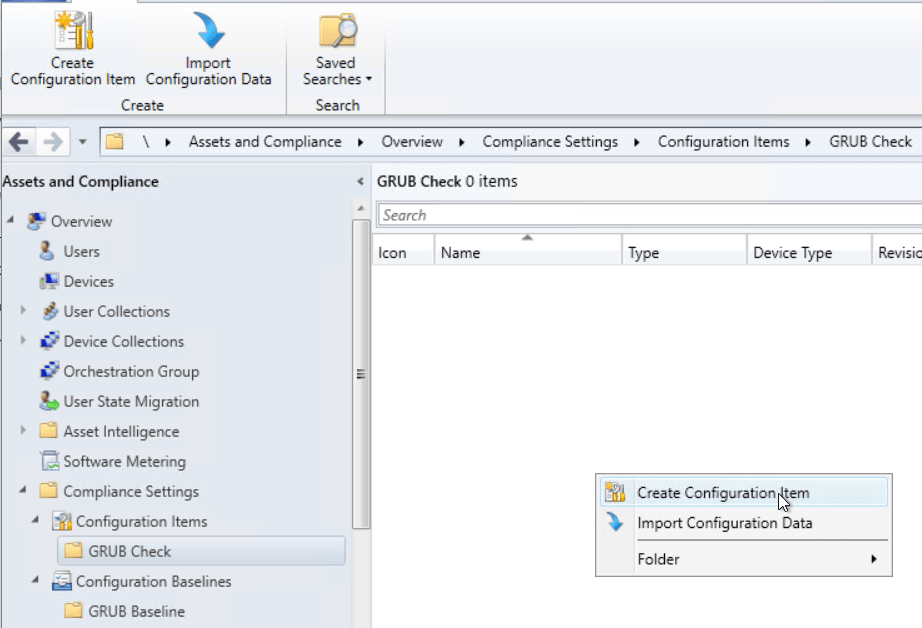 Select Windows Desktops and Servers (custom)
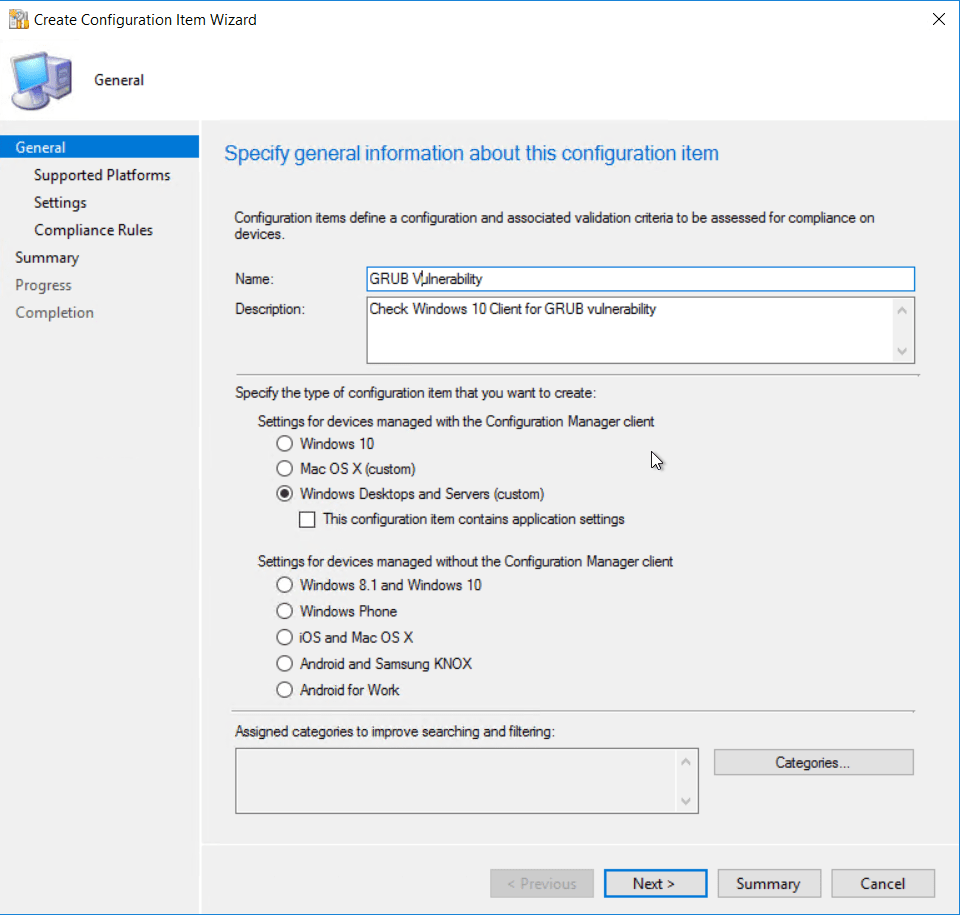 Select Windows 10 as the version of Windows that will be assessed.
 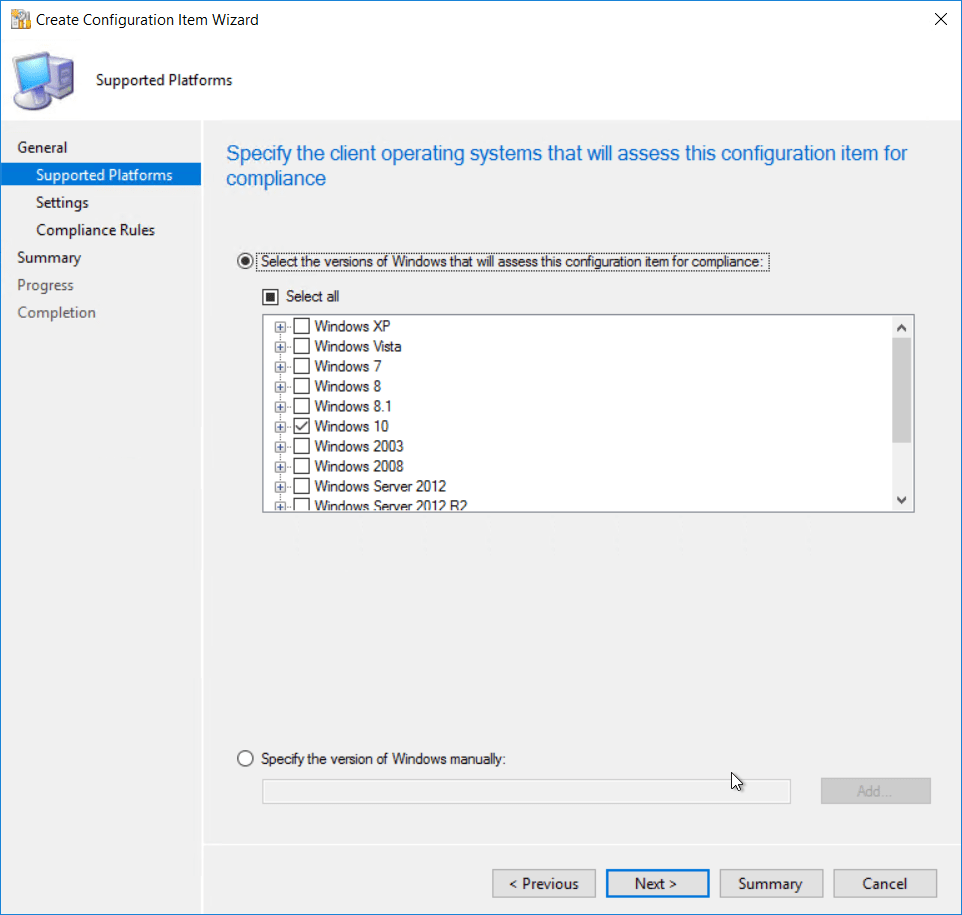 Add a new settings item.
 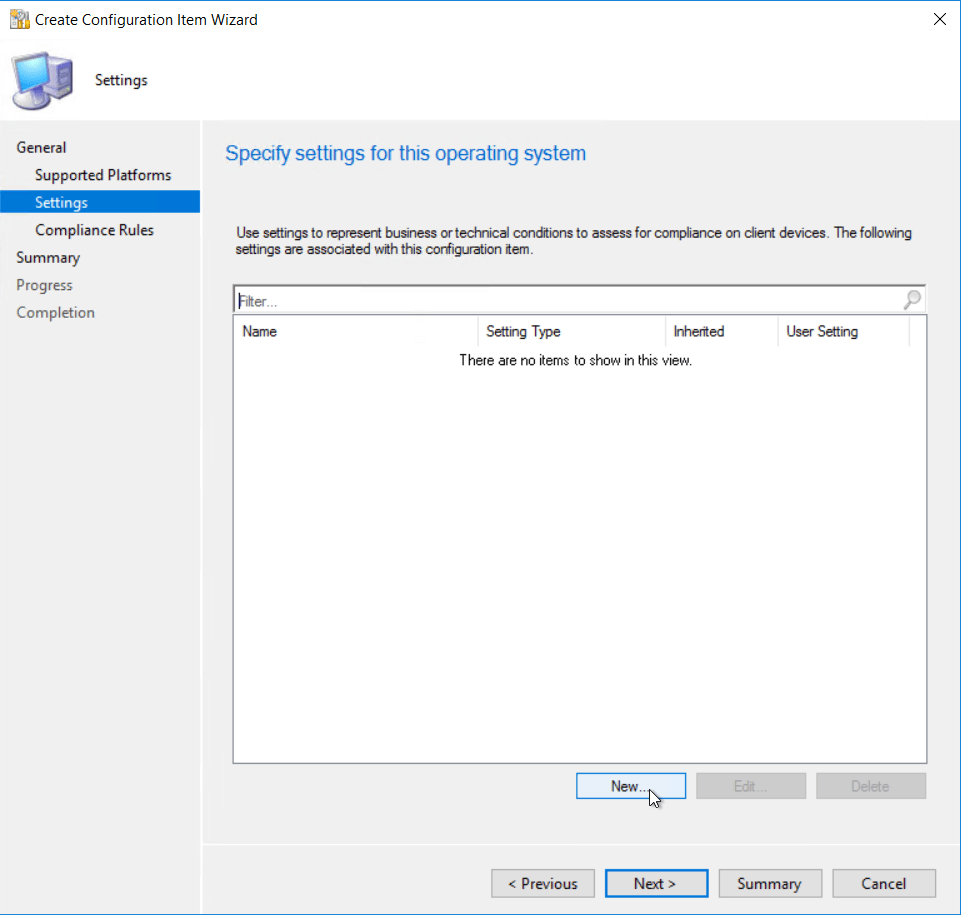 Give the item a name
Setting type to script and data type to string. Click Add script. 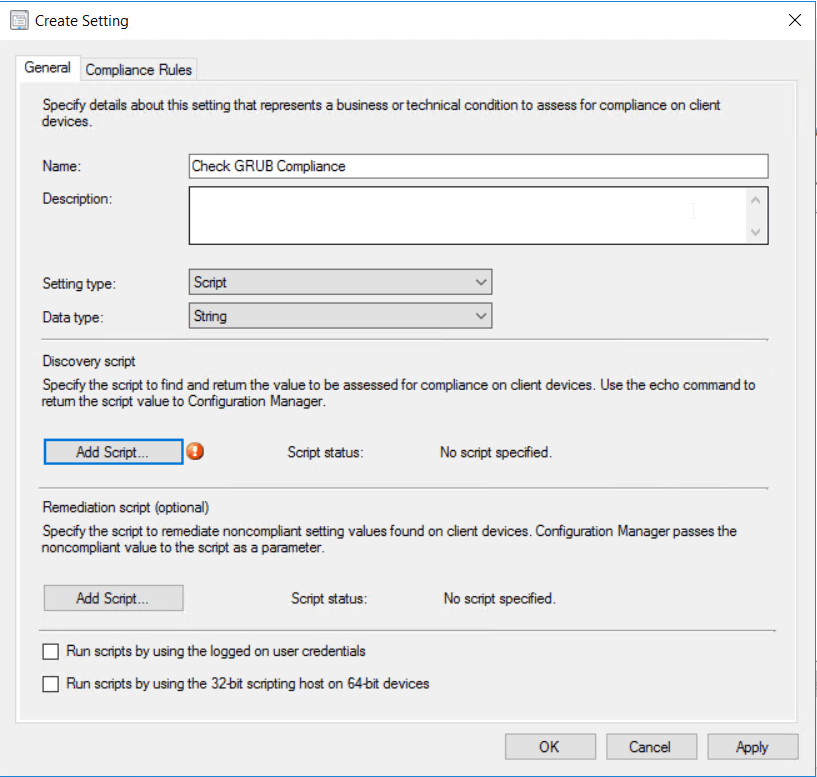 Put in the script above.
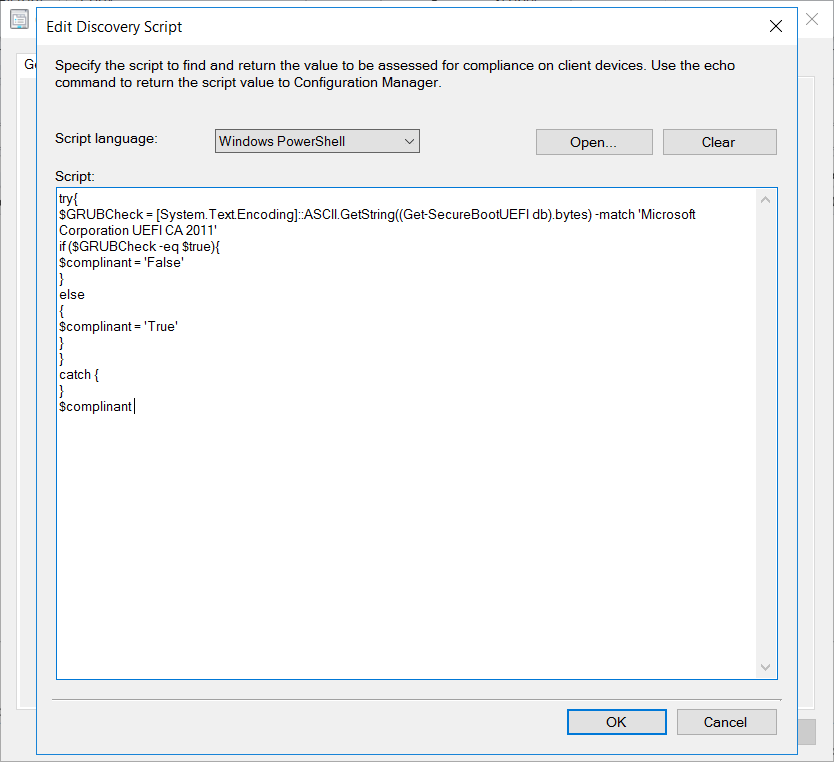 Next add in a compliance rule.
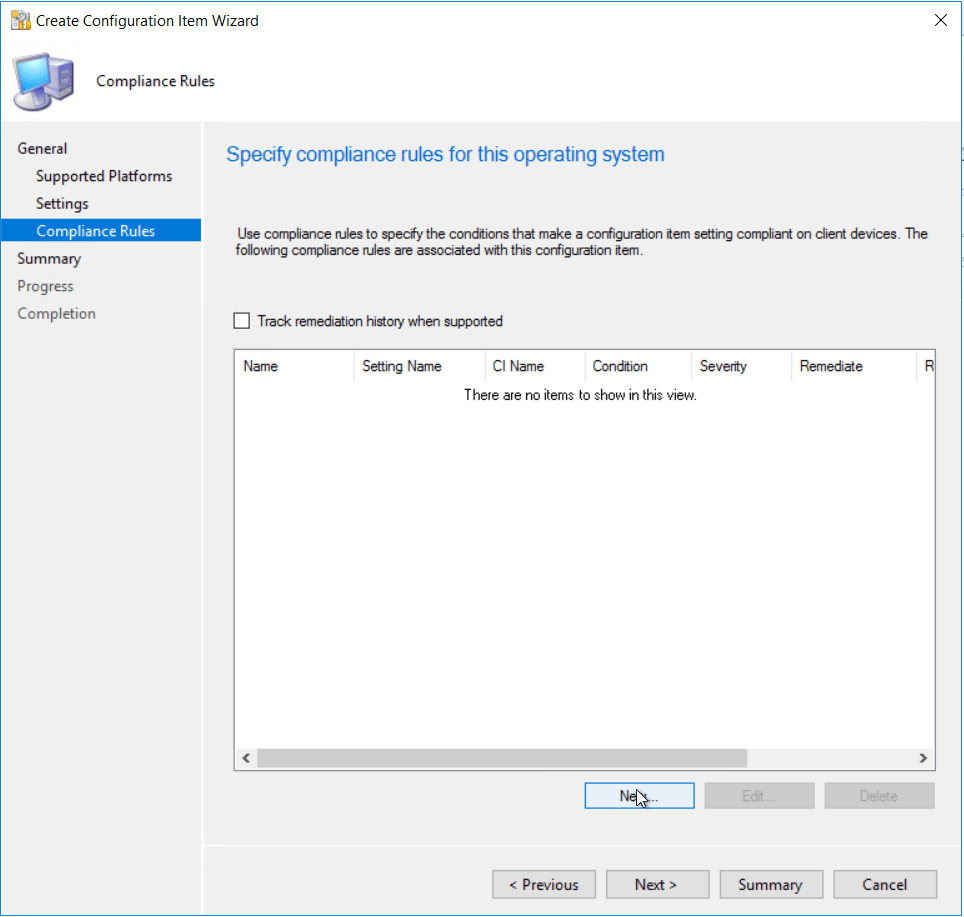
Give the compliance rule a name, select the settings item we create earlier, set the value to True so that any devices that doesn’t have the vulnerability will return as compliant. 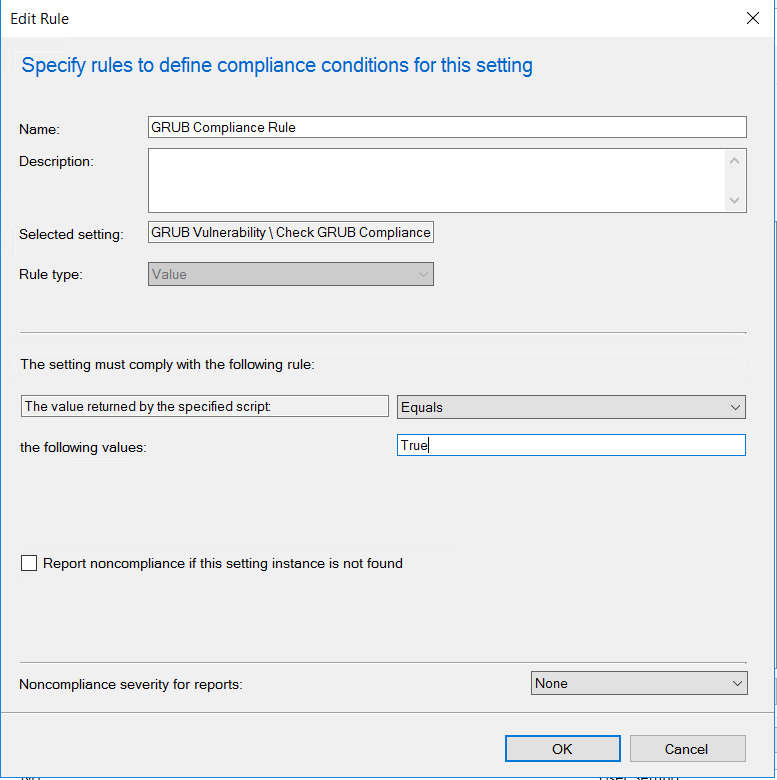 Once all the settings and compliance rules are configure following the wizard to complete
 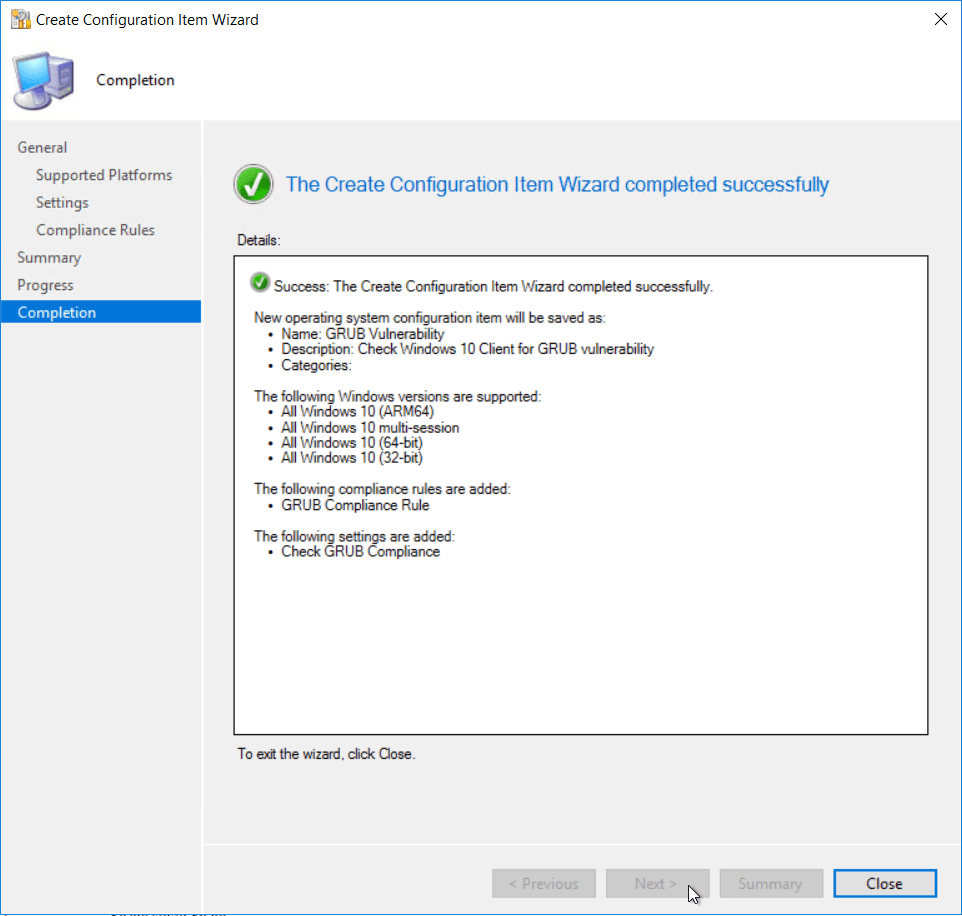 Next we need to create the configuration baseline
Assets and Compliance > Overview > Compliance settings > Configuration item 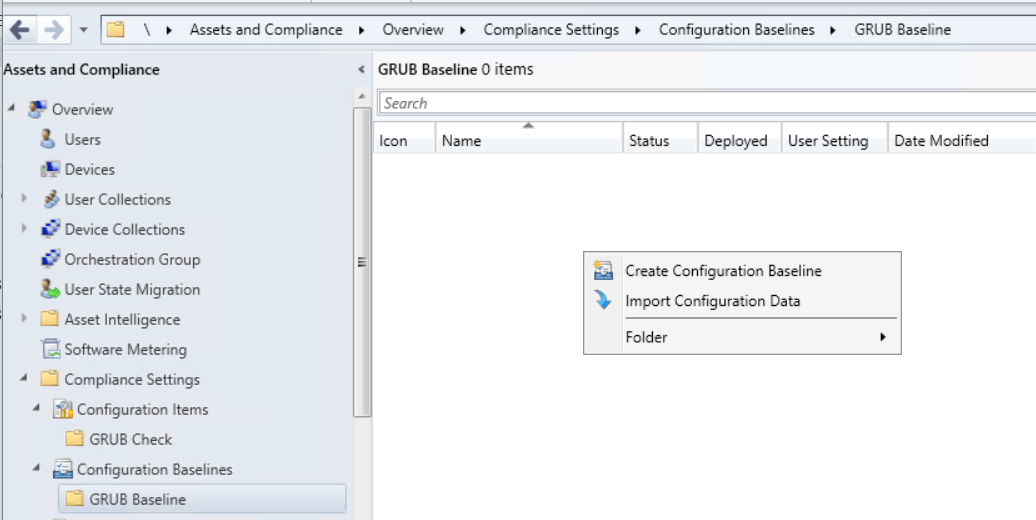 Give the compliance baseline a name
Click add and select configuration item. Add the configuration item created earlier.
 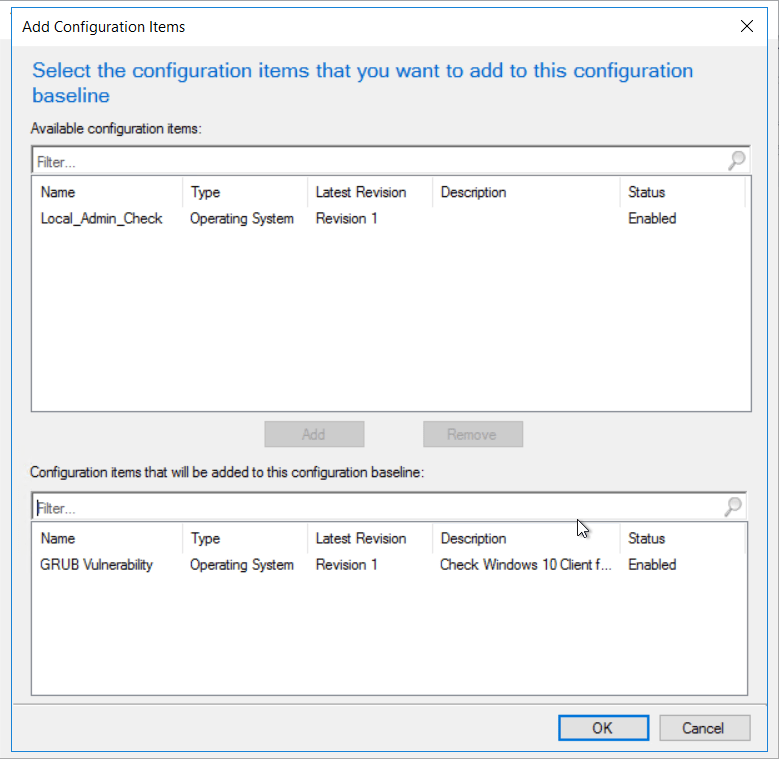 Click ok to complete the baseline
 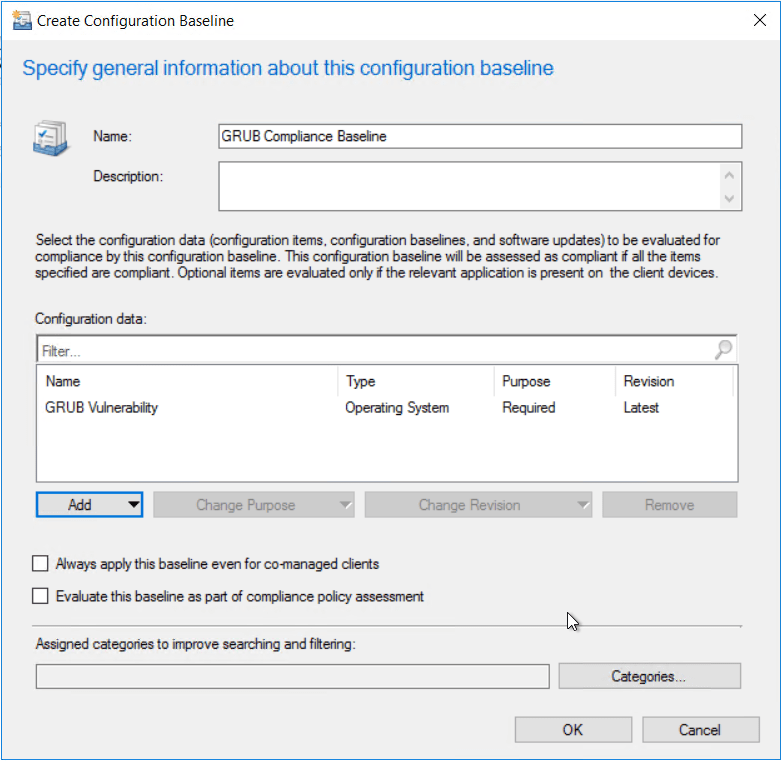 Once the baseline is configured, deploy the baseline to the required device collection
  You can either wait for the next time the client does a machine policy retrieval or run the action manually from the client. Once the client get the updated policy the baseline should show under configurations.
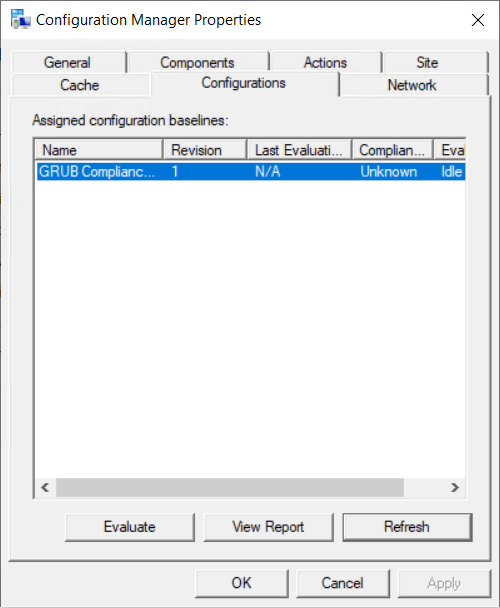
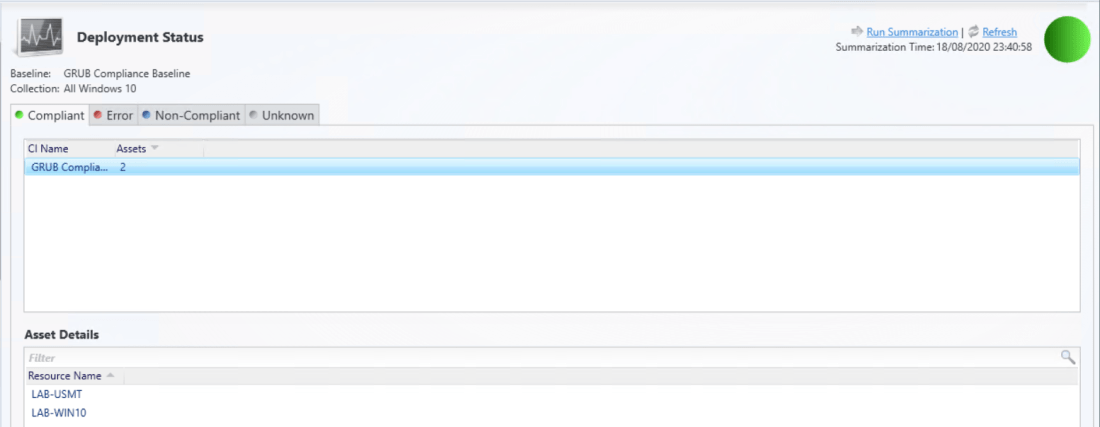
Once evaluated we can check the deployment in MECM to find device that are compliant or non-compliant.