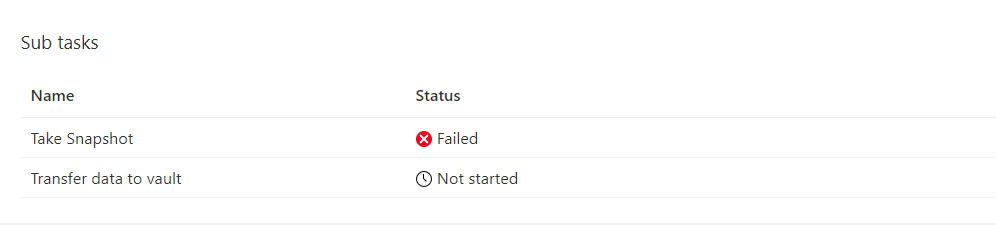
During a recent project I have been deploying new VM to Azure, when trying to configure the Azure VM backup I was getting a failure at taking snapshot.
The error that showed in the reason was UserErrorRequestDisallowedByPolicy.
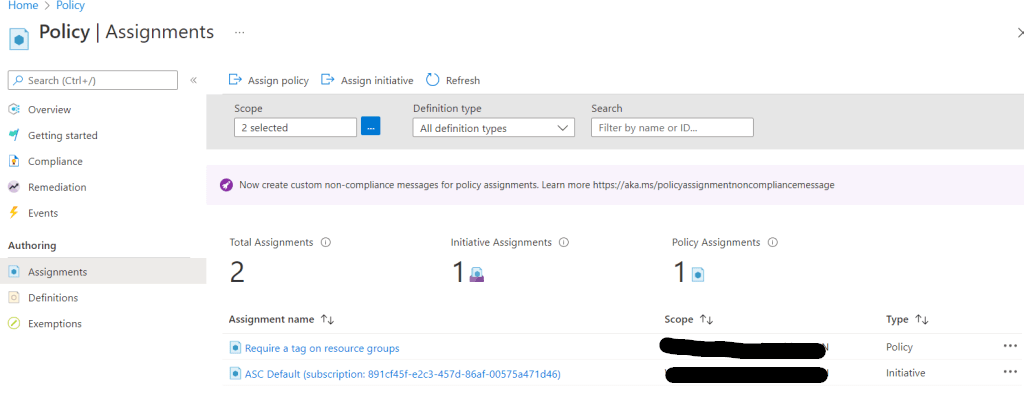
This was being caused by a policy that one of the Azure Admins had setup to require tags be configure on resource groups. When a initial backup is run it creates a resource group to save the restore point collection to and it is this resource group that is getting blocked by the Azure tag policy.
To view the policy details we can go to Policy > assignments
Click on the policy to view the parameter’s.
There are two option to work around this issue, either changing the policy from a Deny effect to a Modify effect, or create the resource group manually.
I will be creating a manual resource group as I am not that familiar with creating custom policy yet and this was the quicker workaround.
Below is the link to the Microsoft document on creating a manual resource group for restore collection point.
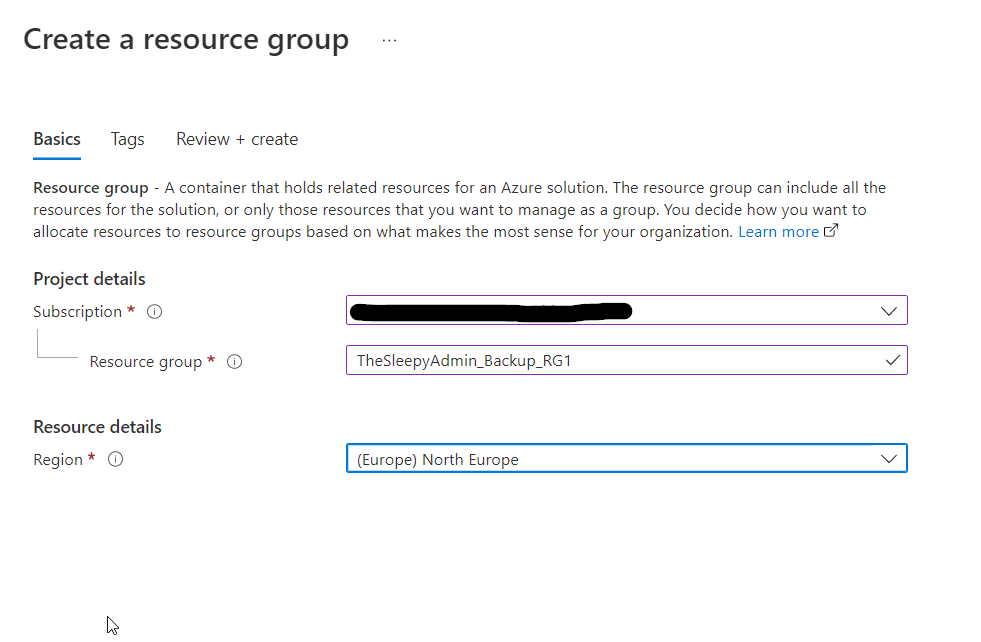
Here are the steps that I did to get around this, by manually creating the resource group that will be used for the backup.
This needs to be RG name with 1 as this starting number in my case I used TheSleepyAdmin_Backup_RG1.
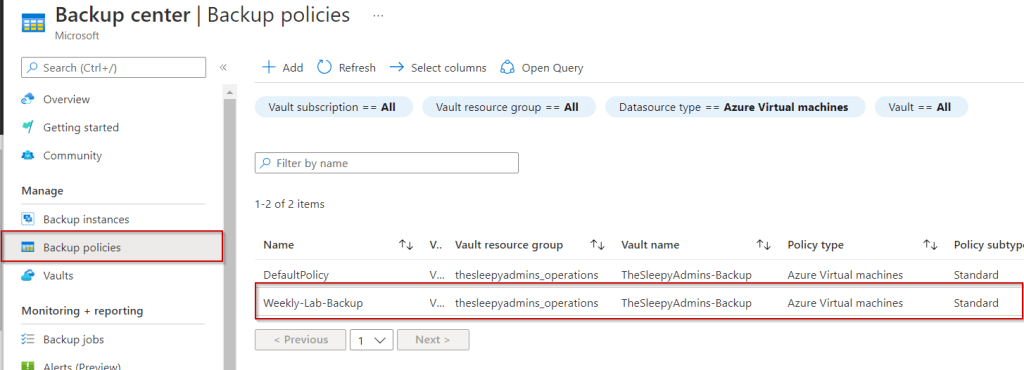
In the backup policy we specify the new resource group. Go to Azure Backup center > Backup policies.
Put in the name of the resource group we create manually without the number. In my case this was TheSleepyAdmin_Backup_RG
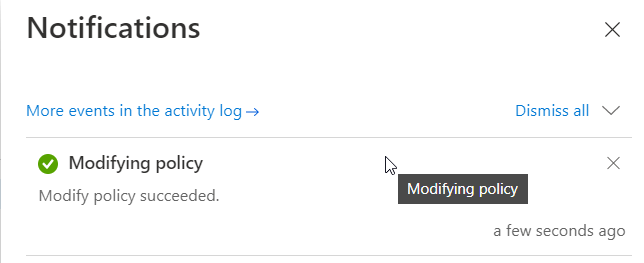
Wait for the policy update to complete.
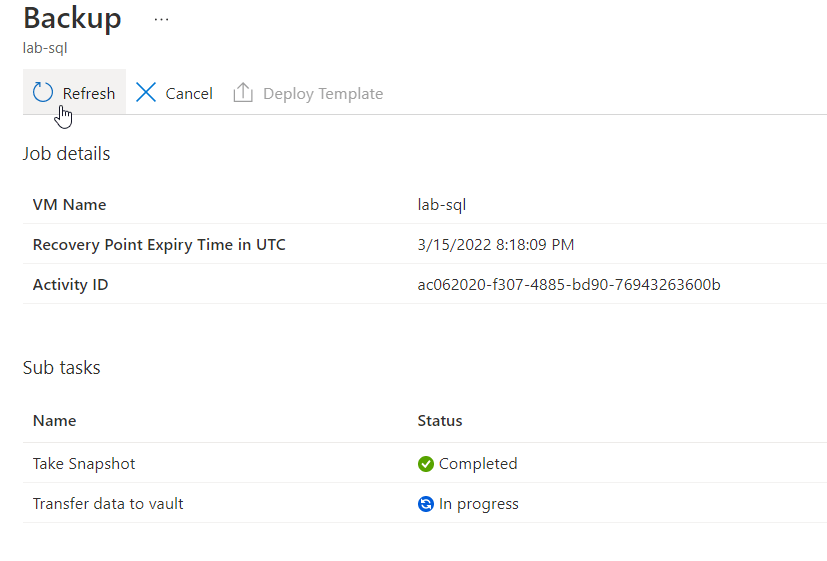
Now try the backup again and it should complete.
If we check the resource group we can see that the restore point collection has been created.
Any addtional backup should now also be successfully, if the resource group becomes full it will try to create a new RG so there maybe a need to create another RG in the future. I will be having a look at creating or updating the tag policy to apply a modify instead of a deny but that will be in a different post as this seems like it would be a better longer term solution.
In this post we will go over the different methods to enabled accelerated networking in an existing Azure VM.
Accelerated networking improves performance as it allows the network interfaces of Azure VM to bypass the host.
Screen shot from Microsoft documentation
Below are some of the benefits of using accelerated network.
Lower Latency / Higher packets per second
Reduced jitter,
Decreased CPU utilization
Accelerated networking is only supported on VM that have 2 or more CPU’s. If the VM’s are in a availability set all VM’s in the set need to be powered off before updating.
There are three way’s to enabled accelerated networking on existing VMs use either AZ PowerShell Module or the AZ CLI and directly in the Azure portal.
To enable in the Azure portal go to Virtual machines > Networking and select the required network interface.
To enable first Power off the VM,
Select the network interface and click on the name. This will bring you to the network interface configuration page.
Click on enable accelerated networking
You will have to confirm you have validate that your operating system is supported.
Once completed the network interface should now show have accelerated networking enabled.
Enabling in the console is fine for one or two interfaces but if there are a few to update doing PowerShell or AZ CLI will be a quicker method.
To update using the AZ PowerShell Module, first we need to install the module.
Once the command completes, we can run the command to check the network interfaces again and one should now have enabledaccleratednetworking set to true.
If there were multiple network interfaces in the resource group to enable, we could get the list and loop through each, but each VM would need to be supported or they would error out.