In this post we are going to go through configuring Azure Advanced Threat Protection (Azure ATP), ATP is a cloud tool that can be used to detect security issue with on-premises active directory.
https://azure.microsoft.com/en-us/features/azure-advanced-threat-protection/#security
Azure ATP is available as part of Enterprise Mobility + Security 5 suite (EMS E5), and as a standalone license. You can acquire a license directly from the Microsoft 365 portal or through the Cloud Solution Partner (CSP) licensing model.
Azure ATP uses agent sensor installed on domain controllers or as standalone deployment that used port mirroring to monitor and analyzes user activities and information across your network.
We will be using the agents in this post since I can installing software on my DC if you have a policy that restrict agents installed on DC then you can use standalone deployment.
To configure Azure ATP first step it to setup an ATP workspace.
Go to https://portal.atp.azure.com/ and use your Azure AD logon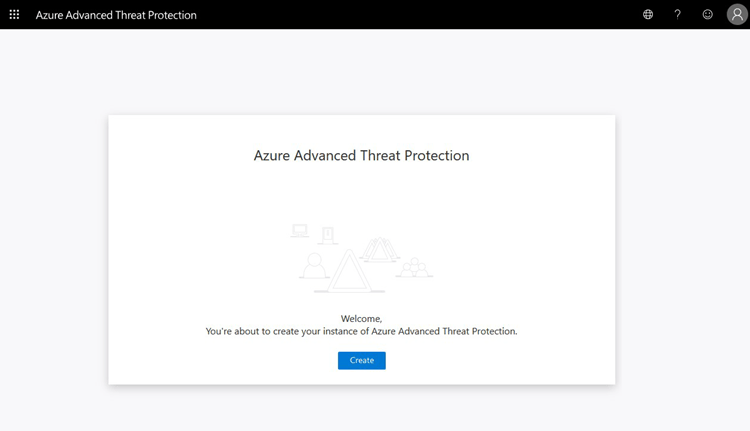 Once the workspace has been created we need to configure the on-premises connection account.
  Put in details for the domain account, I used a service account that has read access to AD so that I could restricted the logon to the account to only be used for ATP
 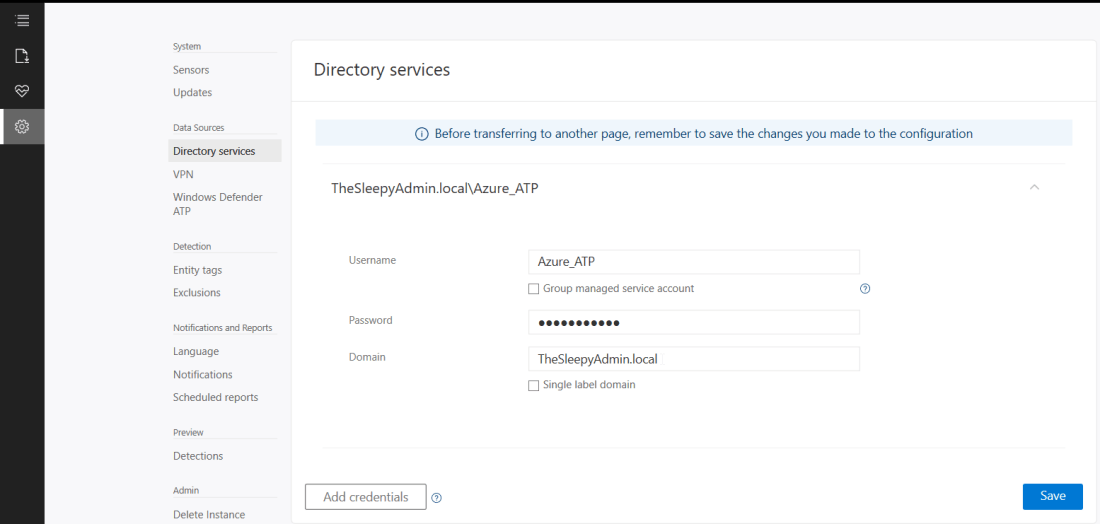 Once AD details are added next step is to download and install the sensor agent. Go to sensors and download the setup exe and copy the access key as this will be required during the install.
 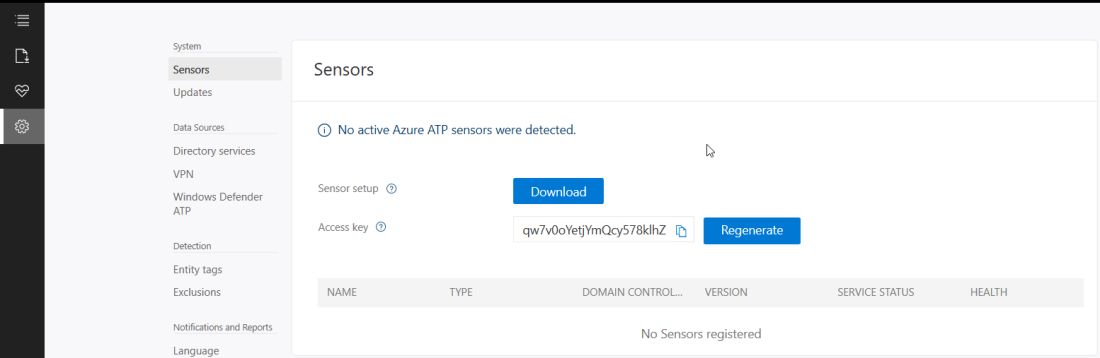 Copy the installer to the DC and run.
  Select required language.
 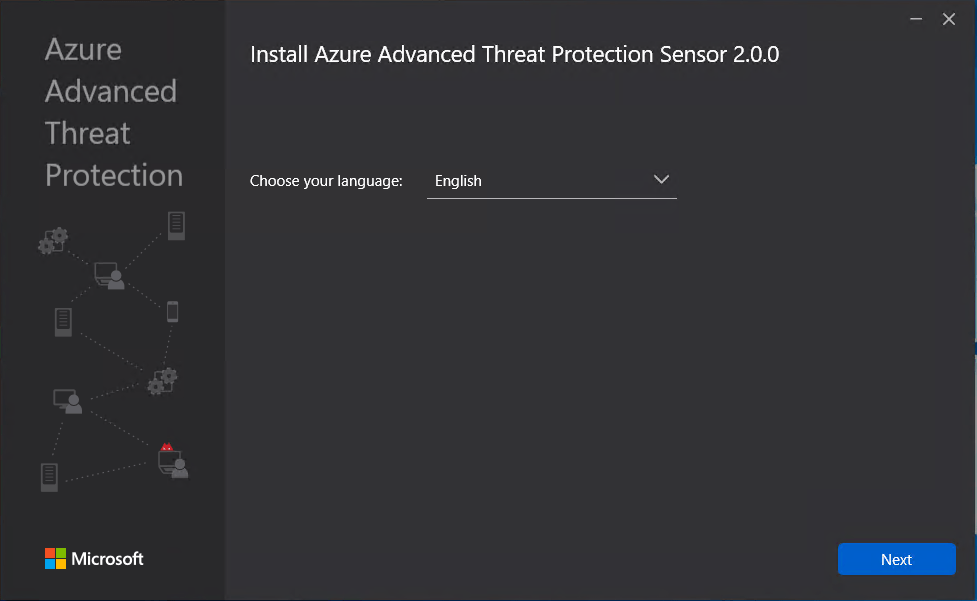 Deployment type will be sensor I am running on VMware and this will generate the below warning which will redirect to a guide to disable IPv4 TSO Offload.
  This is where we need to put in the access key so that the sensor is associated to the correct workspace.
 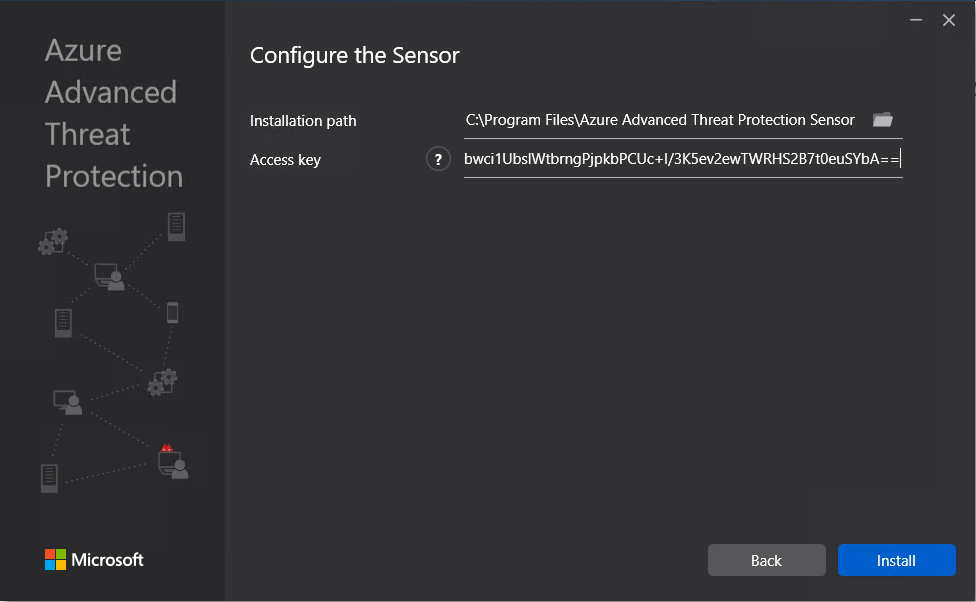 The agent should now start to install.
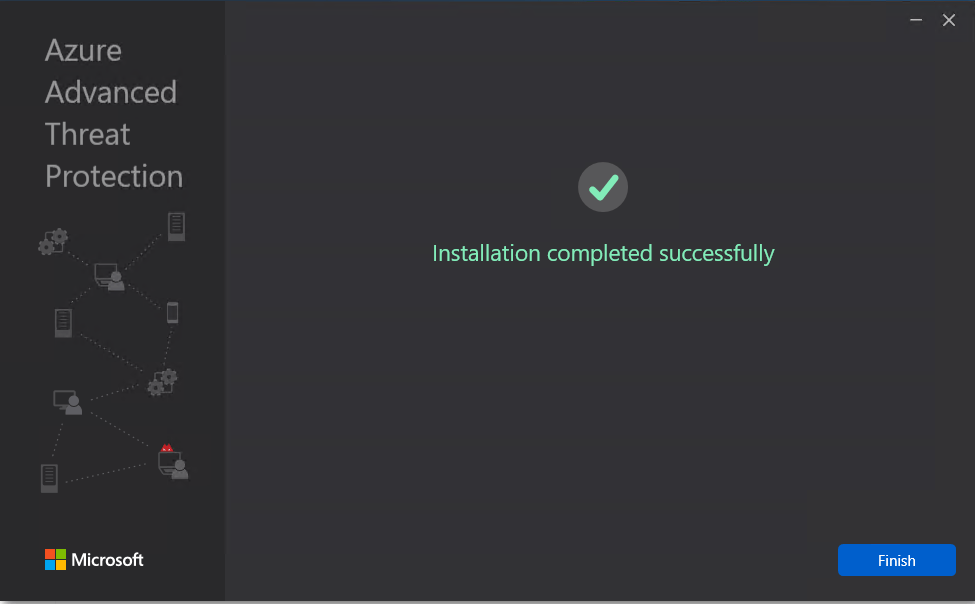 Once the agent has install it can take some time for it to respond in Azure ATP.
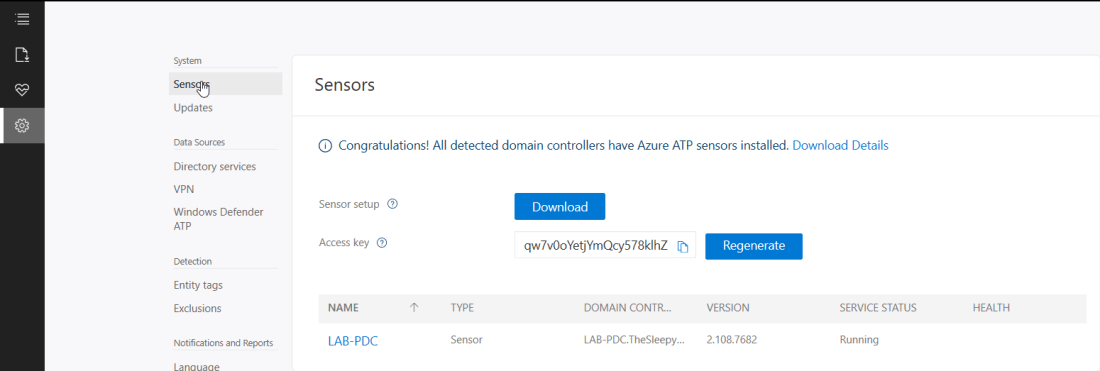 Now the agent should start to notify of any suspicious activity that run’s like reconnaissance on SMB, DNS and other malicious reconnaissance.
We can also create HoneyToken account that will be dummy account that can be used to attracted attackers and will automatically generated an alert as they should never be used.
Go to Entity tags >Honeytoken and select the account that will be used as the Honeytoken We can also add sensitive account and group, there are default groups/ accounts that are considered sensitive by default like Administrators, Domain admins, Enterprise admins…, a full list of these can be found in the below link.
https://docs.microsoft.com/en-us/azure-advanced-threat-protection/sensitive-accounts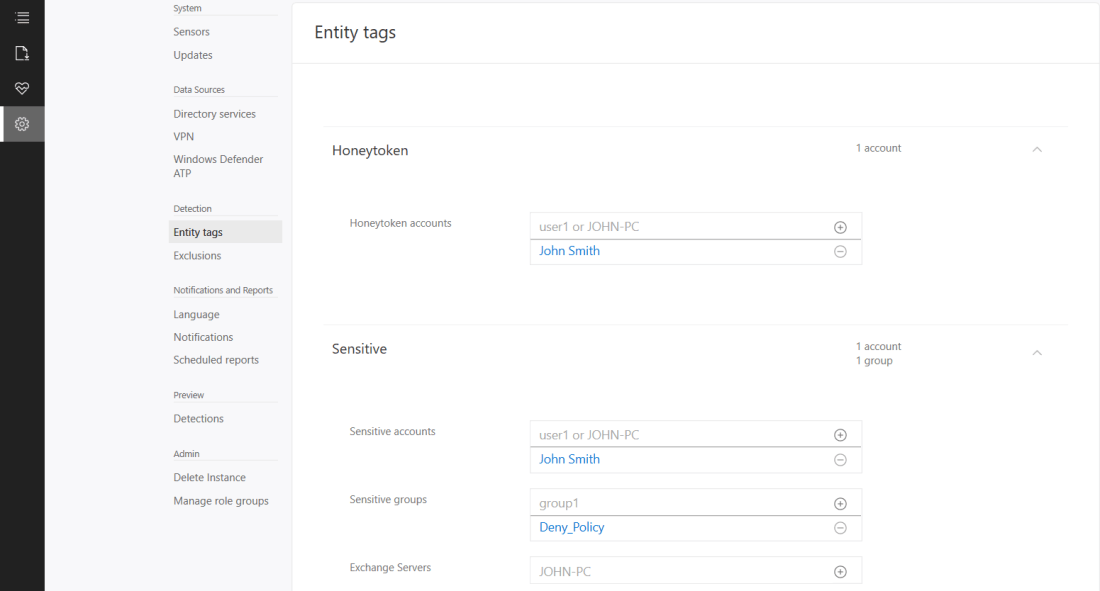 If we now logon with the HoneyToken account it will then alert the activity by this account.
 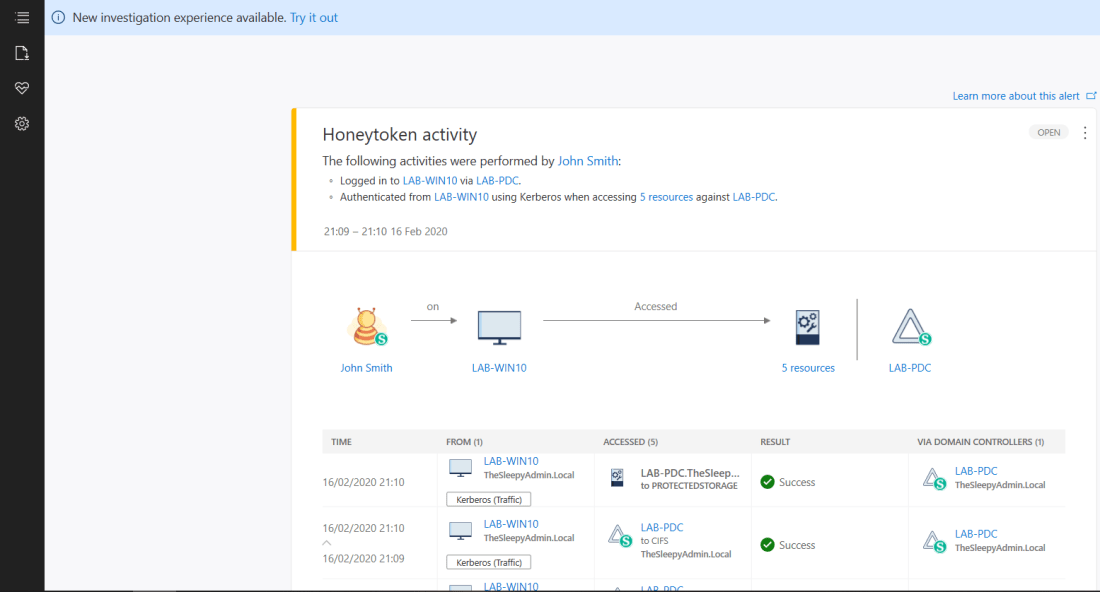 We can also run reports or schedule reports for schedule reports. To run a report go to the reporting blade and change the date to the range you want and click download.
 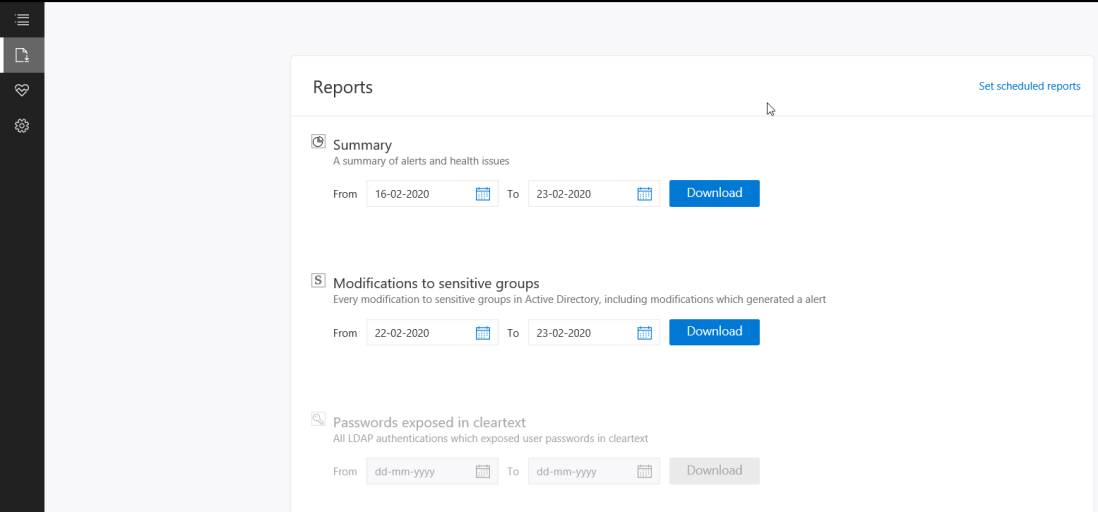 Below is an example of the modification to sensitive groups.
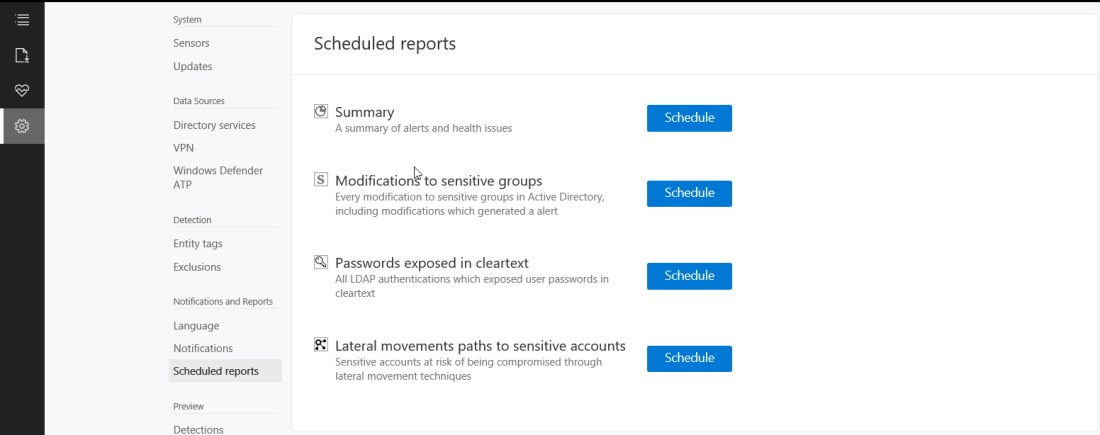
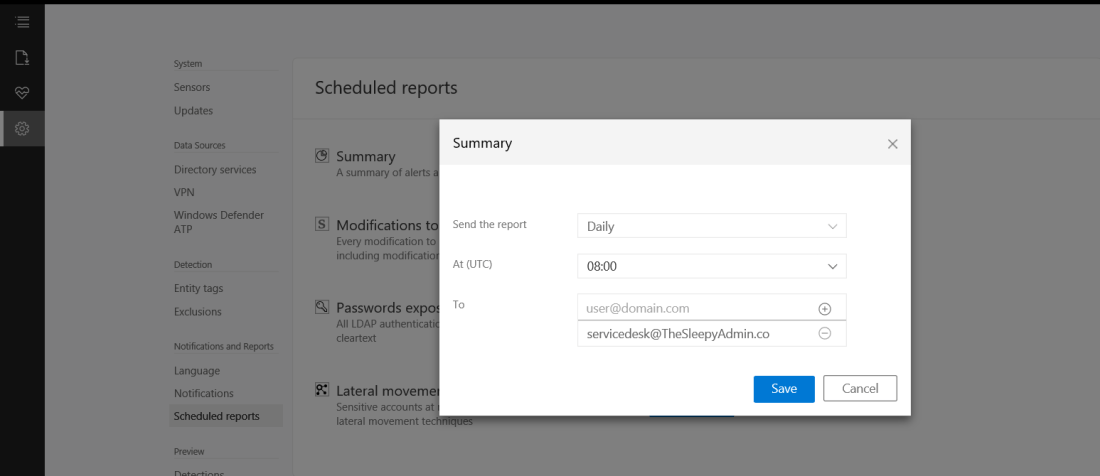
 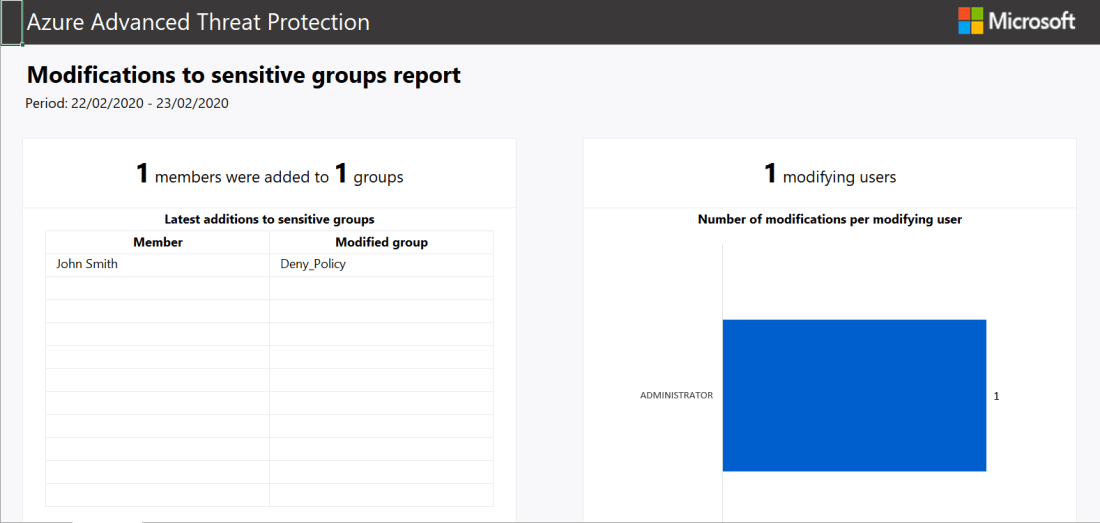 To scheduled reports go to configuration and scheduled reports.