In the previous six post’s we went through installing and configuring the vROps virtual appliance, connecting to vCenter server, configuring Window Active directory as an identity source, create custom alerts and notifications, creating dashboards and upgrading the appliance to the latest version.
Part 1: Install and Configure vRealize Operations Manager 8.2 Part 1 – TheSleepyAdmins
Part 2: Install and Configure vRealize Operations Manager 8.2 Part 2 Connect to vCenter – TheSleepyAdmins
Part 3: Install and Configure vRealize Operations Manager 8.2 Part 3 AD Authentication – TheSleepyAdmins
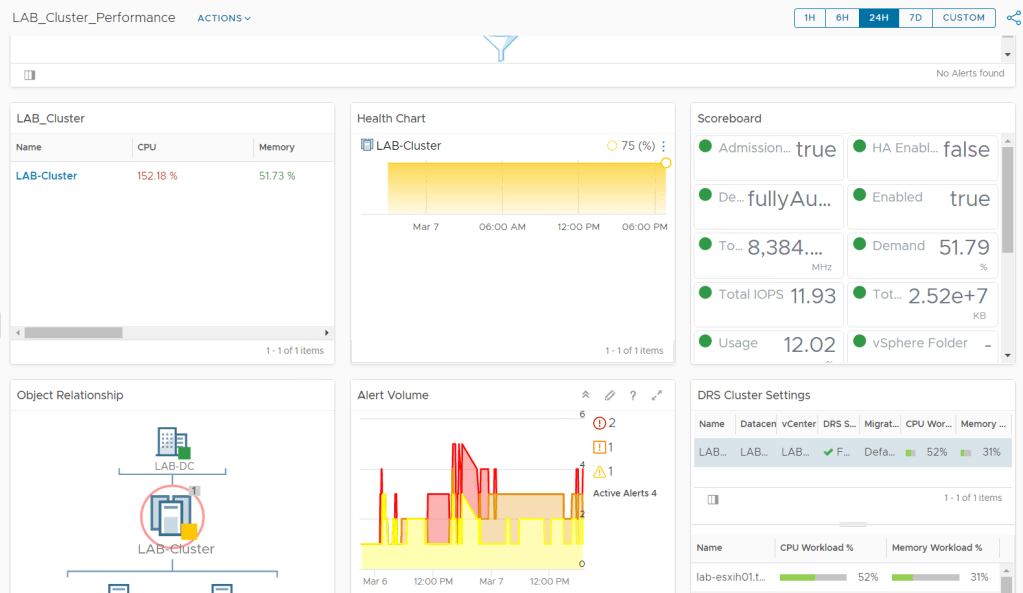
Part 5: Install and Configure vRealize Operations Manager 8.2 Part 5 Create a Dashboard – TheSleepyAdmins
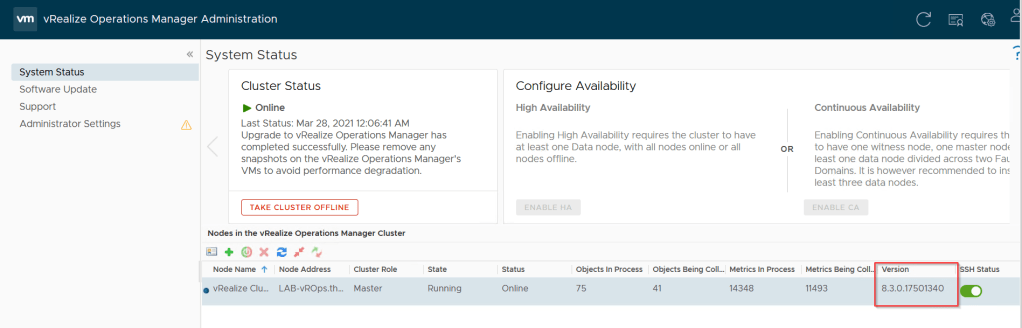
Part 6: Install and Configure vRealize Operations Manager 8.2 Part 6 Upgrading vROps – TheSleepyAdmins
In this post we will be going through requesting and applying a custom certificate. Configuring a custom cert is good practice from security standpoint and also will stop the security warning when access the vRealize web client.

Adding a certificate requires that there is a internal certificate authority that can be used to issue the certificate or we could use a public CA but there would be a cost to that, in this example we will be using a Windows Server CA.
I used the below VMware kb as reference when creating the cert.
Enabling TLS on Localhost Connections (vmware.com)
Configure a Custom Certificate (vmware.com)
First step is to connect to the vROps appliance using ssh connection and to generate the key file and cert request that will be used to generate the cert.
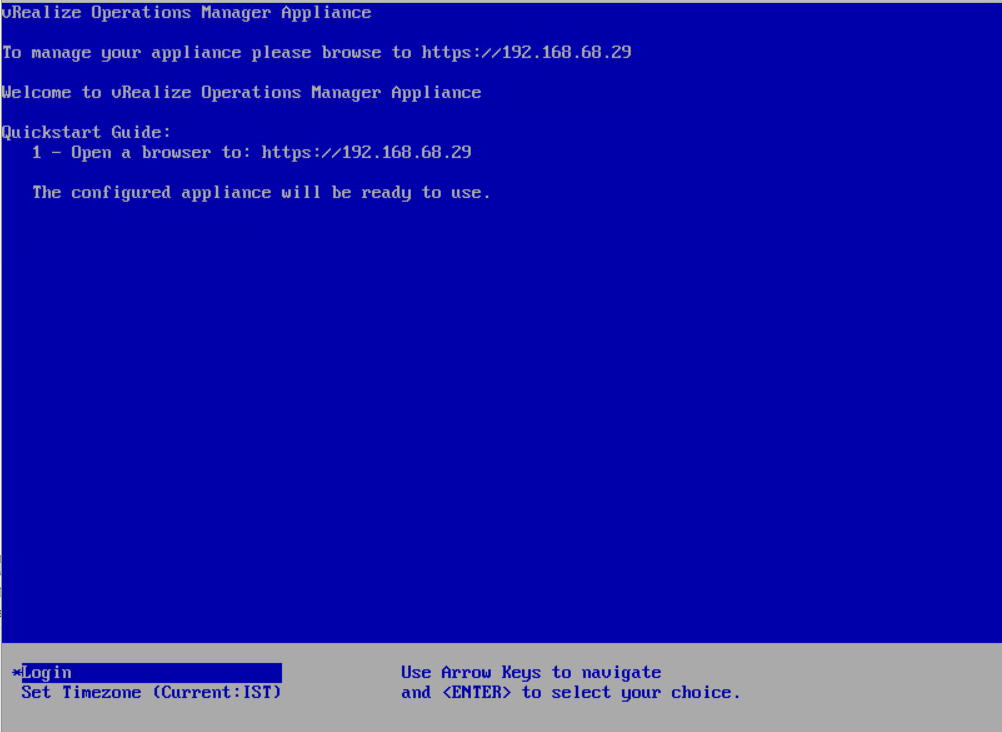
To enabled ssh go to the admin page and enable the ssh status.

If you have not updated the root password on the appliance already then this require to connect by ssh. To do this open a VM console for the appliance and go to login. The default root password is blank so just hit enter and it will prompt for a new password to be set.
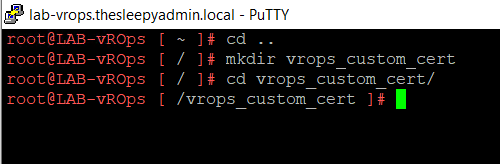
Once the above has been completed, ssh to the vrops server I use putty but any ssh client will work.
After connecting I usually create a folder to keep the key file and cert request to they are simpler to find later if I need them again.
Next we need to generate a key file
openssl genrsa -out key_filename.key 2048

Next run the below command to create the certificate request
openssl req -new -key key_filename.key -out certificate_request.csr
Enter in the details for the cert. These can also be pre creating using a .config file but I just typed them in to the ssh console.
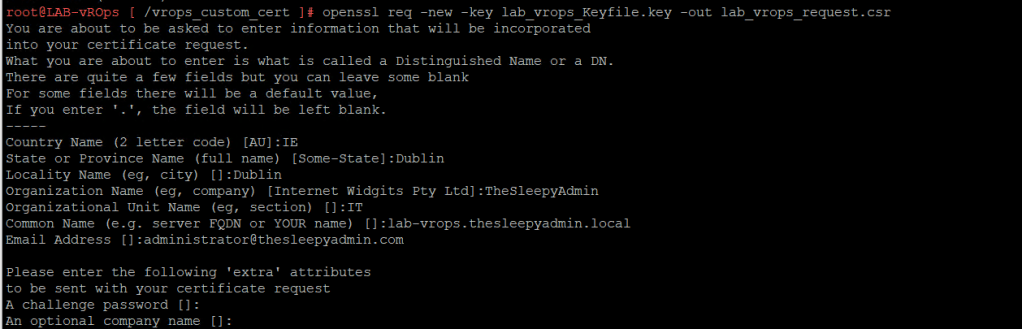
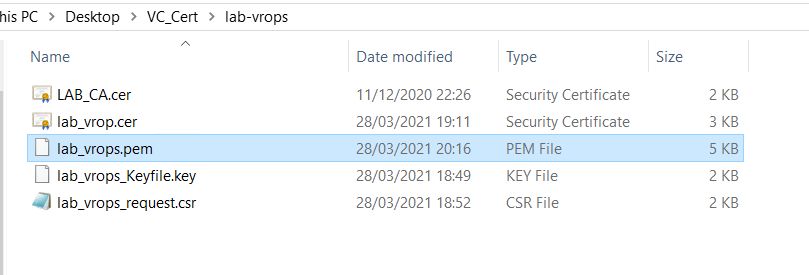
There should now be a key file and cert request in the folder.

Copy the .csr file as this will be used to generate the cert from the internal CA.
To generate the certificate logon on to the Microsoft CA web enrollment page.
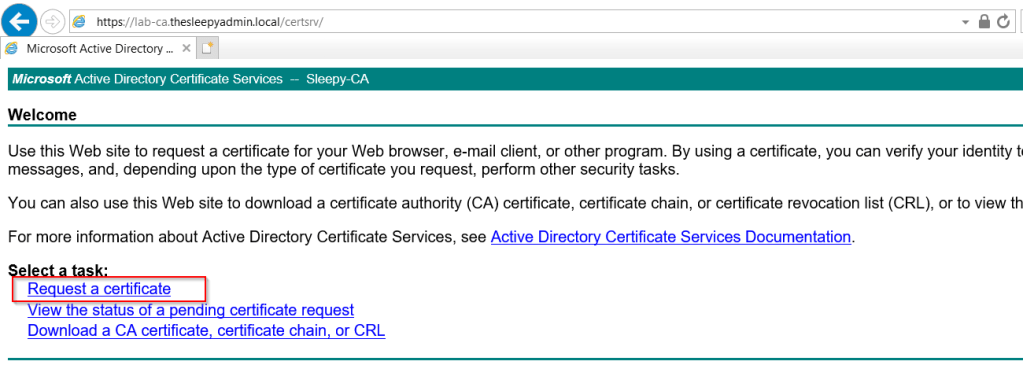
Click submit and advanced certificate request.
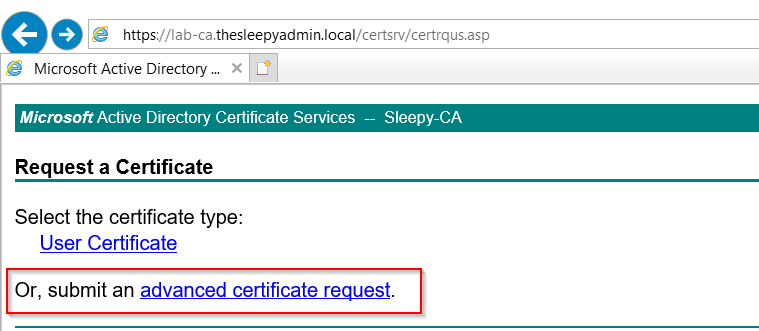
Click submit a certificate request
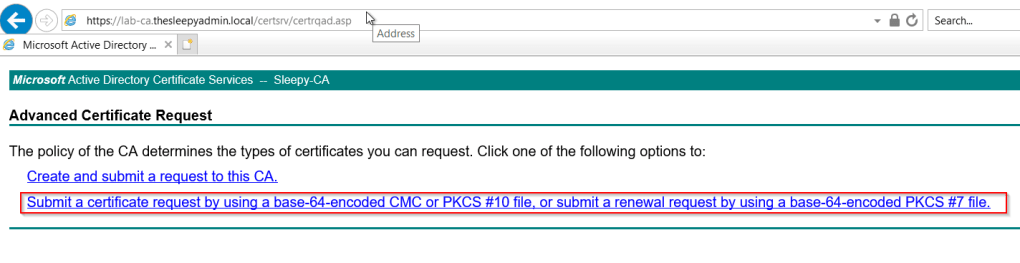
Open the .csr file in a text editor and copy the content to certificate request box and select the certificate template to be used.
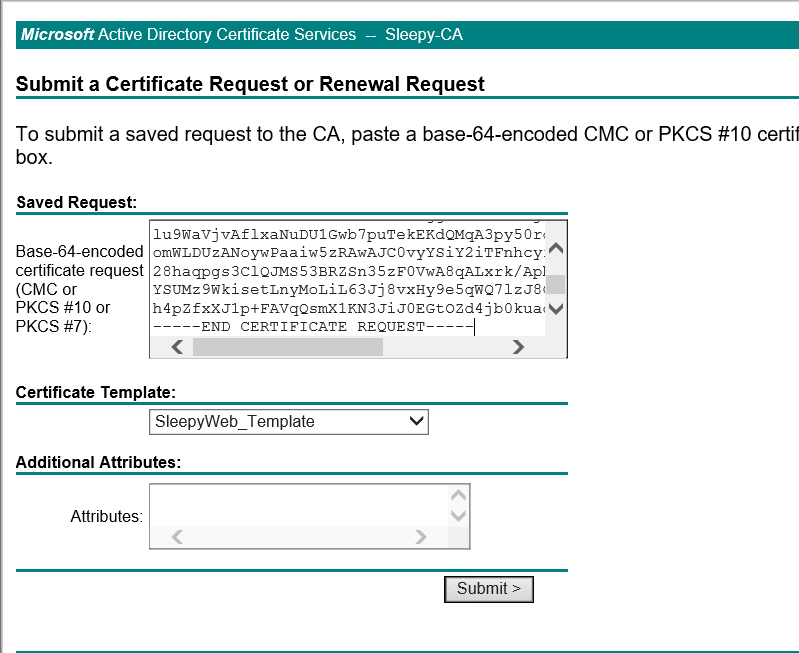
Click submit and the certificate should be generated. The cert needs to be downloaded as base 64.
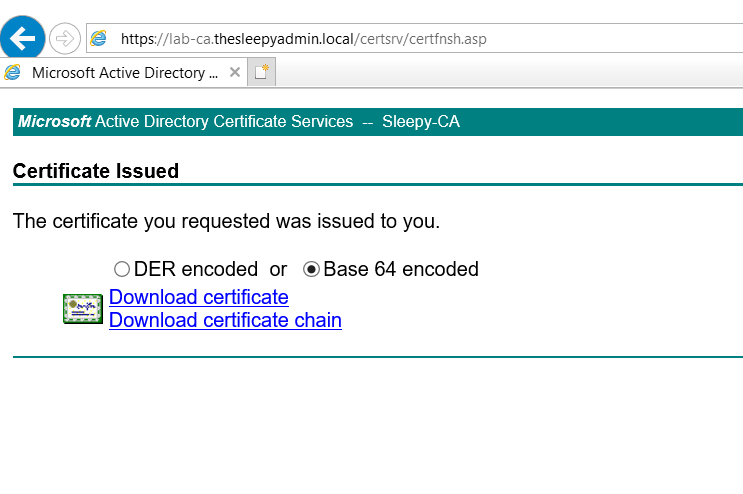
Save the cert. The root CA cert also needs to be downloaded
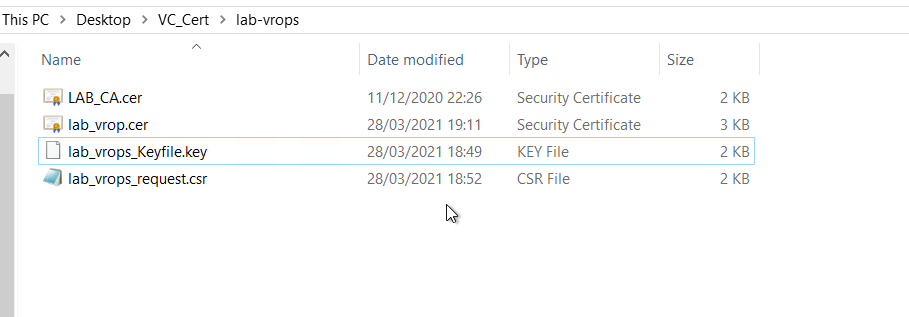
Once all the cert files and key file are created, they now need to be combined to a .PEM format as that is the required format for vrops.
To combine the cert using Windows using the type command. The order the of the cert needs to be server cert, then key file, intermediate cert (if there are any in my case I only have the root cert) , root cert and then the PEM output.
type server_cert.cer key_filename.key cacerts.cer > vrops.pem
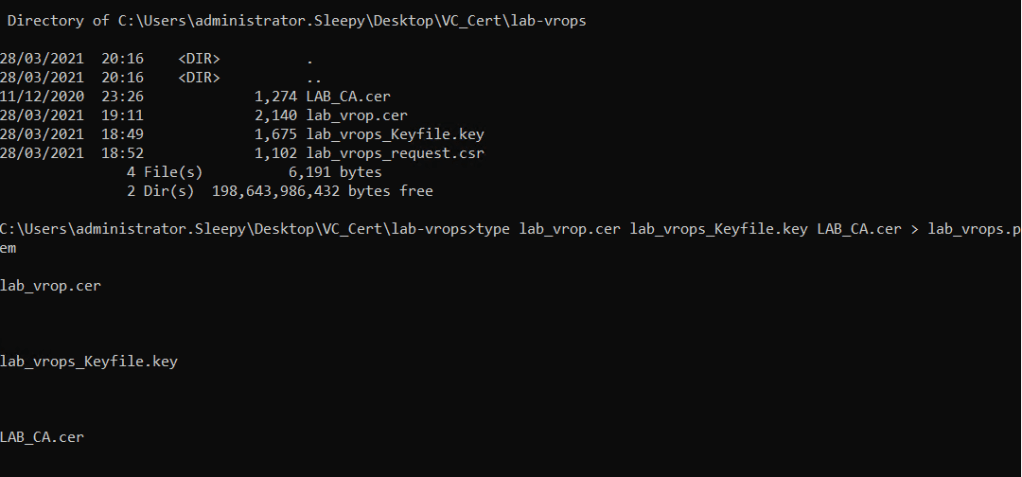
The .PEM file should now be created and is ready to be applied to vROps.
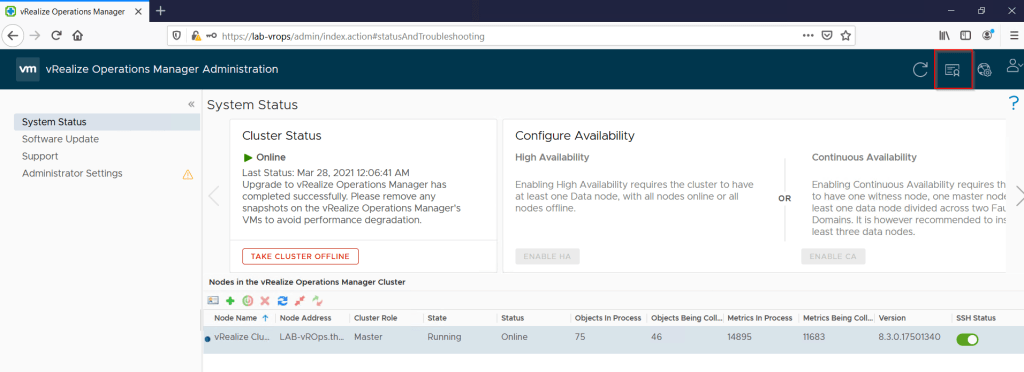
The last step is to apply the certificate, logon to the vROps admin page and go to the certificate icon in the top right.
Click Install new certificate.

Click browse and select the pem file we created. If there are no issue with verifying the pem file it should show as ready to install.
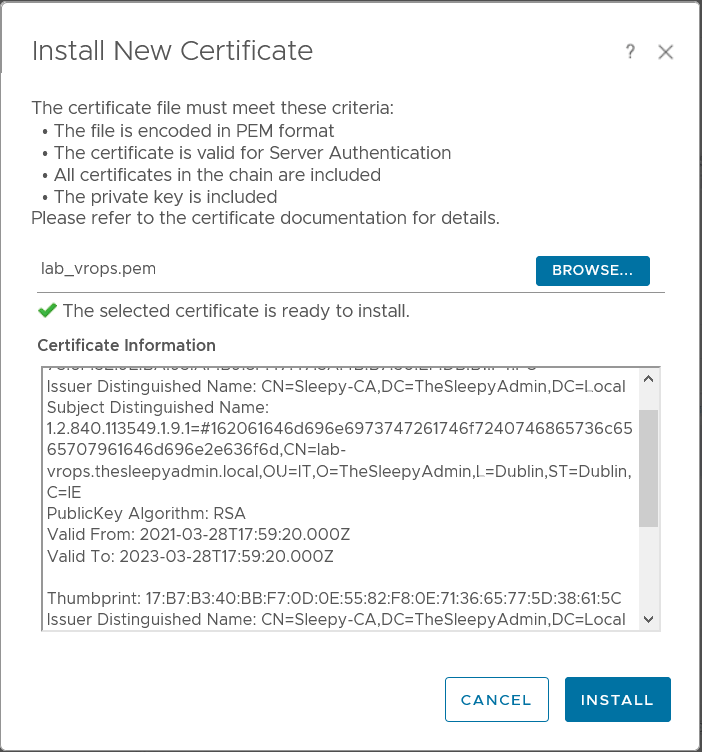
Click install to complete. The page should now reload and when we check the cert it should now be using the custom cert.

In the next post we will go through installing the Windows vROps agent and configuring the Windows management pack.