
In the last post we went through installing LAPS management tools, extending the AD schema and setting the delegation rights for computer OU to allow computer to write back to the LAPS password attribute.
The next step is to install the LAPS client this can be done either by using a script, group policy or SCCM.
I used the below the script to install remotely just need to create the complist with host name of devices and update the sharename and verions of LAPS that is required
$Computers = Get-Content “C:\Temp\complist.txt”
foreach ($Computer in $Computers){
Write-Warning “installing LAPS on $Computer”
$command = “msiexec /i C:\windows\temp\LAPS.x64.msi /quiet”
$Remotecmd = “CMD.EXE /c ” + $command
Copy-Item \\sharename\LAPS.x64.msi -Destination \\$Computer\c$\windows\temp\
Invoke-WmiMethod -class Win32_process -name Create -ArgumentList $Remotecmd -ComputerName $Computer | Out-Null
}
The second option is to deploy using GPO software install
Craete a new GPO > Policies > Software settings > software installtion > New package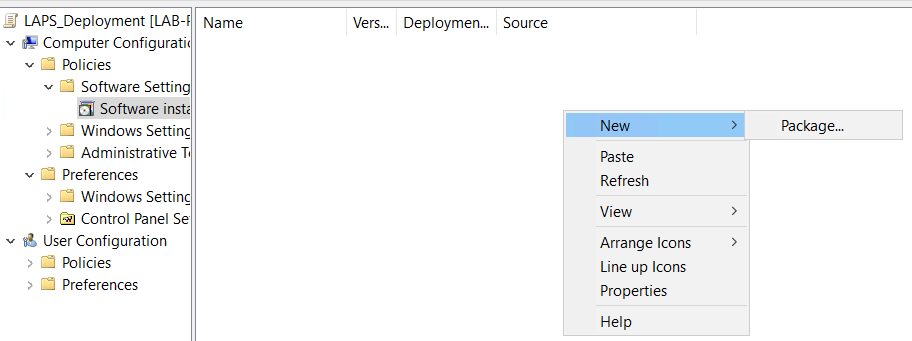 Add the installer

 Next apply the policy agaist the OU or use security filtering to apply to specific devices once the policy is applied logon to the device and run gpupdate /force to apply
Third option is to use a tool like SCCM to package the application and deploy to devices. This would be my preferred way as its gives the best reporting.
We won’t go through the process but the command line install will msiexec /i C:\windows\temp\LAPS.x64.msi /quiet


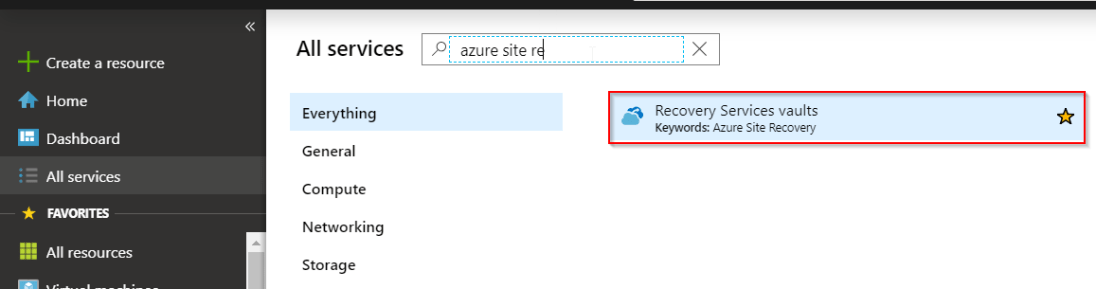 Go to the already configure vault, select Site Recovery and click on prepare infrastructure
 Once the wizard has started select the require goals
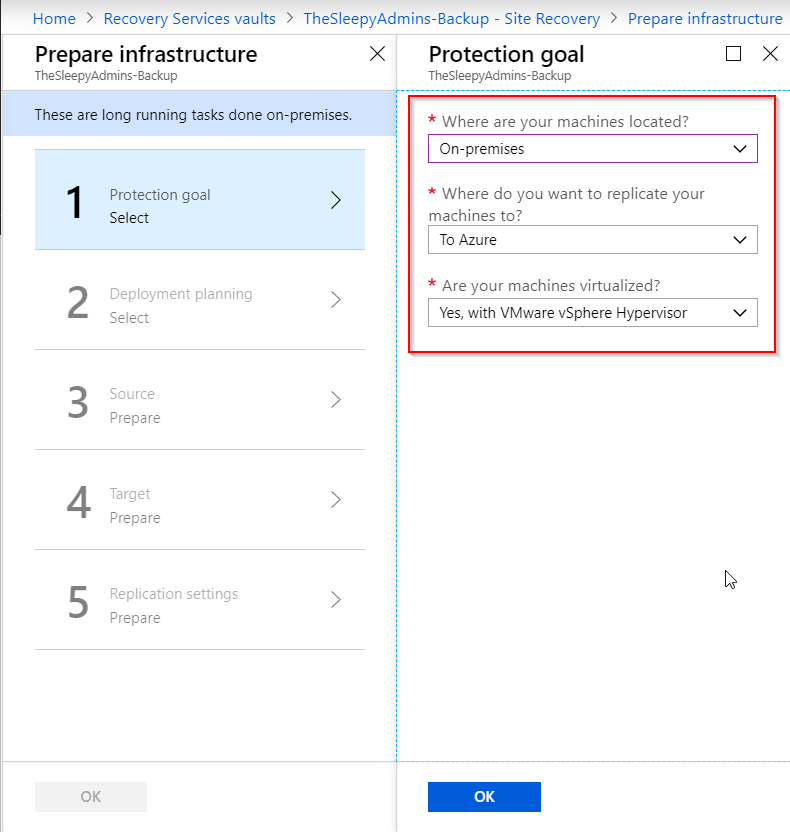 I am not running the planning tools as this is a test but it is recommended to run before starting a deployment to verify the required bandwidth.
 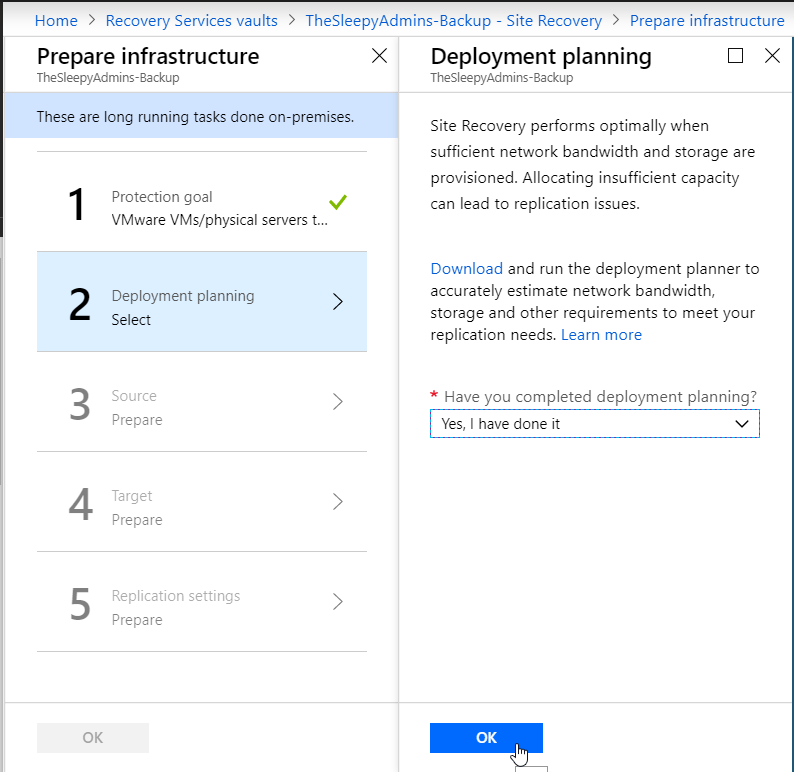 Next we will download the OVA appliance that will be imported to VMware
 Once the OVA has been downloaded and imported to VMware on boot up the server will require you to read / accept a licence agreement and provide an administrator password.
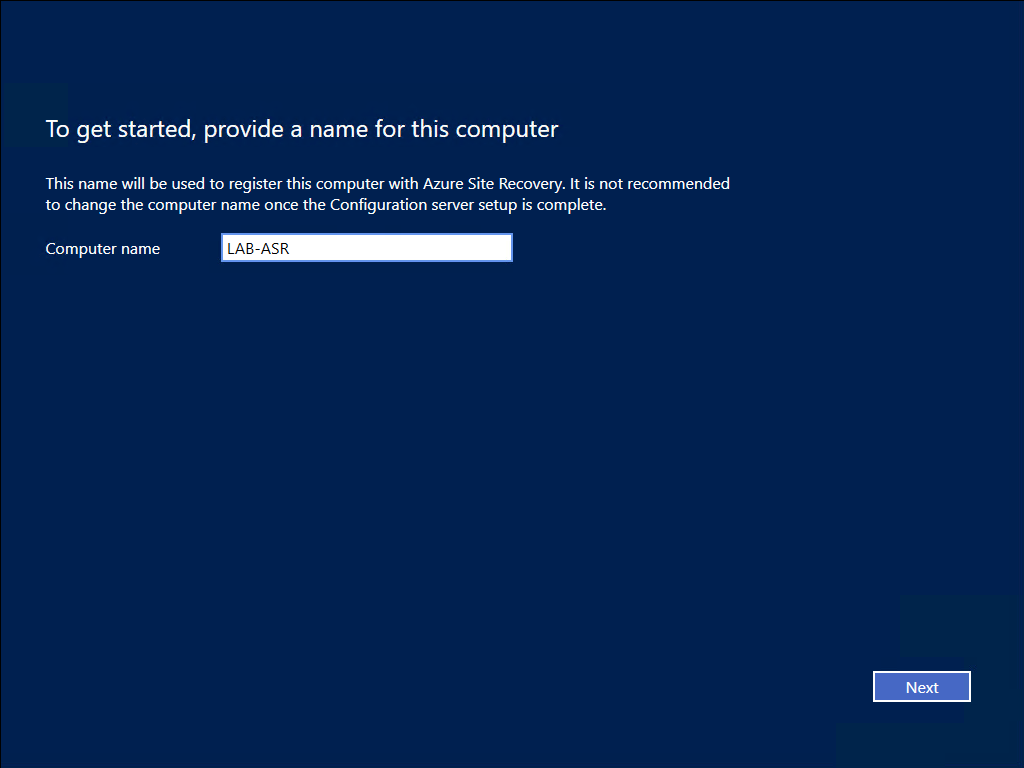 Next step is to sign in to Azure tenant that the server will connect to for replication
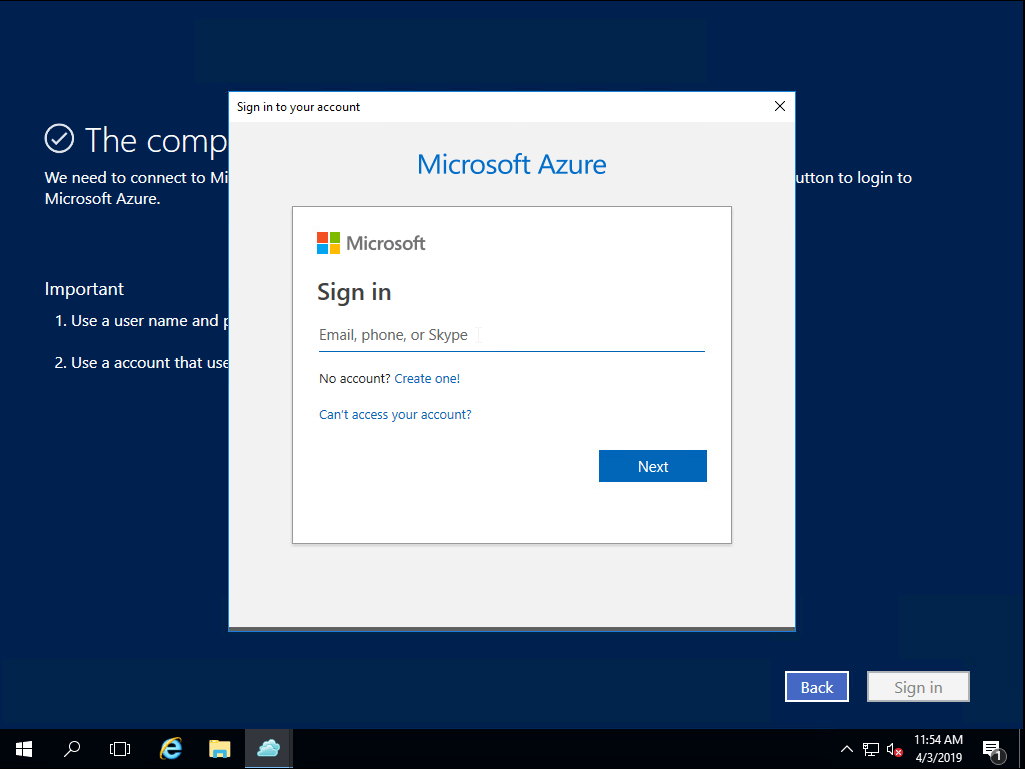 Next we will go through the configuration steps first step is to set the interface that will be used to connect to on-prem devices & connection back to Azure there can be two different NIC’s assigned if required.
 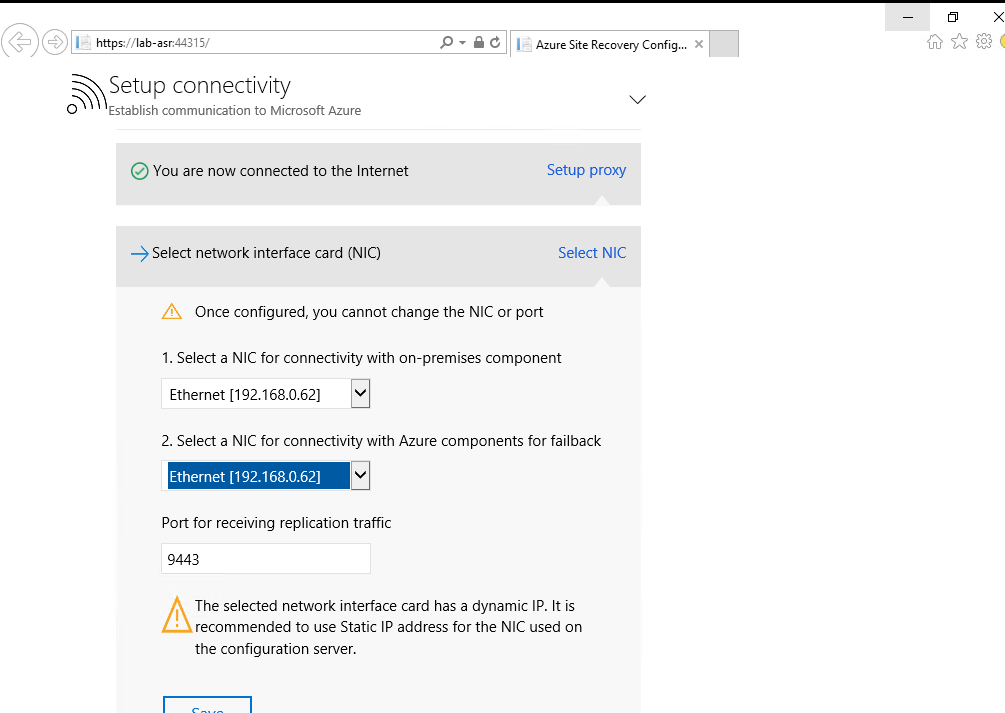 Next is to configure the Recovery vault that will be used, select the subscription, the recovery vault RG and recovery service vault that has been configured.
 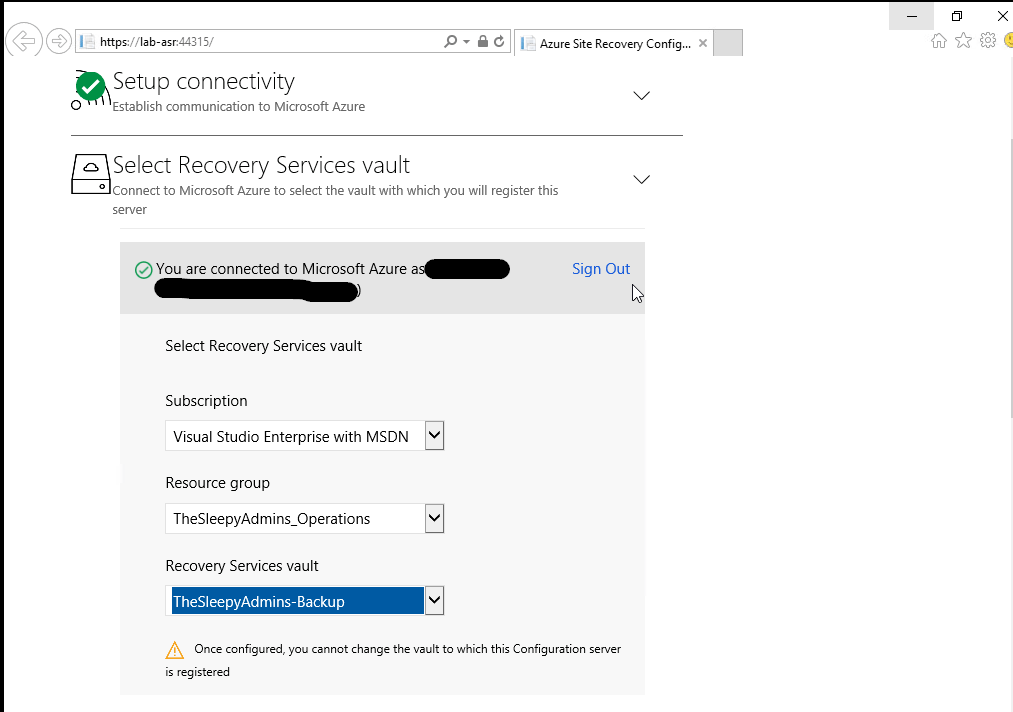 Install the MySQL software
  Next a validation test will run. (I am getting a warring for memory and CPU as I didn’t have enough memory / CPU and had to edit the VM to run on less resource but it will still complete)
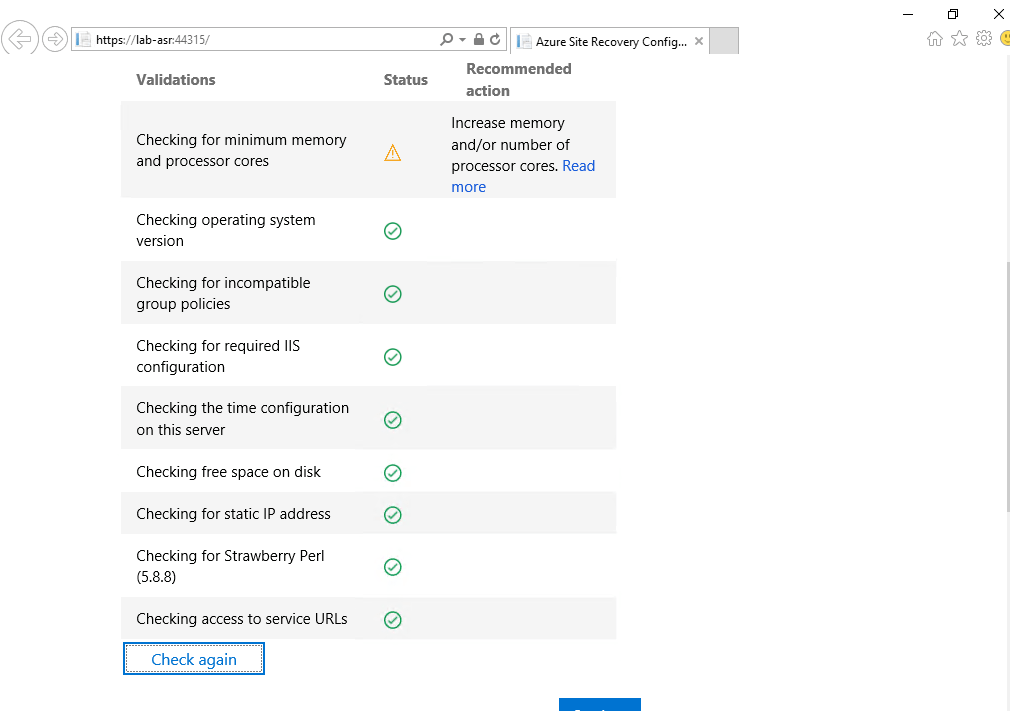 Next is to connect to the vCenter server that is running the VM’s that are to be replicated to Azure.
 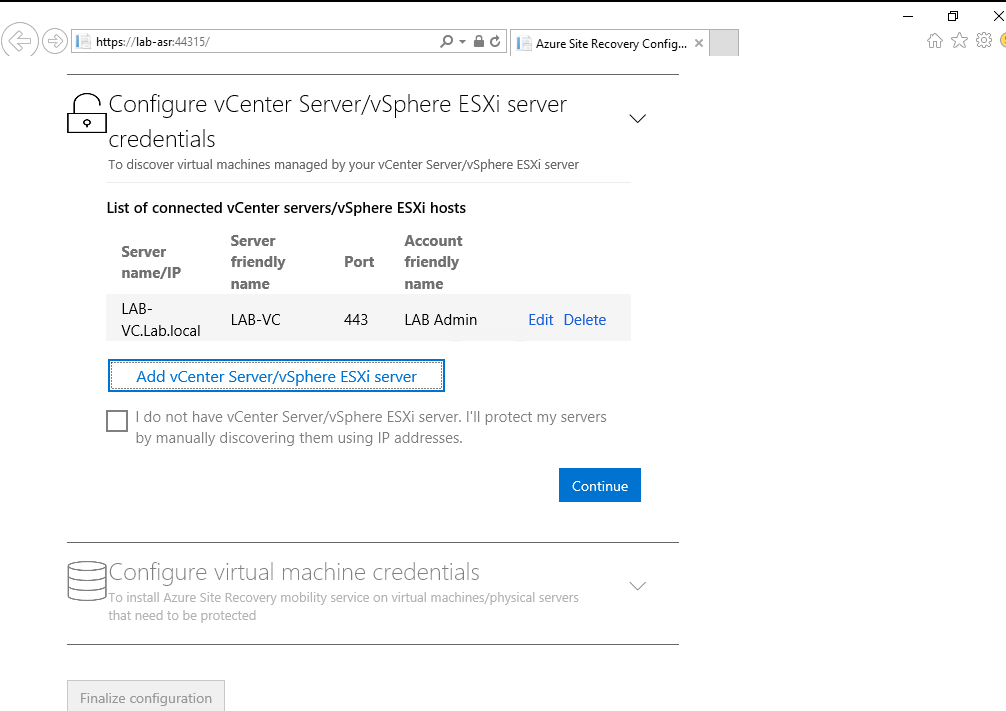 Last step will configure the configuration server in Azure.
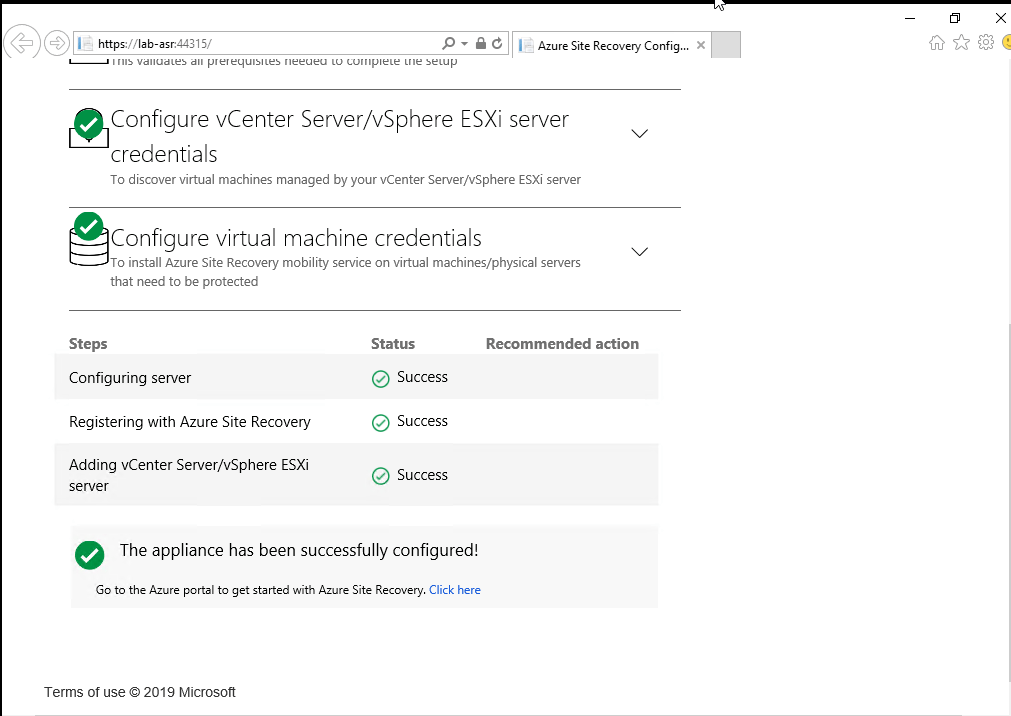 Once this has been completed we can go back to the Azure portal and we should now see the configuration server show under prepare infrastructure setup
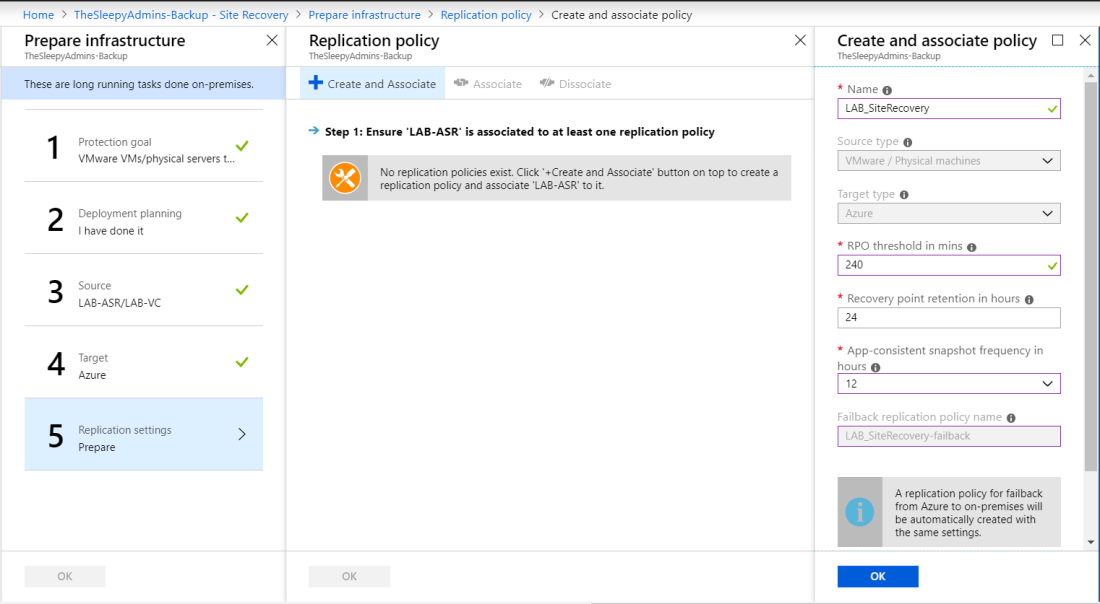
 Next create a replication policy to apply to the ASR configuration server.
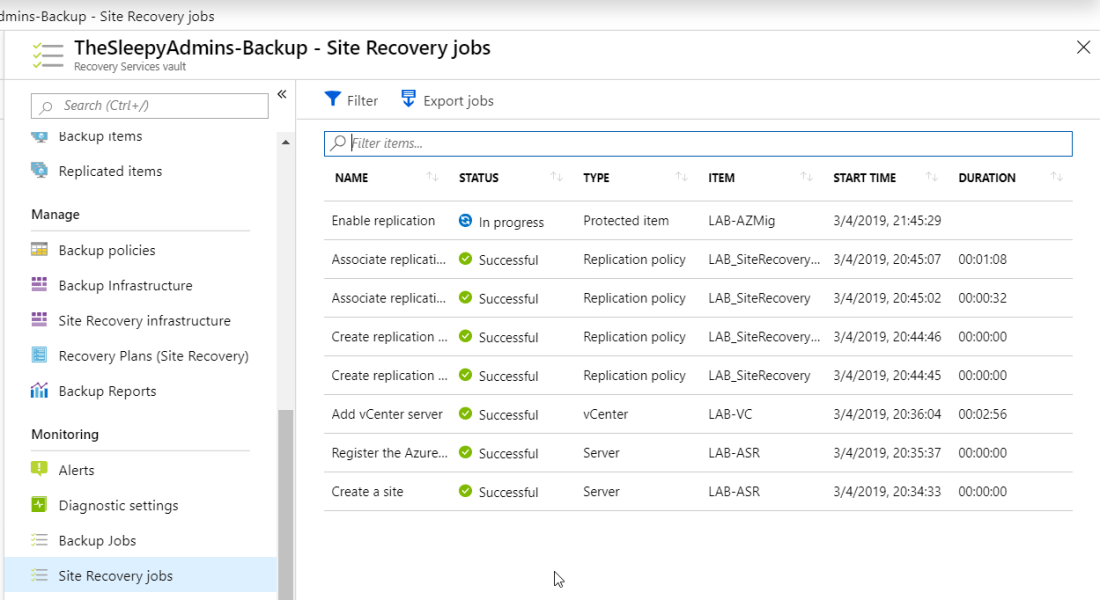
 Once the configuration is done we can now protect and replicate our on-prem VM’s , go back to site recovery and select step 1: Replicate Application
 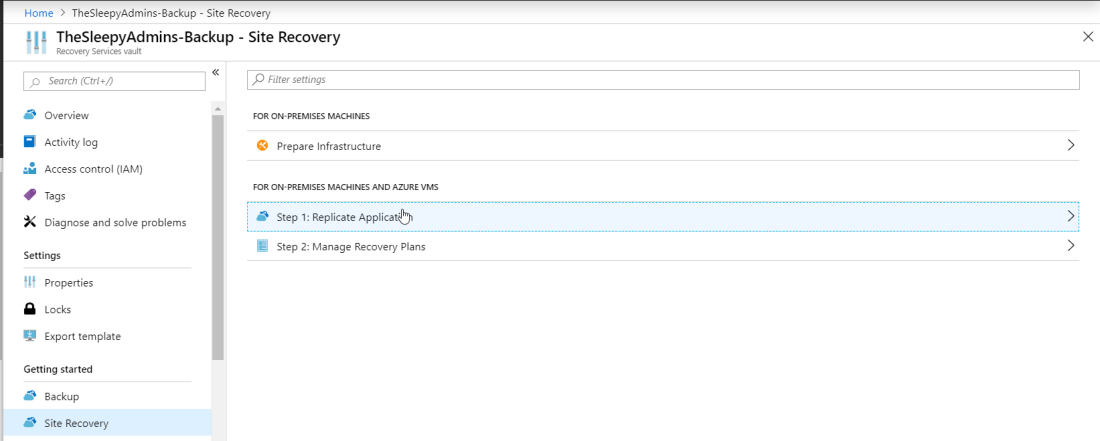 Select source, source location (Configuration server on-prem)Machine type (Physical / virtual), vCenter (If virtual) and the process server
 Select the subscription, RG that the VM will replicate too and the deployment model
 Next select the server that will be replicated the VM must be powered on and be running VMware tools be available for replication other wise they will be grey-out
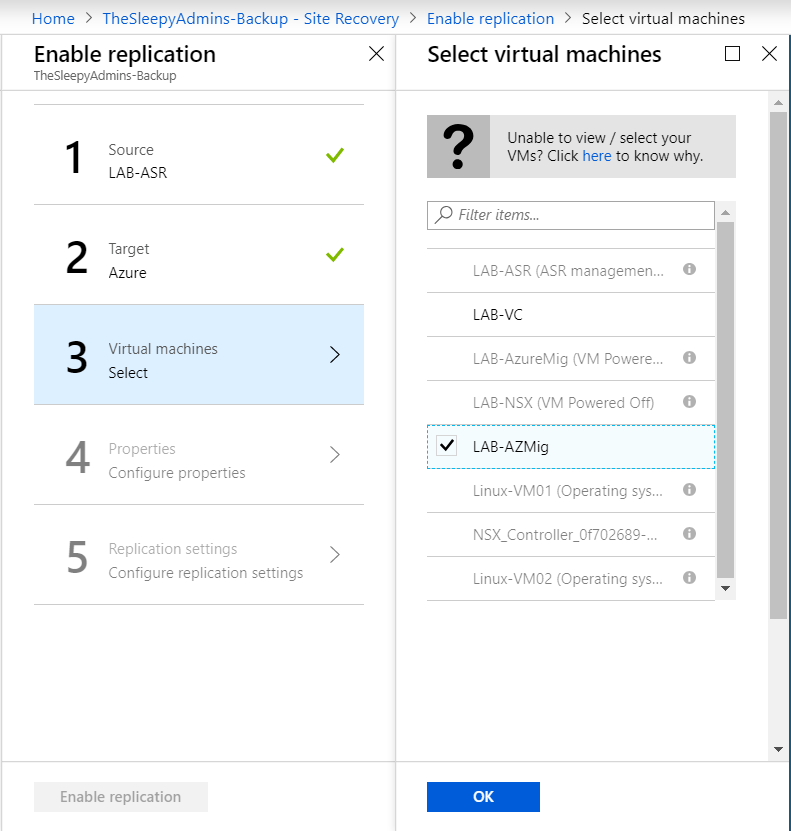 Select the required disk type, storage account
 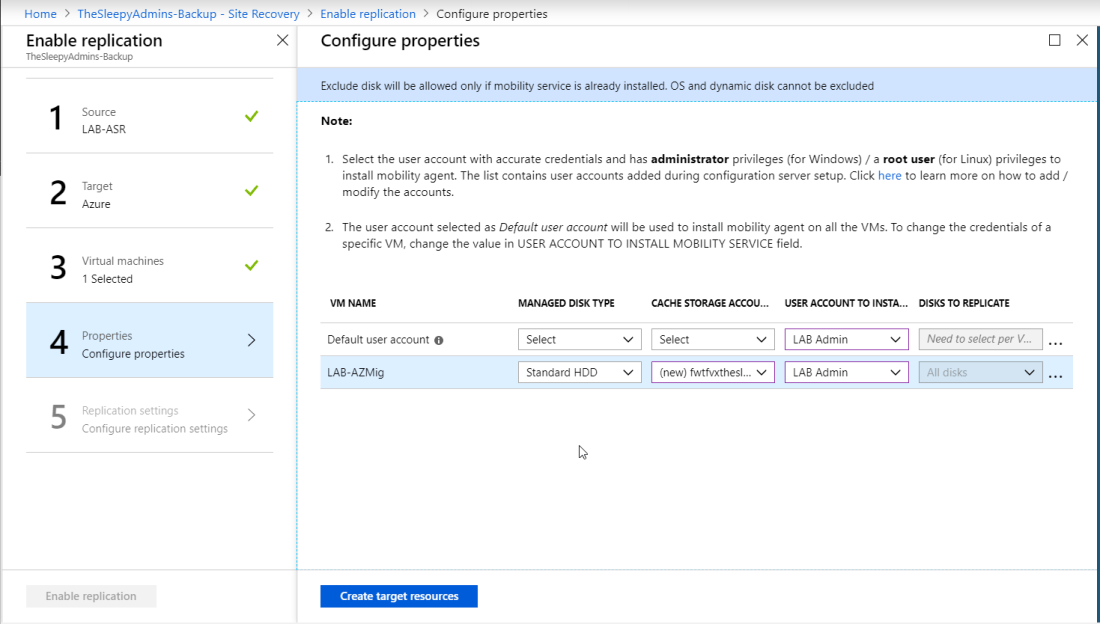 last step is to assign the policy required (Multiple policy can be created base on the recovery time requirements and retention times)

 Once replication has completed we can create a recovery plan, go to recovery Plans (Site Recovery and select Recovery plan
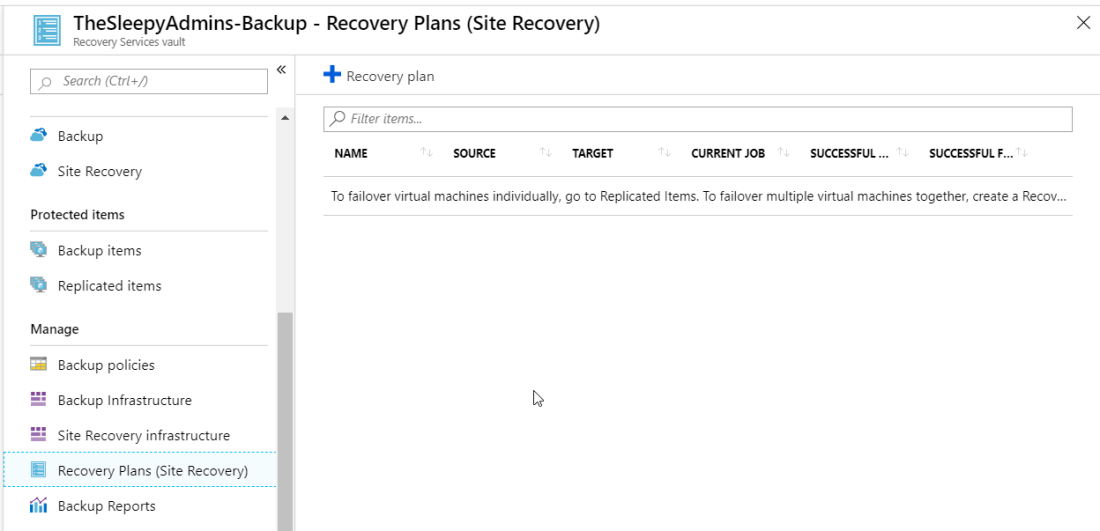 Give the plan a name, select source, target , deployment type and select the VM’s that will be added to the recovery.

