
With more companies looking to move workloads from on-prem to cloud providers, it can be difficult to work out the cost for current workloads.
In Azure we can utilize Azure Migrate Services.
At the time of this post VMware is only supported, this will be extended to Hyper-v in future releases. VMware VMs must be managed by vCenter Server version 5.5, 6.0, 6.5 or 6.7.
In this post we will be going through the process off assessing the on-prem VMware environment and view the assessment report.
The environment we will be assessing is VMware vCenter 6.7 and ESXi 6.7 and a VM running Windows Server 2016.
The architecture of the Azure Migrate Service is shown in the following diagram

Below is the process
- Create a project: In Azure, create an Azure Migrate project
- Discover the machines: Download collector VM as an OVA and import to vCenter
- Collect the information: The collector collects VM metadata using VMware PowerCLI cmdlets. Discovery is agentless and doesn’t install anything on VMware hosts or VMs. The collected metadata includes VM information (cores, memory, disks, disk sizes, and network adapters). It also collects performance data for VMs
- Assess the project: The metadata is pushed to the Azure Migrate project. You can view it in the Azure portal.
Logon to Azure
Go to All services search for migration project
Select Create migration project

Give the project a Name, subscription, Resource group & Geography

Select Discover & Assess 
Select Discover and Assess. then Discover machines 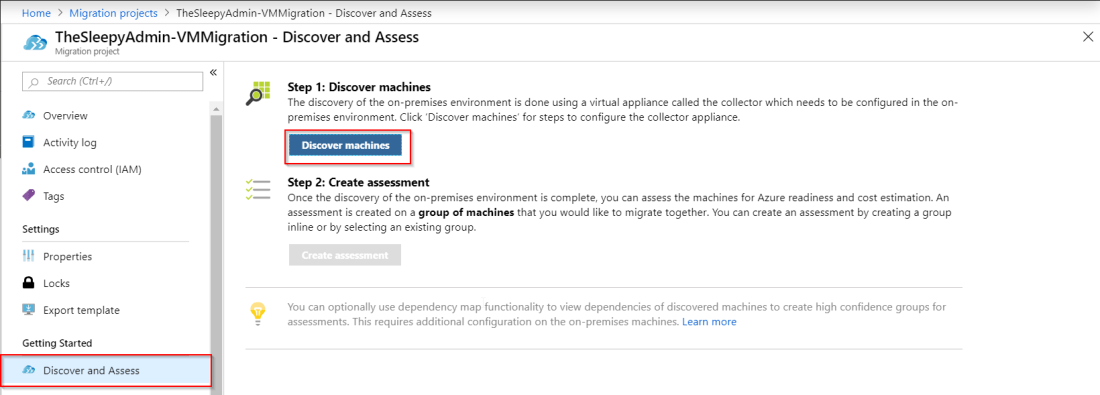 download OVA. The system requirement for the OVA are:
CPU: 8 vCPU’s; Memory: 16GB; HardDrive: 80GB
Next step is to import the OVA to VMware
Go to vCenter

Browse to the OVA file location and select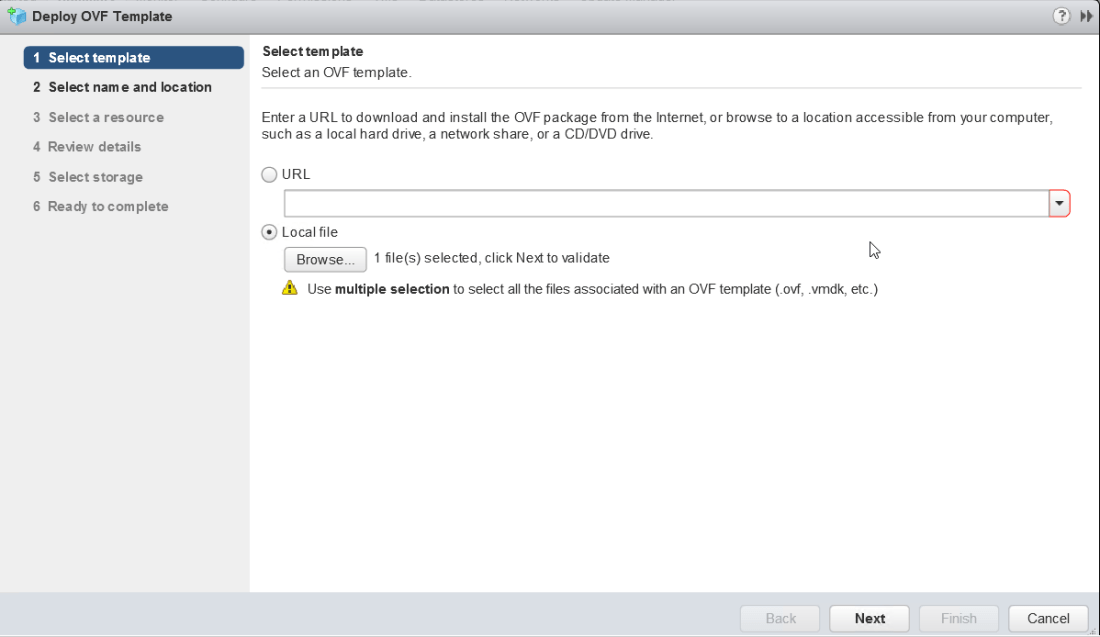 Select the Name and location of the OVA
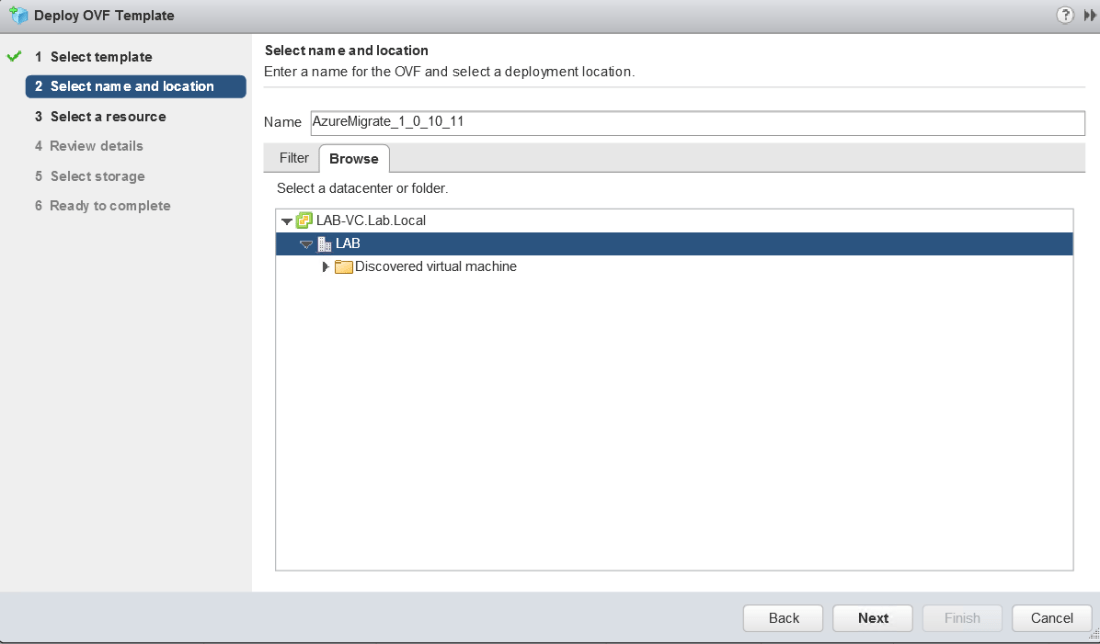 Select the destination cluster
 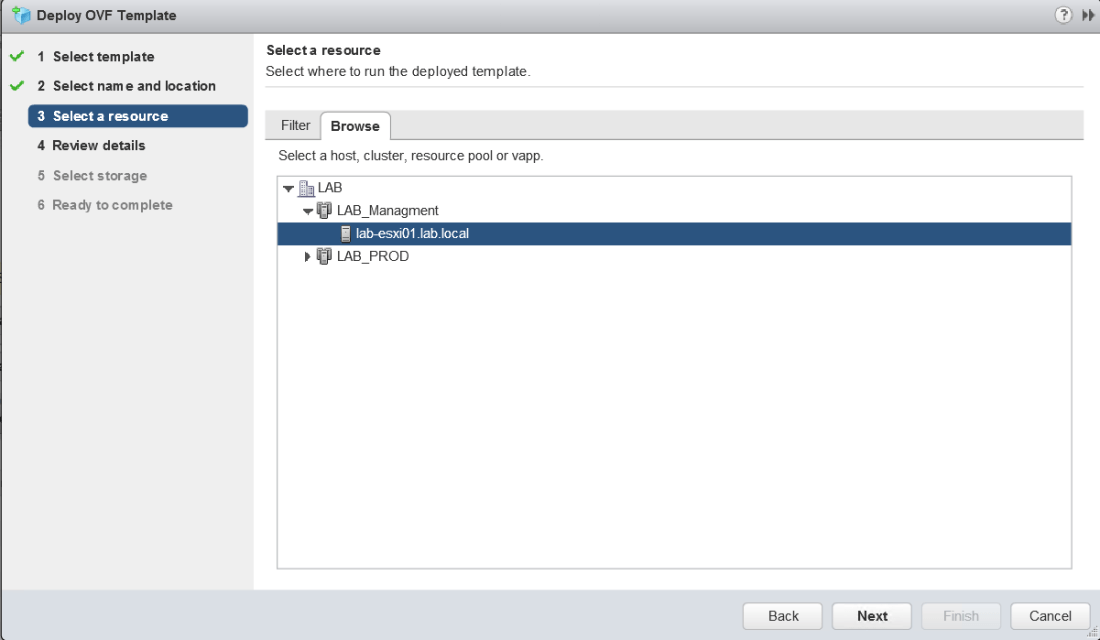 Click Next
 Select destination data store and specify either thick or thin provisioned disk
 Select the port group tha the VM will use
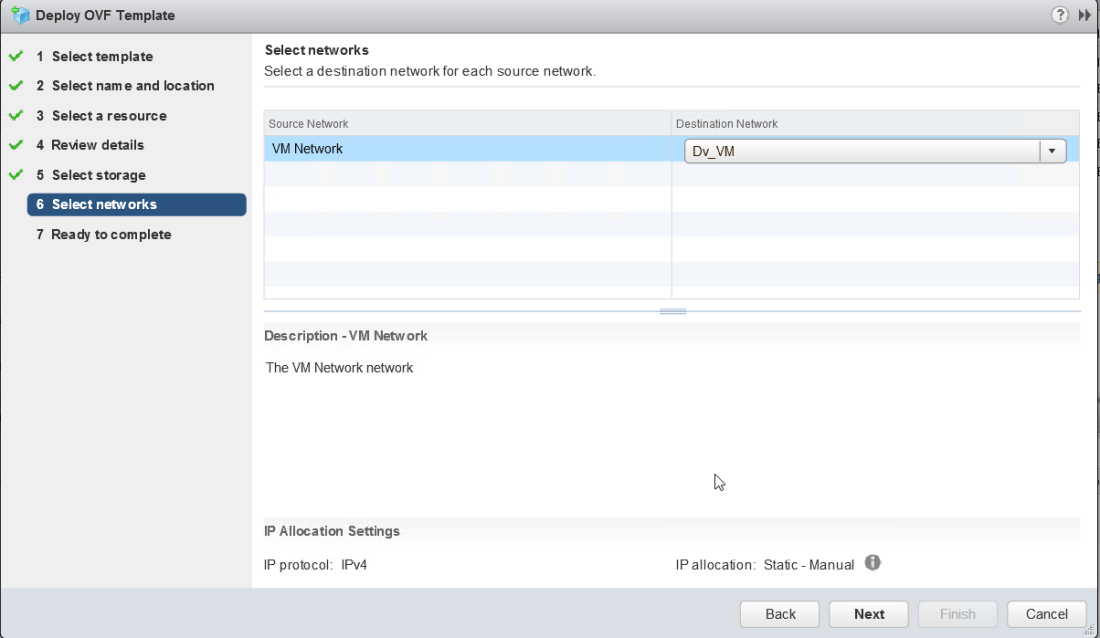 Review and confirm settings
Once the OVA is imported, power on the VM
Read and accept the license terms and give the collector an admin password.
Log into the VM and run the connector utility on the desktop.

Got through the prerequisites checks
Next step is to connect to the vCenter. Put in the vCenter IP or hostname, Username / Password and once connect select the cluster or host that is currently running the VM’s that need to be assessed for migration.

Next step is to connect back to Azure using the migration project credentials that were generated when creating the project

Click continue and the last screen will start the discovery this can take a while to complete (60 minutes or so)
Once the discovery has completed, we then need to Create assessment
Create a new group and select the VM that will be assessed
Once this has completed go to Overview and click on the assessment
Once in the assessment you can see the readiness of your VM and the Monthly estimated cost for running the workloads and 
Click on the VM to view specific details and performance stats
We can now see what the cost will be for migrating workloads to Azure and this can be presented to give a better understanding of the cost savings that can be achieved with cloud migrations.
