
We have been doing migration’s from some old Windows 8.1 devices to Windows 10, We couldn’t do a direct upgrade as the devices where going from 32 to 64bit and needed to reformat the disk to UEFI.
We needed to migrate the users data as to limit the manual work for each device so decided to use User State Migration Tool (USMT).
It’s been a few years since I had to use USMT so thought it would be good to do a post on using USMT.
First I went through the Microsoft USMT documentation.
https://docs.microsoft.com/en-us/windows/deployment/usmt/usmt-technical-reference
https://docs.microsoft.com/en-us/windows/deployment/usmt/understanding-migration-xml-files
We are using MECM 2002 and have installed ADK 1903 which has USMT version 10.
Since the disk is going to be wiped and reformatted we wont be able to save the state to a local partition so we will need to use the state migration point to save content too.
First step is to install and configure state migration point in MECM.
Open the MECM console and go to Administration > site configuration > server and site system roles and select or add the server that will be used as the state migration point
Set the max free space in MB, GB or percentage. we also need to set the boundary group that this state migration point will be associated with.
Once the role has been installed we can start to create the task sequence to wipe and reload the device.
We won’t go through creating the TS from scratch in this post.
First step is to check is the capture state task.  By default USMT will use the MigApp.xml and MigDocs.xml to set what will be copied.
To view the xml files you can go to the Windows ADK install location the default location is:
C:\Program Files (x86)\Windows Kits\10\Assessment and Deployment Kit\User State Migration Tool\amd64

 We will be using the default xml but you can create custom xml’s to customize what files and setting need to be copied and restored.
To set the custom xml select customize how user profiles are captured and click on the files button to add in the xml files. 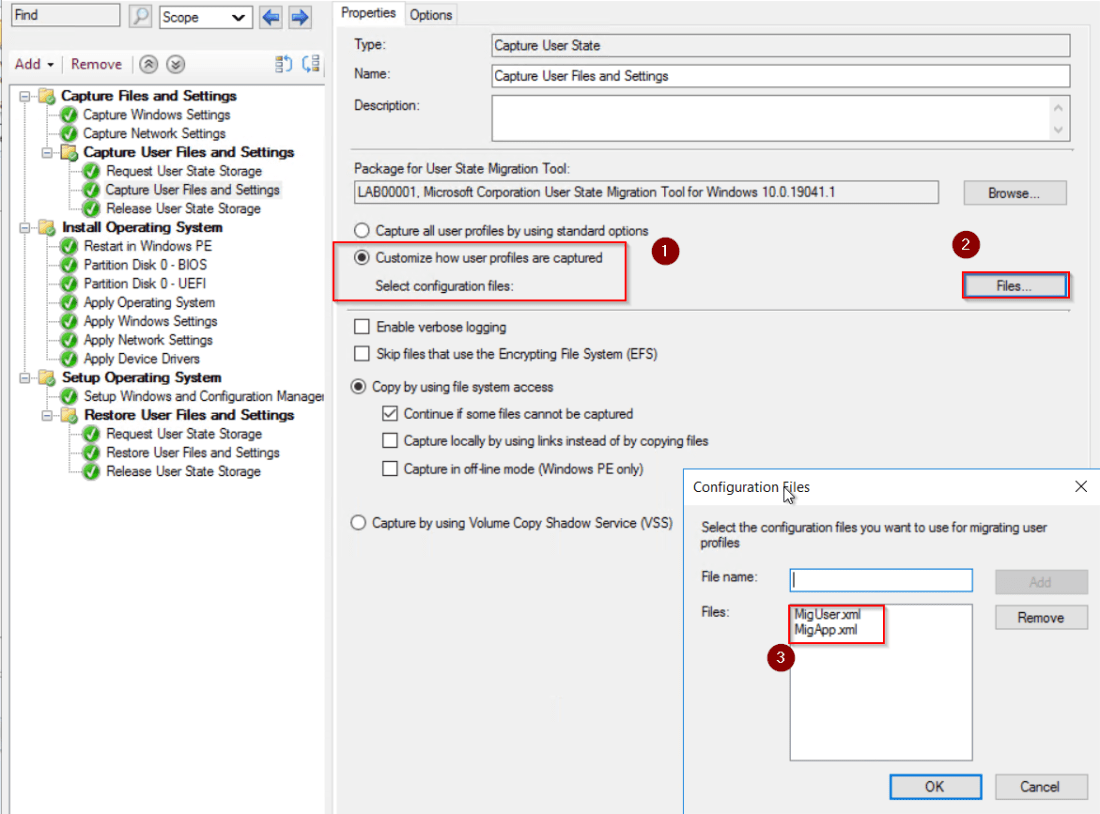 Once the TS is setup we just need to deploy to a collection so that devices can be added and pick up the wipe and reload TS.
 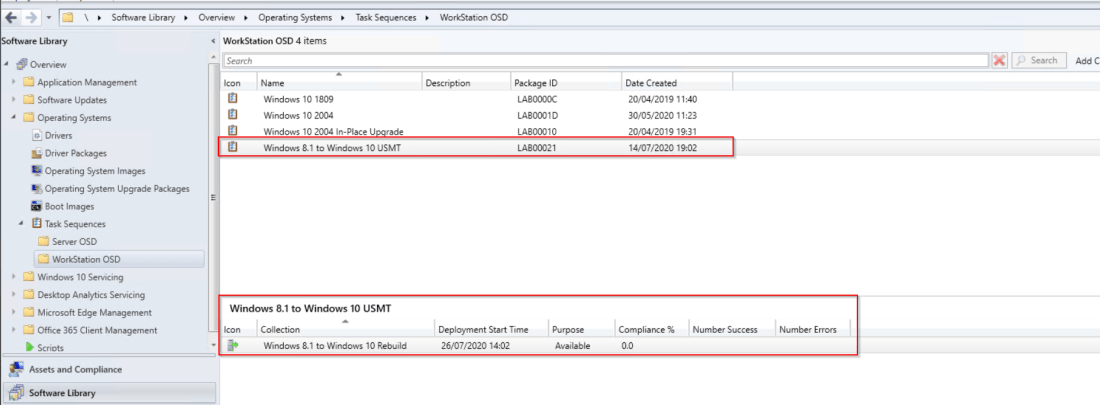 Once deployed either wait for the TS to be picked up or run the client action machine policy and app deployment evaluation.
 We can check the smsts.log file to view what is happening we can see below that the files are being downloaded for the USMT package.
  Once the scanstate kicks off you can see the xml files that are used in the log.
 We can check the USMT folder on the state migration point to see if data is being copied.
  Once the image is applied, we can check the restore state task in the smsts log. The command will call the loadstate and cause use the default or custom xml files.

 When the TS has fully finished we can logon to Windows we should see that the devices is running Windows 10 and also has the file and settings migrated.

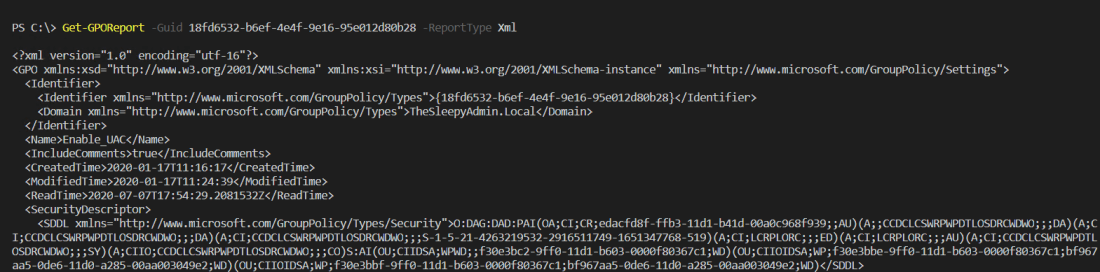 To read an XML report in PowerShell you can use the typecast to XML by using [xml] in front of the variable which should make querying the content easier.

 This is what the export will look like.
