I had a recently gotten some question’s on how to connect to Microsoft GraphApi using certificate instead of an app secret. I have set this up before using the Microsoft Graph PowerShell SDK but I wanted to test this using Invoke-RestMethod.
There is a PowerShell module that has been created that allow for much easier creation of authentication tokens using Microsoft Authentication Library.
Learn about MSAL – Microsoft identity platform | Microsoft Docs
The Microsoft Authentication Library (MSAL) enables developers to acquire tokens from the Microsoft identity platform in order to authenticate users and access secured web APIs. It can be used to provide secure access to Microsoft Graph, other Microsoft APIs, third-party web APIs, or your own web API. MSAL supports many different application architectures and platforms including .NET, JavaScript, Java, Python, Android, and iOS.
MSAL gives you many ways to get tokens, with a consistent API for a number of platforms. Using MSAL provides the following benefits:
- No need to directly use the OAuth libraries or code against the protocol in your application.
- Acquires tokens on behalf of a user or on behalf of an application (when applicable to the platform).
- Maintains a token cache and refreshes tokens for you when they are close to expire. You don’t need to handle token expiration on your own.
- Helps you specify which audience you want your application to sign in (your org, several orgs, work, and school and Microsoft personal accounts, social identities with Azure AD B2C, users in sovereign, and national clouds).
- Helps you set up your application from configuration files.
- Helps you troubleshoot your app by exposing actionable exceptions, logging, and telemetry.
The PowerShell module that can be used to create tokens is called MSAL.PS and the latest version as of today is 4.21.0.1.
PowerShell Gallery | MSAL.PS 4.21.0.1
In this post we will be going through installing and using this module to generate an authentication token using a self signed certificate and using that token to connect to Microsoft Gaph.
The first step is to install the MSAL.PS module

Once the module is installed we can generate the certificate that will be used to connect to Microsoft Graph
To create the self signed cert I used the below command. There was a error when trying to generated the token when I didn’t use -KeySpec when generating the cert. The fix to use -KeySpec was on the GitHub issue page.
New-SelfSignedCertificate -DnsName TennatDomainName -CertStoreLocation "Cert:\CurrentUser\My" -FriendlyName "MSAL_Cert" -KeySpec Signature
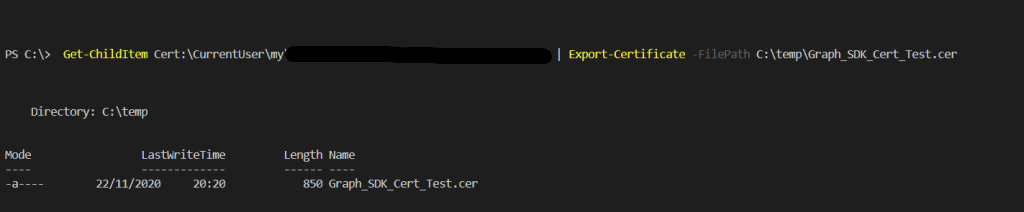
Once the cert has been created, export the cert so that it can be uploaded to the App registration.
Get-ChildItem Cert:\CurrentUser\my\CertThumbprint | Export-Certificate -FilePath C:\temp\Graph_MSAL_Cert.cer
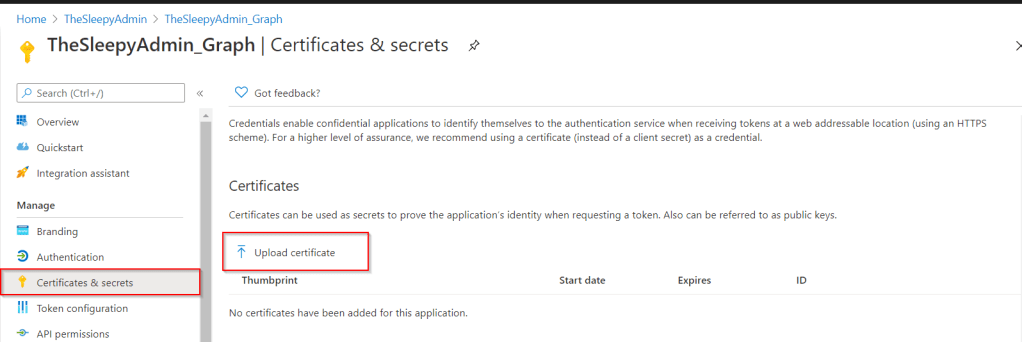
Once the cert is exported we can upload to the app registration that we created before. See previous post if app registration hasn’t been created in Azure yet for Microsoft Graph.
Connecting to Microsoft GraphAPI Using PowerShell – TheSleepyAdmins
To add the cert open the Azure portal > Azure Active Directory > App registrations and select the Graph app and go to certificates & secrets

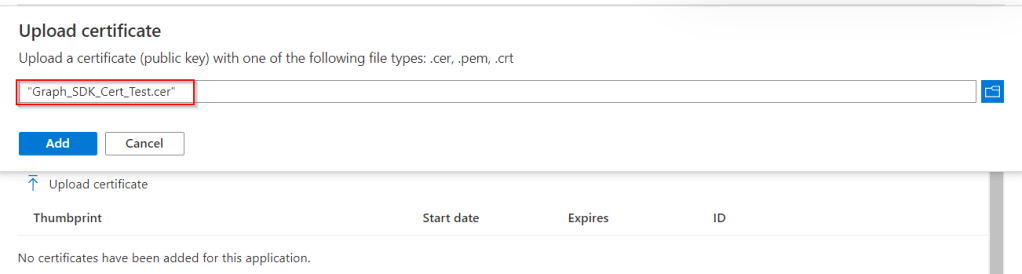
Select upload certificate

Click add to apply the cert

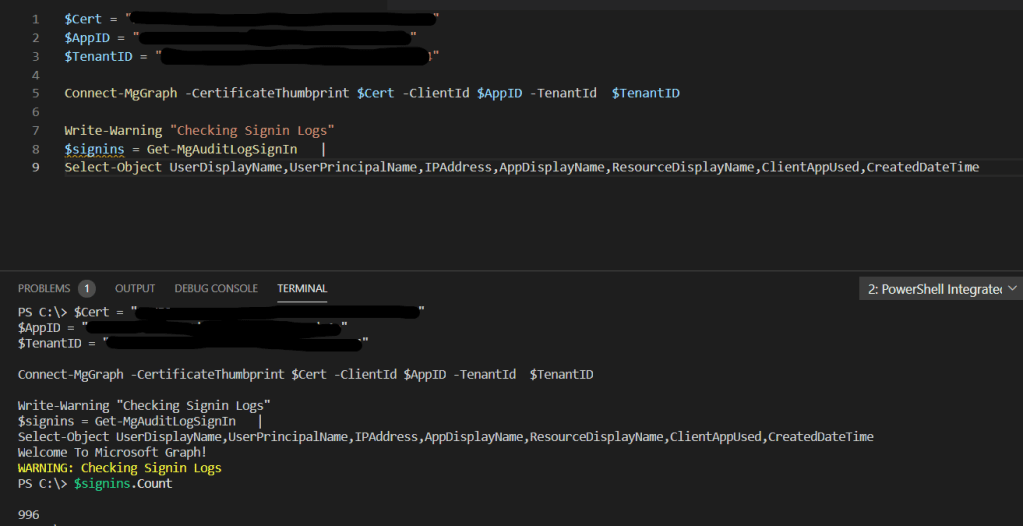
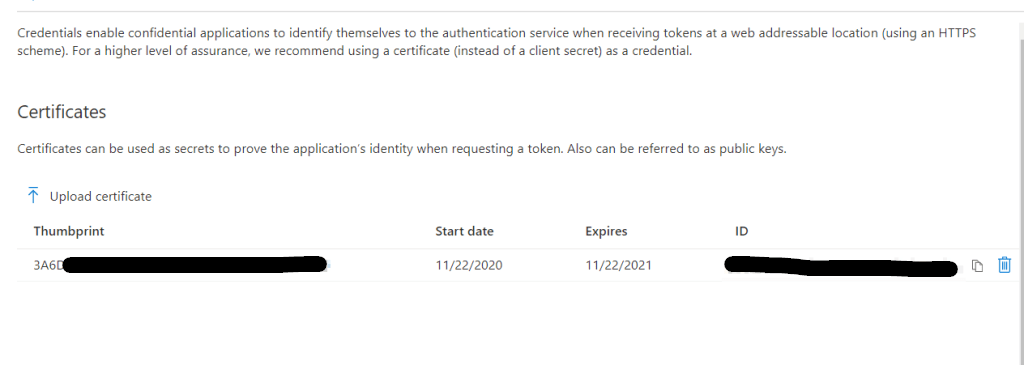
After the cert is upload we should now be able to connect. We will need the TenantId, clientId and certificate
The tenantID and ClientId can be gotten from the app registration overview page and the cert can be gotten using Get-Item and the cert location / thumbprint.

Import-Module MSAL.PS
$TenantId = "TenantId"
$ClientId = "ClientId"
$ClientCert = Get-ChildItem "Cert:\CurrentUser\my\CertThumbprint"
$MSToken = Get-MsalToken -ClientId $ClientId -TenantId $TenantId -ClientCertificate $ClientCert
If you want to use the same cert for any users on the device we can export and import the cert under localmachine cert store with the private key and update the $clientCert to use localmachine instead of currentuser.
Get-Item "Cert:\localmachine\my\CertThumbprint"Once we have the token, it’s now the same process as we have used before to connect using invoke-restmethod but using the $MSToken.AccessToken we generated using the Get-MsalToken and our certificate.
$GraphGroupUrl = 'https://graph.microsoft.com/v1.0/Groups/'
(Invoke-RestMethod -Headers @{Authorization = "Bearer $($MSToken.AccessToken)"} -Uri $GraphGroupUrl -Method Get).value.displayName
Using MSAL.PS module provides a much quicker and easier way to generate access tokens for Microsoft Graph with the added security of using a certificate over having to put in any application secret.


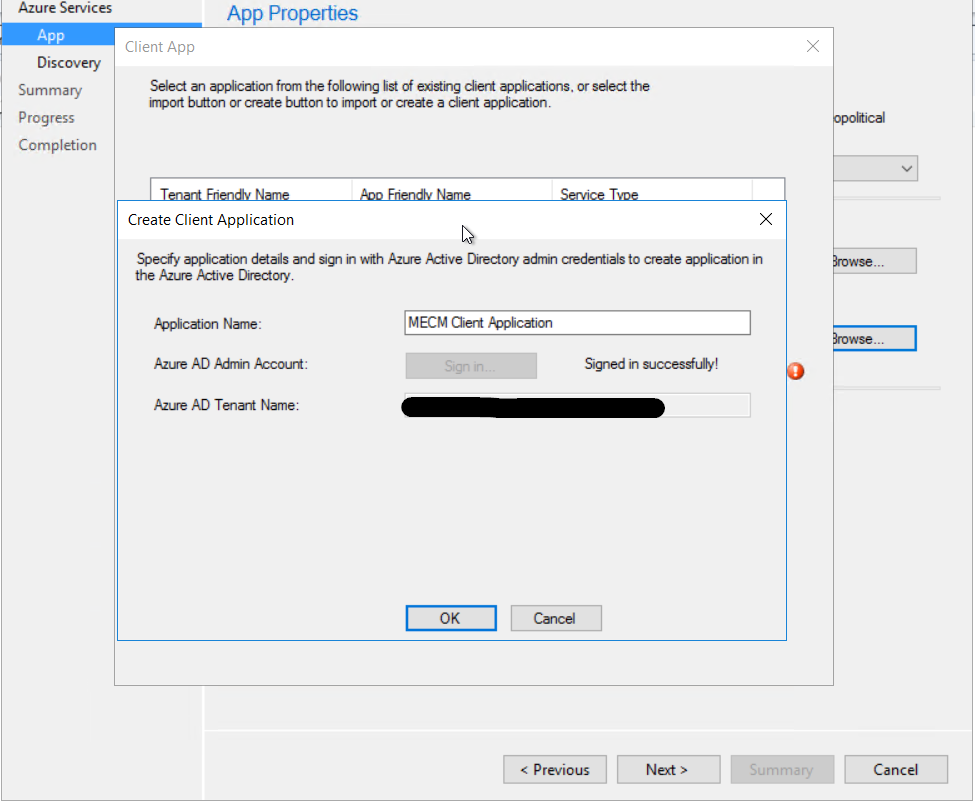
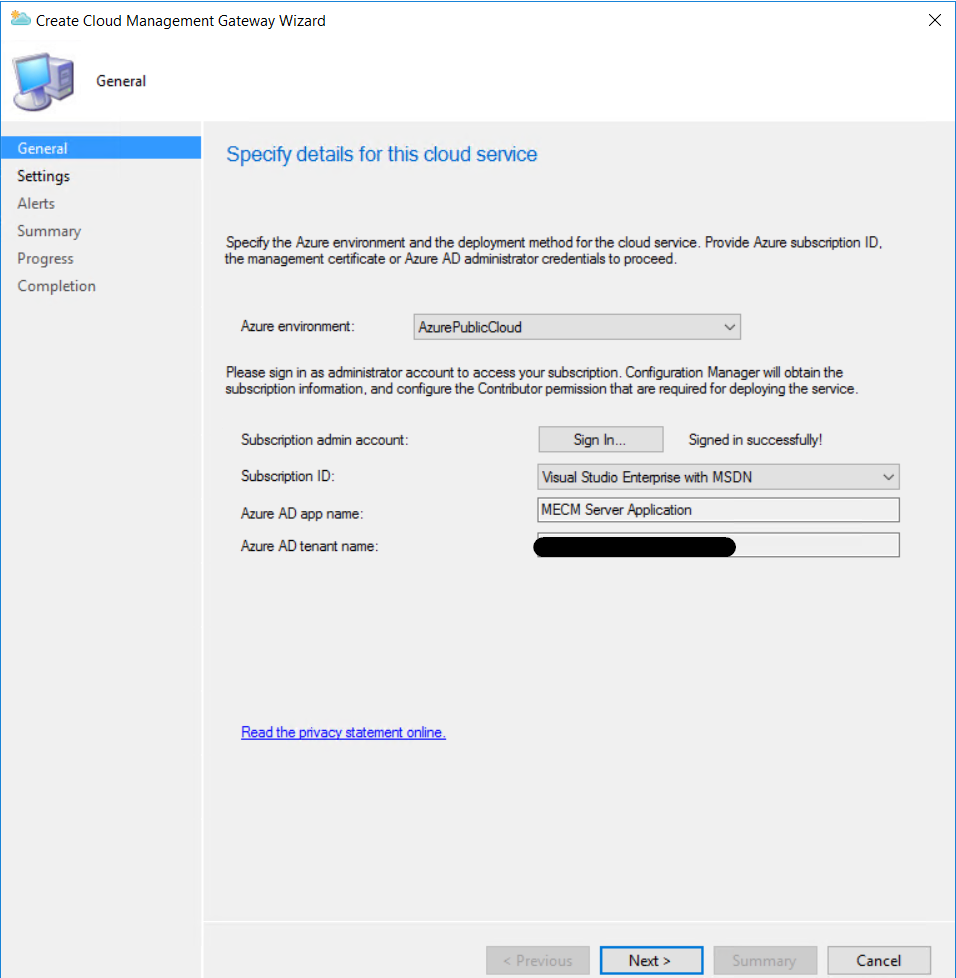
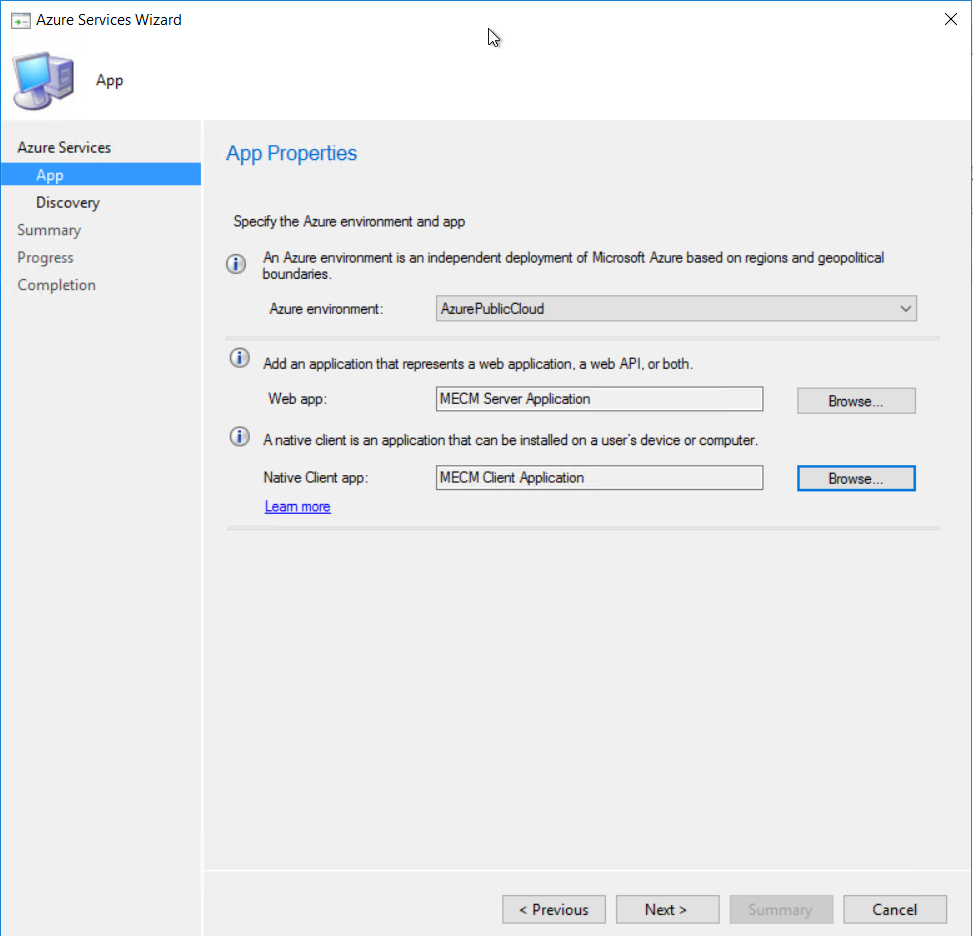 Give the applications a name and sign in to Azure using a account with the required permission
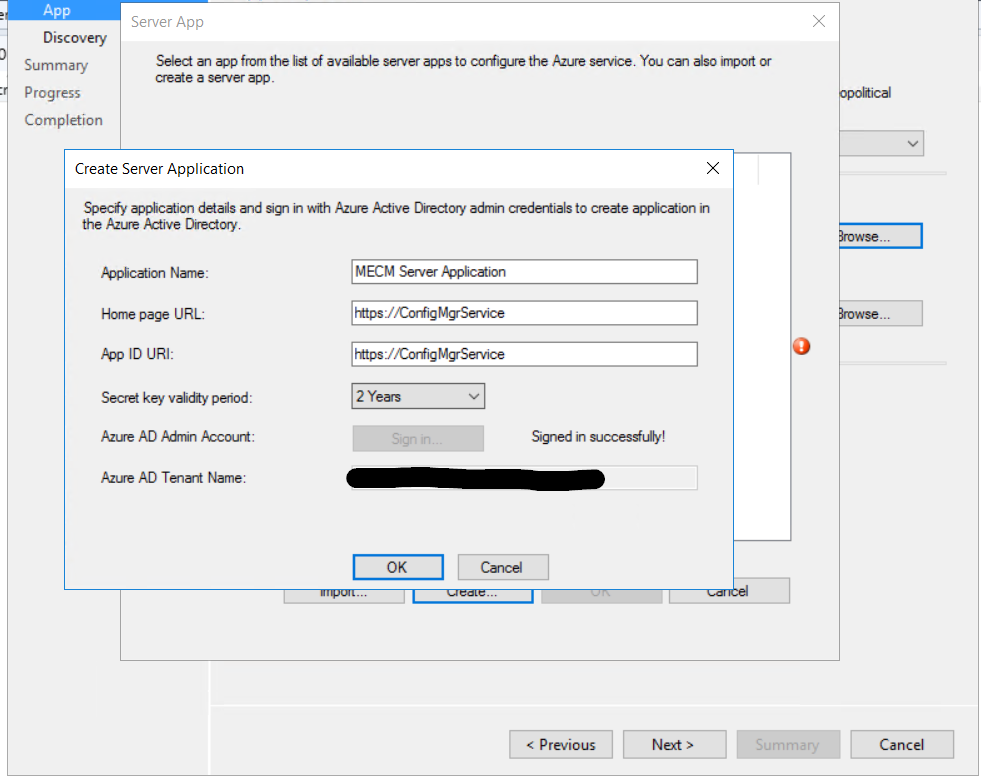
 I just left user discovery enabled.
  Click next to finish configuring the Azure services.
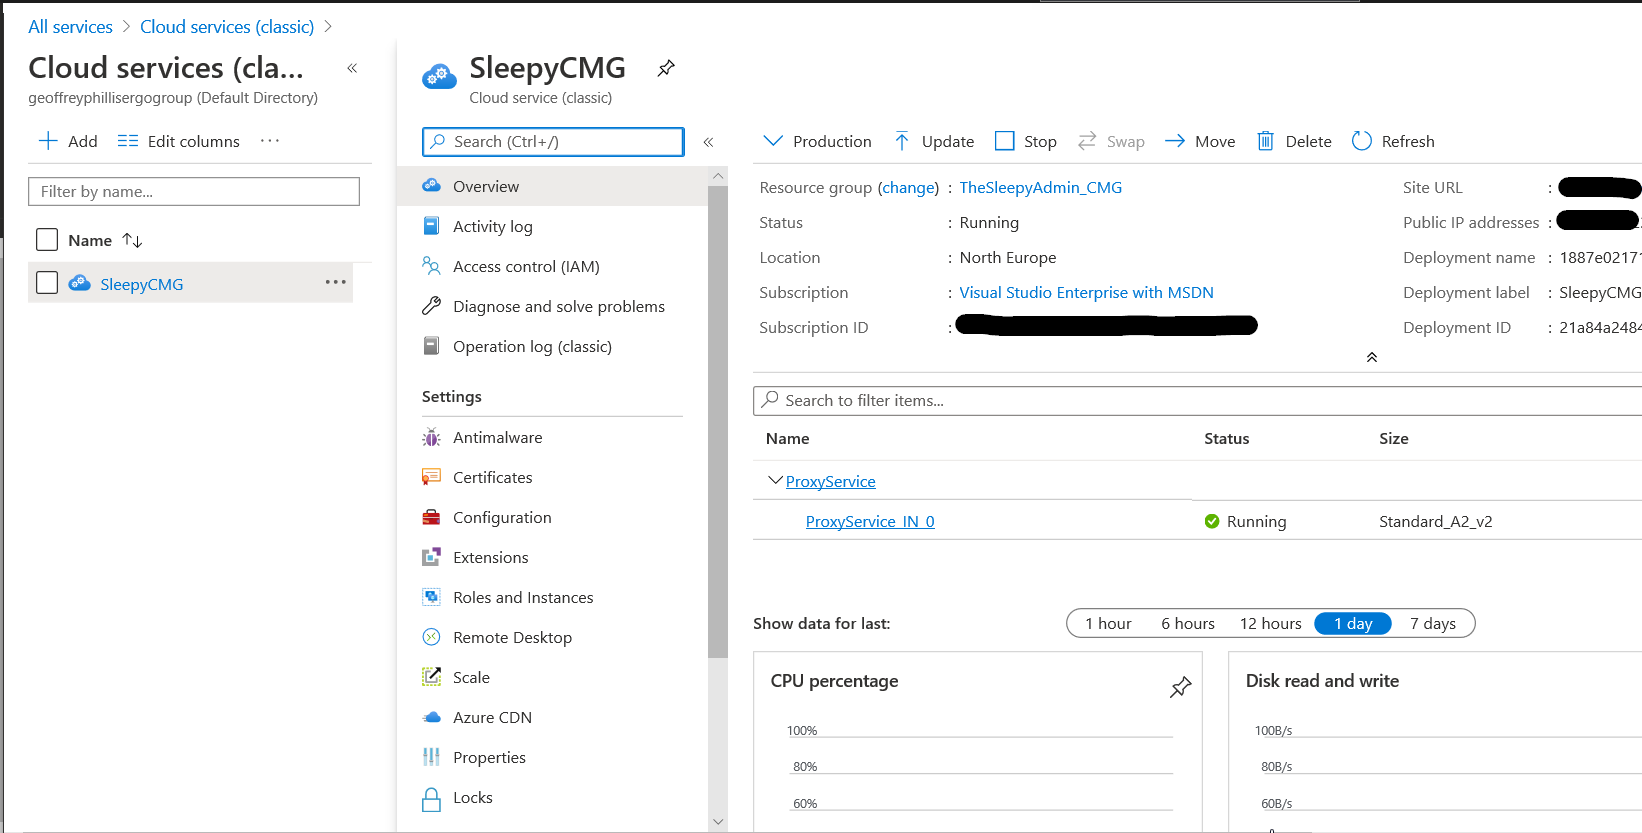
 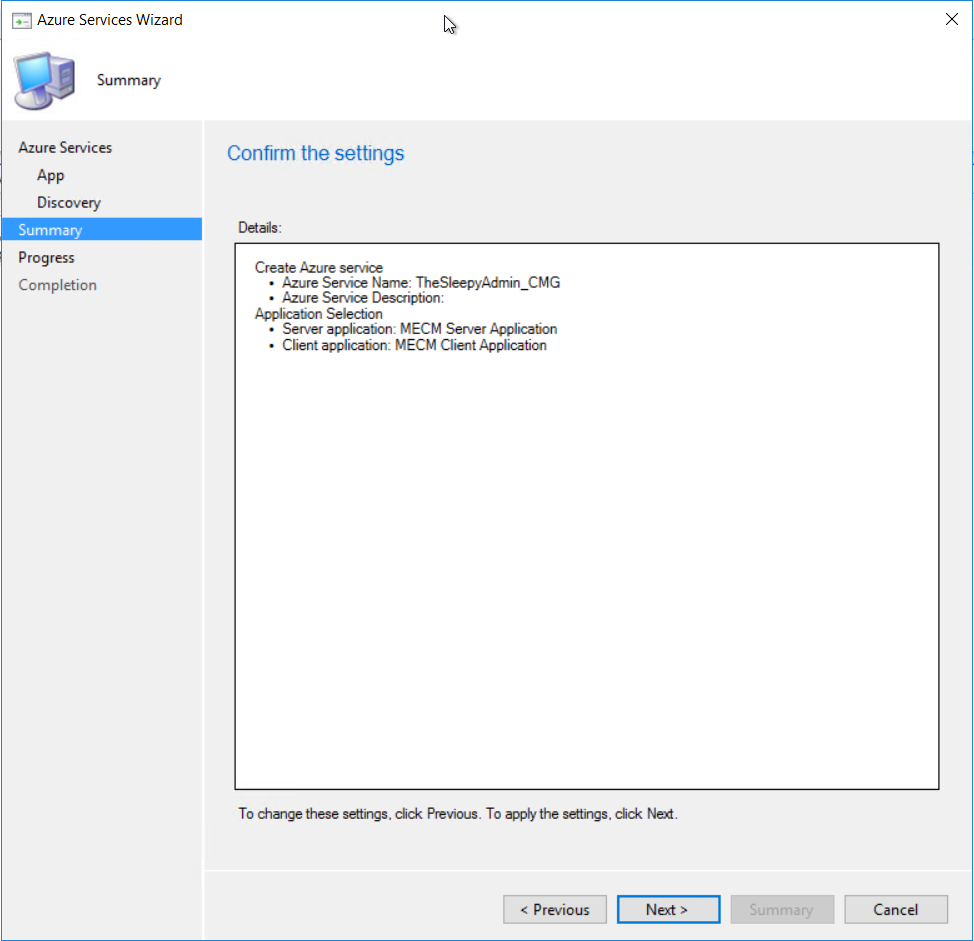 Once finished the Azure service should now be showing
  The Azure AD tenant should also show with both application we just created.

 I left the alerting as default
  Just follow the wizard to complete.
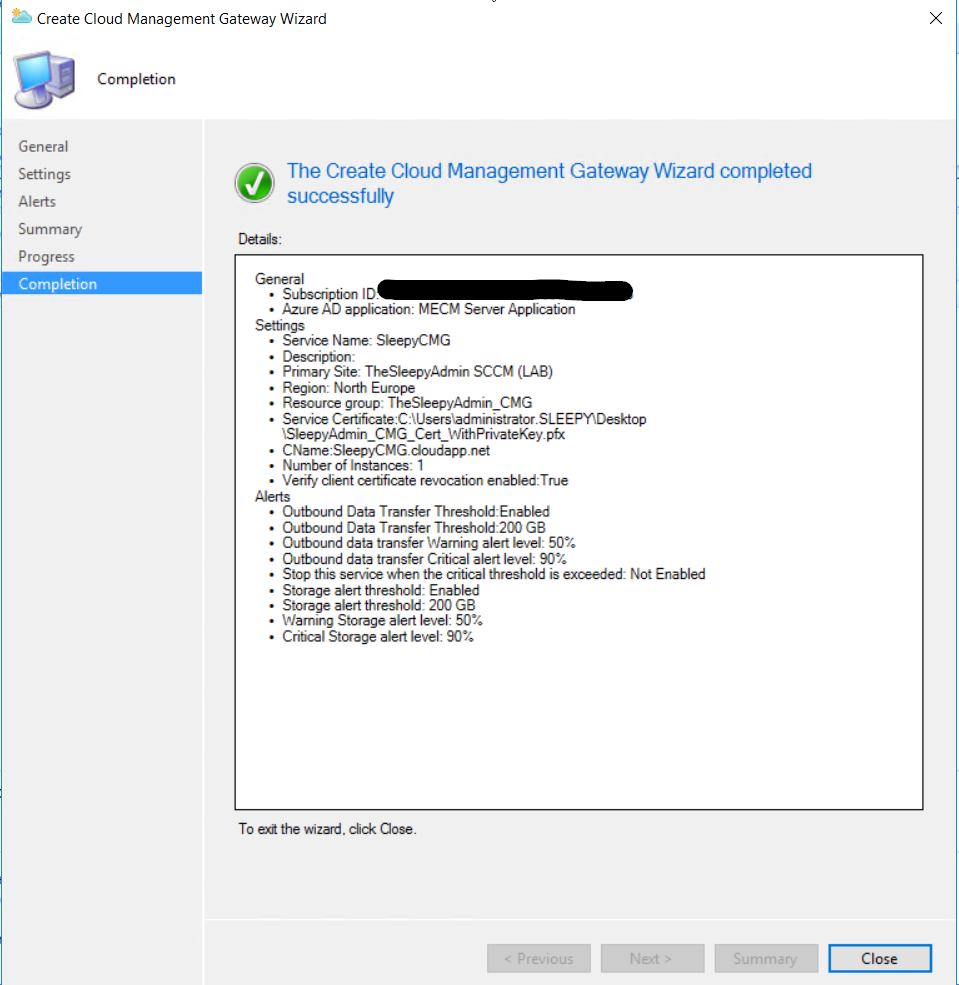

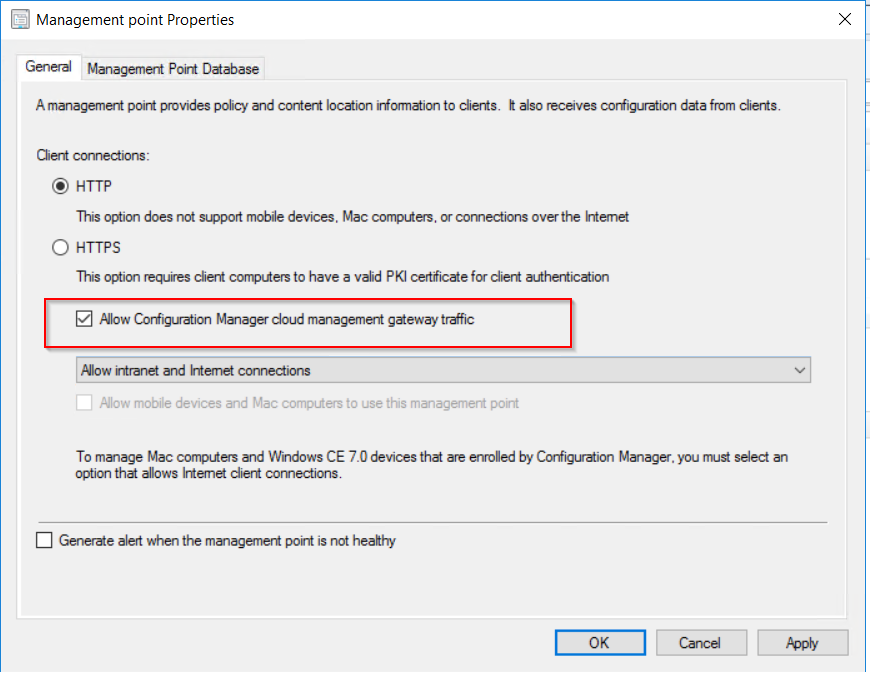 To allow the software update point to communicate with the CMG, tick the allow configuration manager cloud management gateway traffic.
 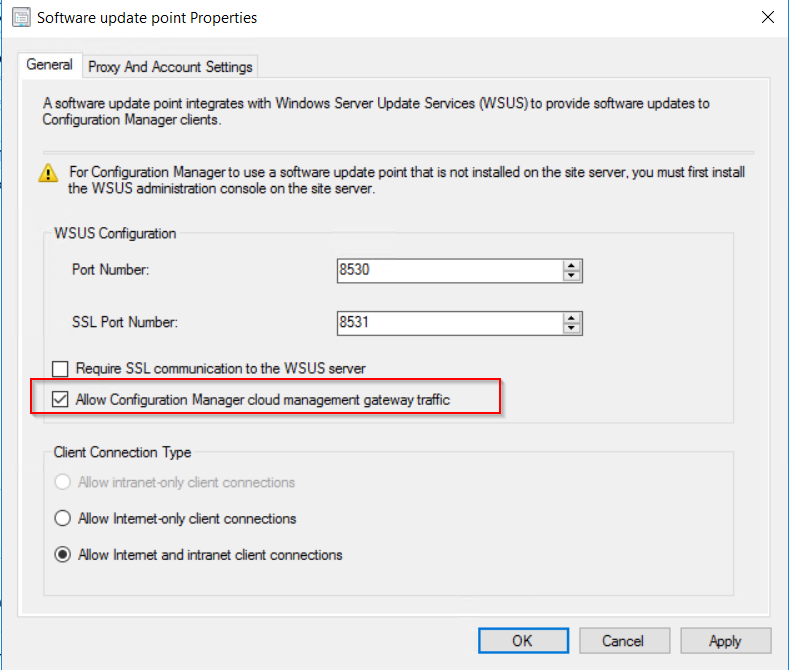 After this has been configured the clients should now pick up a the CMG as a internet based management point in the network tab of client agent properties.
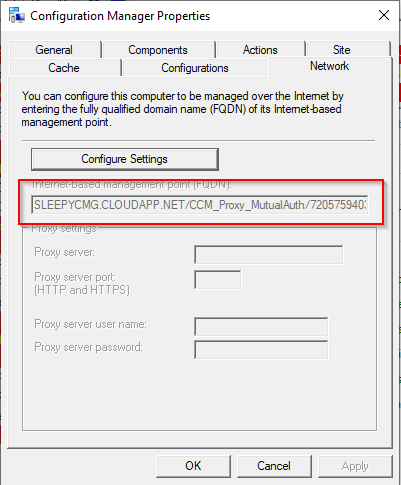


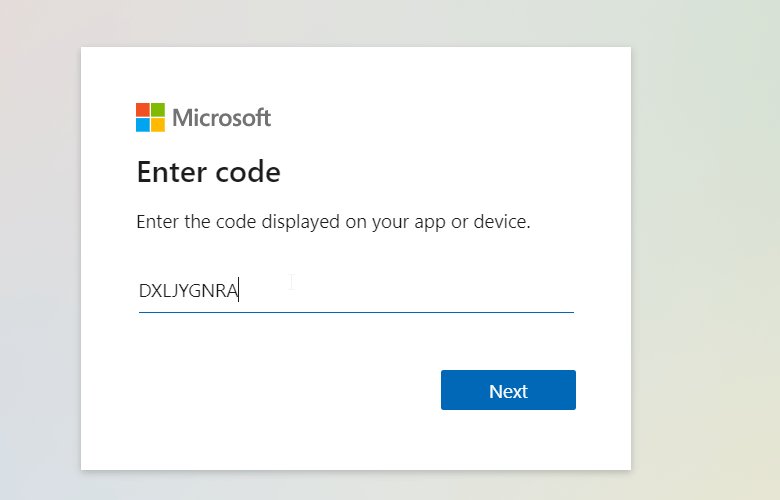
 Copy the code and click on the enter code hyperlink and enter the code


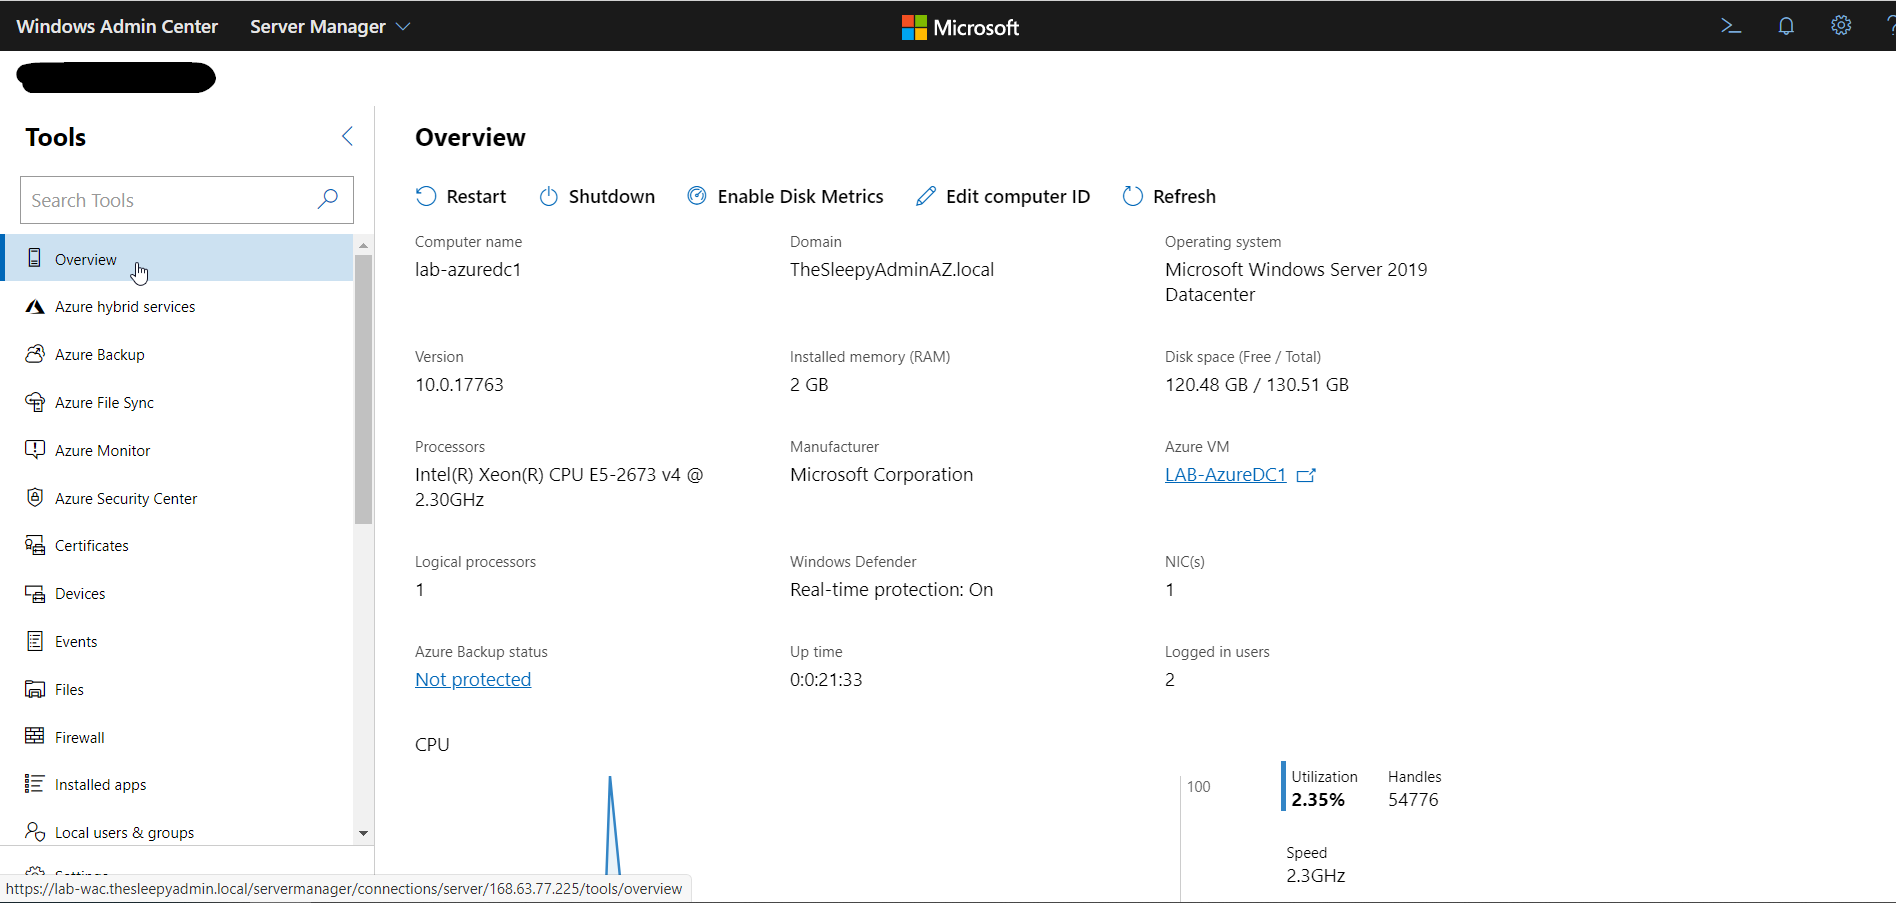 We can also now connect to the VM using integrated RDP console in WAC

 Once the workspace has been created we need to configure the on-premises connection account.
  Put in details for the domain account, I used a service account that has read access to AD so that I could restricted the logon to the account to only be used for ATP
 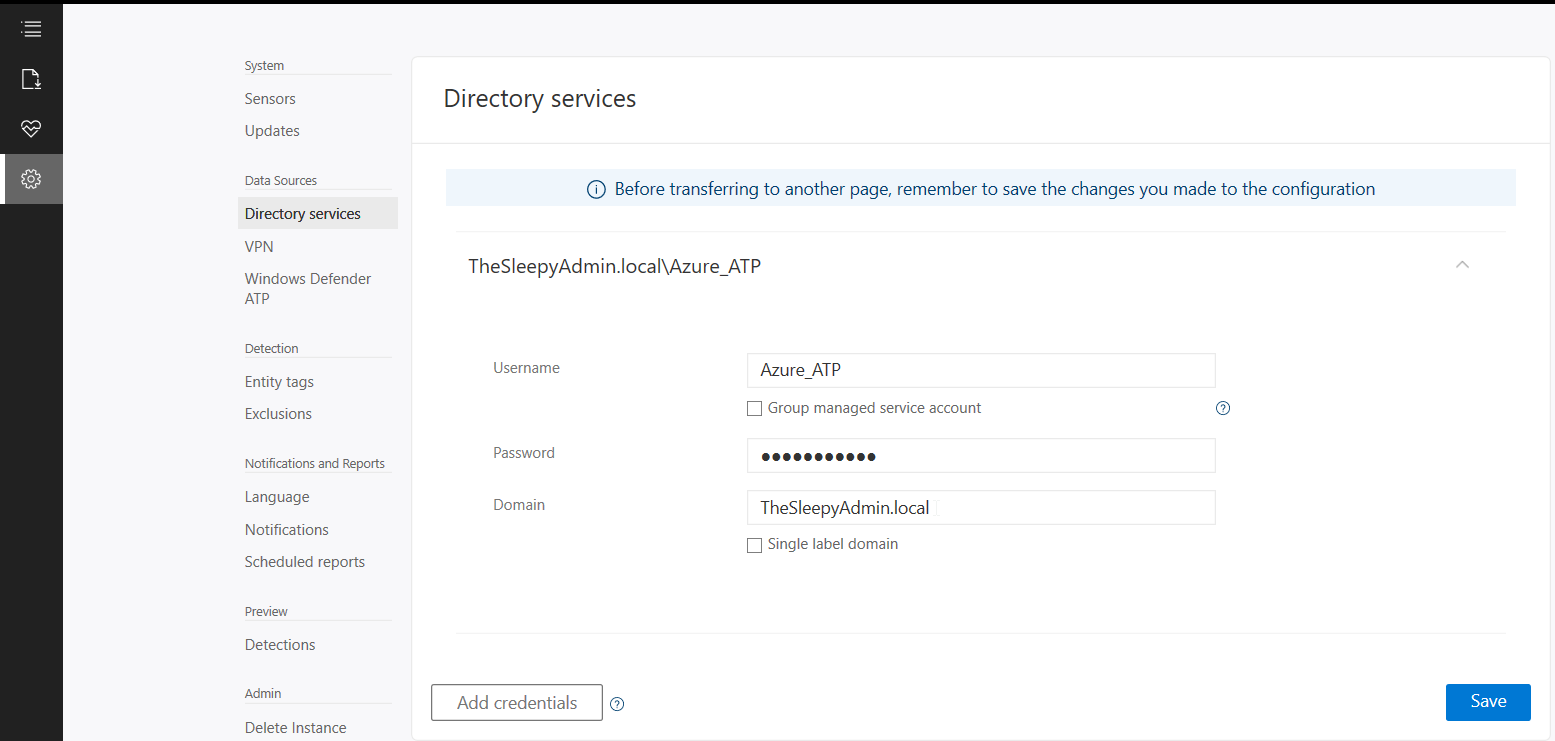 Once AD details are added next step is to download and install the sensor agent. Go to sensors and download the setup exe and copy the access key as this will be required during the install.
 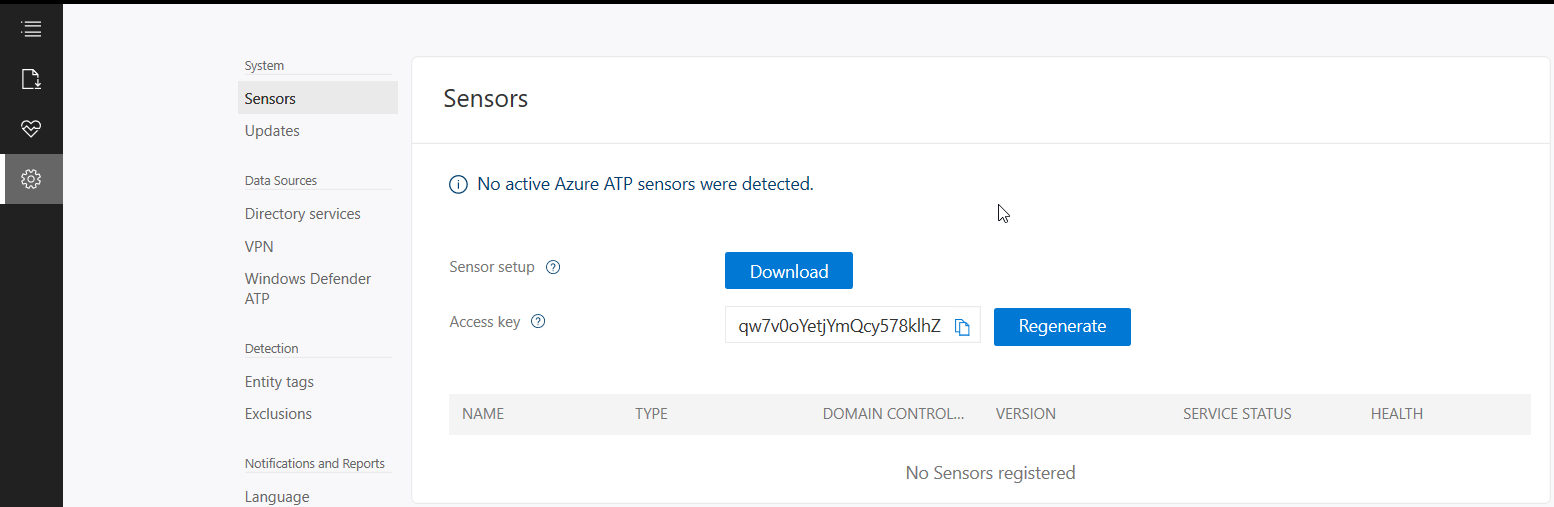 Copy the installer to the DC and run.
  Select required language.
 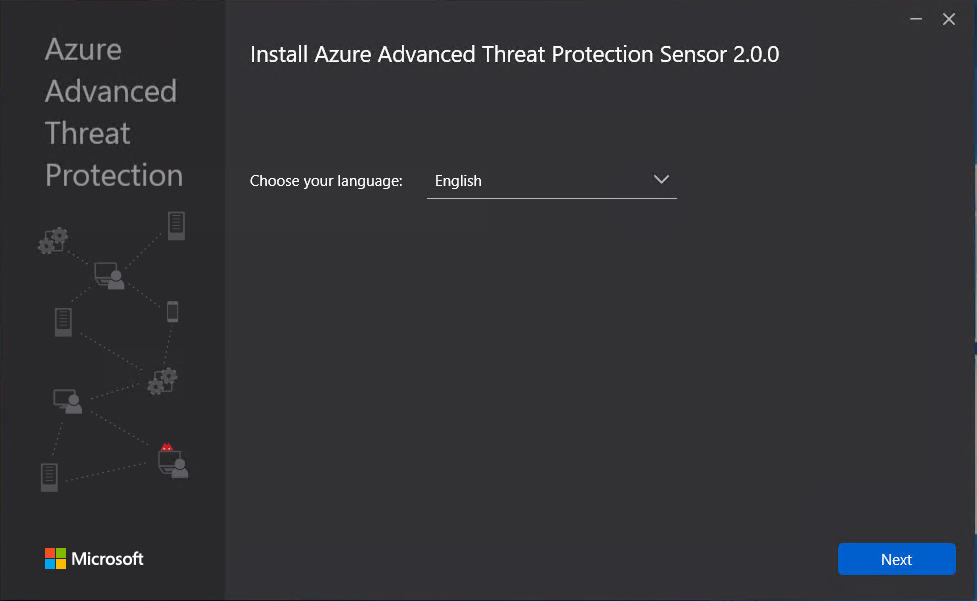 Deployment type will be sensor I am running on VMware and this will generate the below warning which will redirect to a guide to disable IPv4 TSO Offload.
 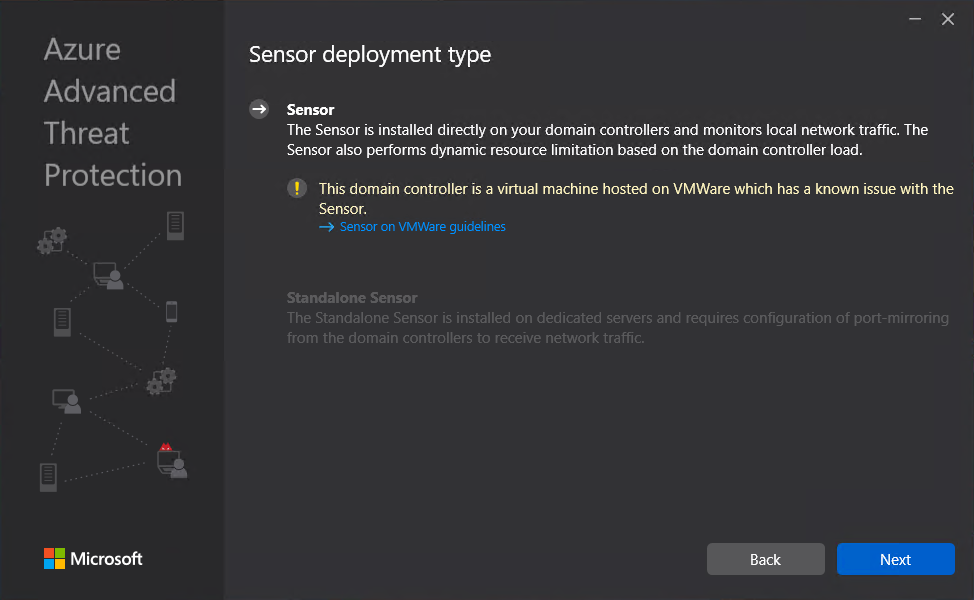 This is where we need to put in the access key so that the sensor is associated to the correct workspace.
 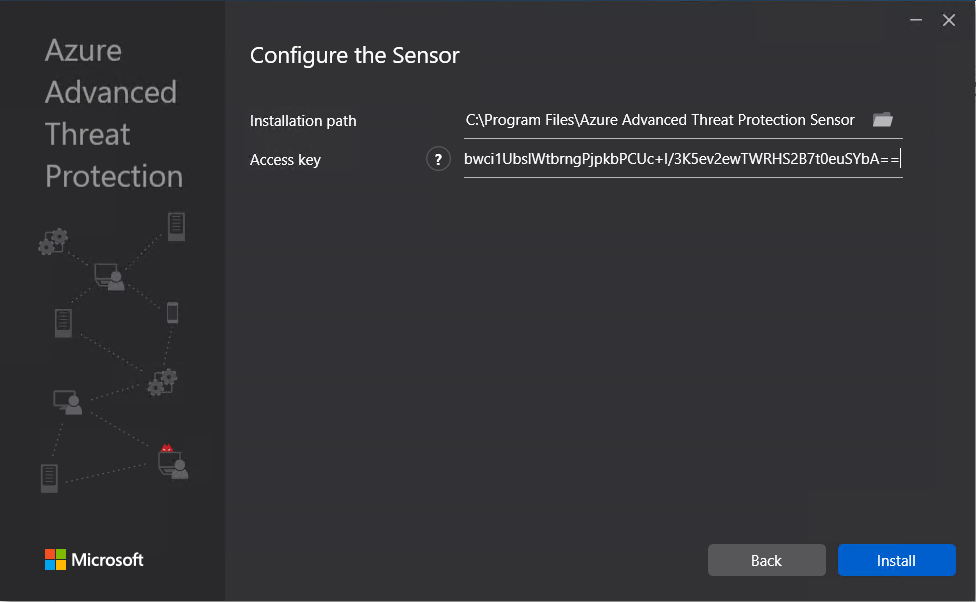 The agent should now start to install.
 Once the agent has install it can take some time for it to respond in Azure ATP.
 Now the agent should start to notify of any suspicious activity that run’s like reconnaissance on SMB, DNS and other malicious reconnaissance.
 We can also add sensitive account and group, there are default groups/ accounts that are considered sensitive by default like Administrators, Domain admins, Enterprise admins…, a full list of these can be found in the below link.
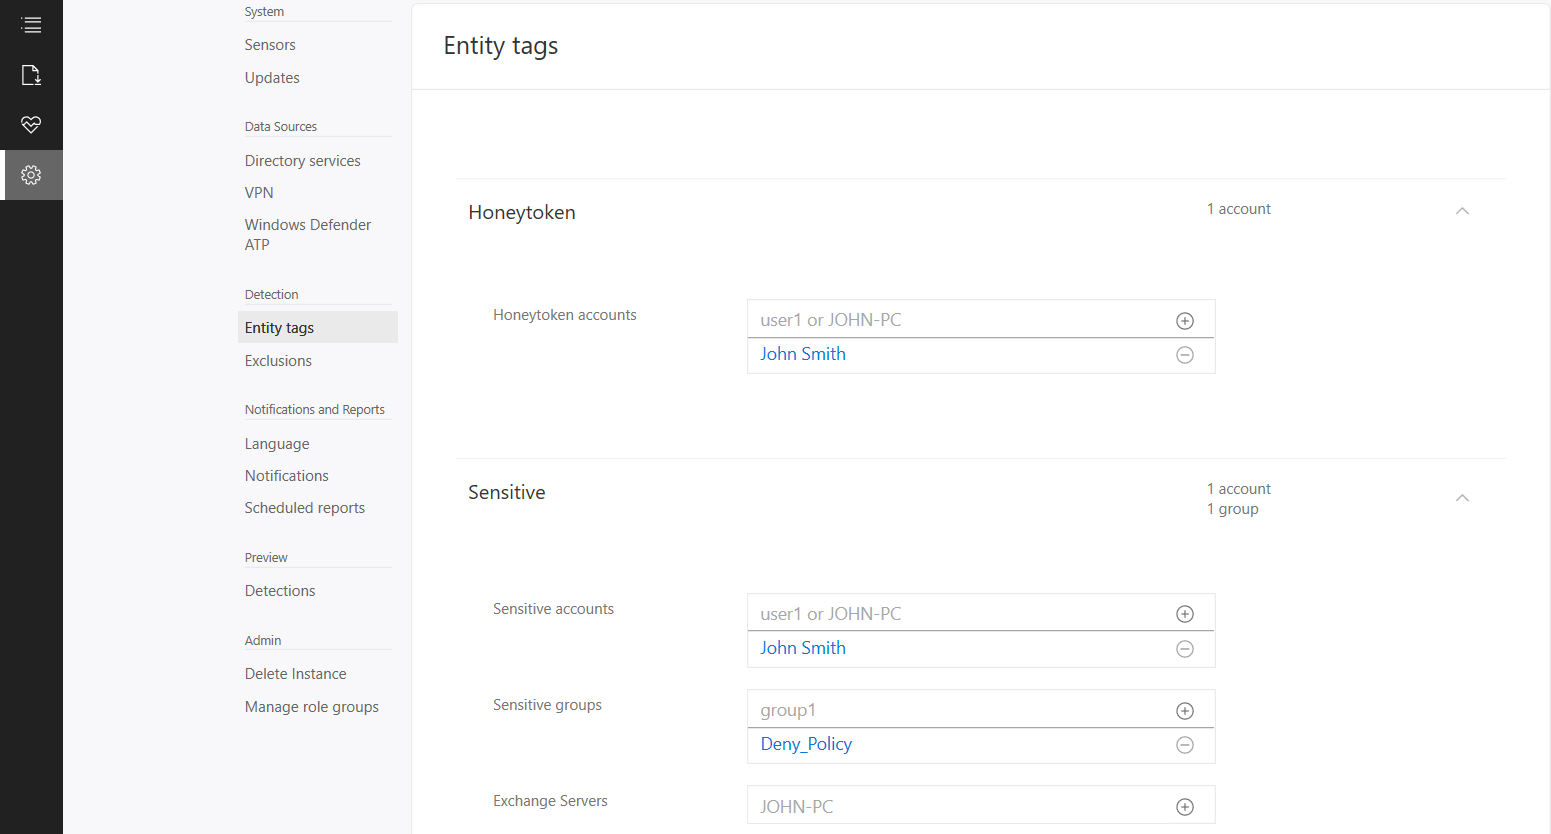 If we now logon with the HoneyToken account it will then alert the activity by this account.
 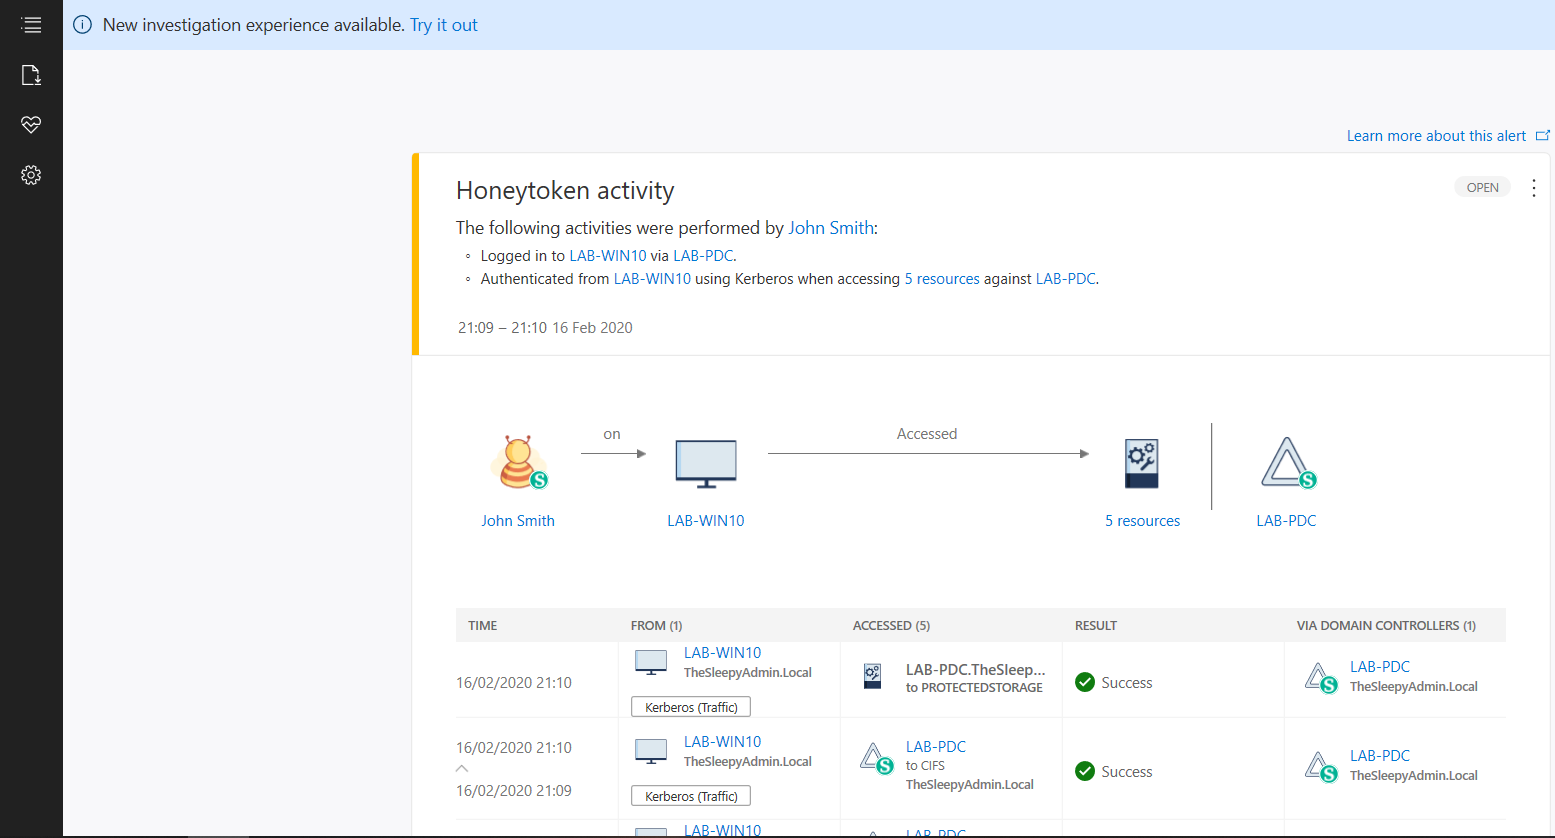 We can also run reports or schedule reports for schedule reports. To run a report go to the reporting blade and change the date to the range you want and click download.
 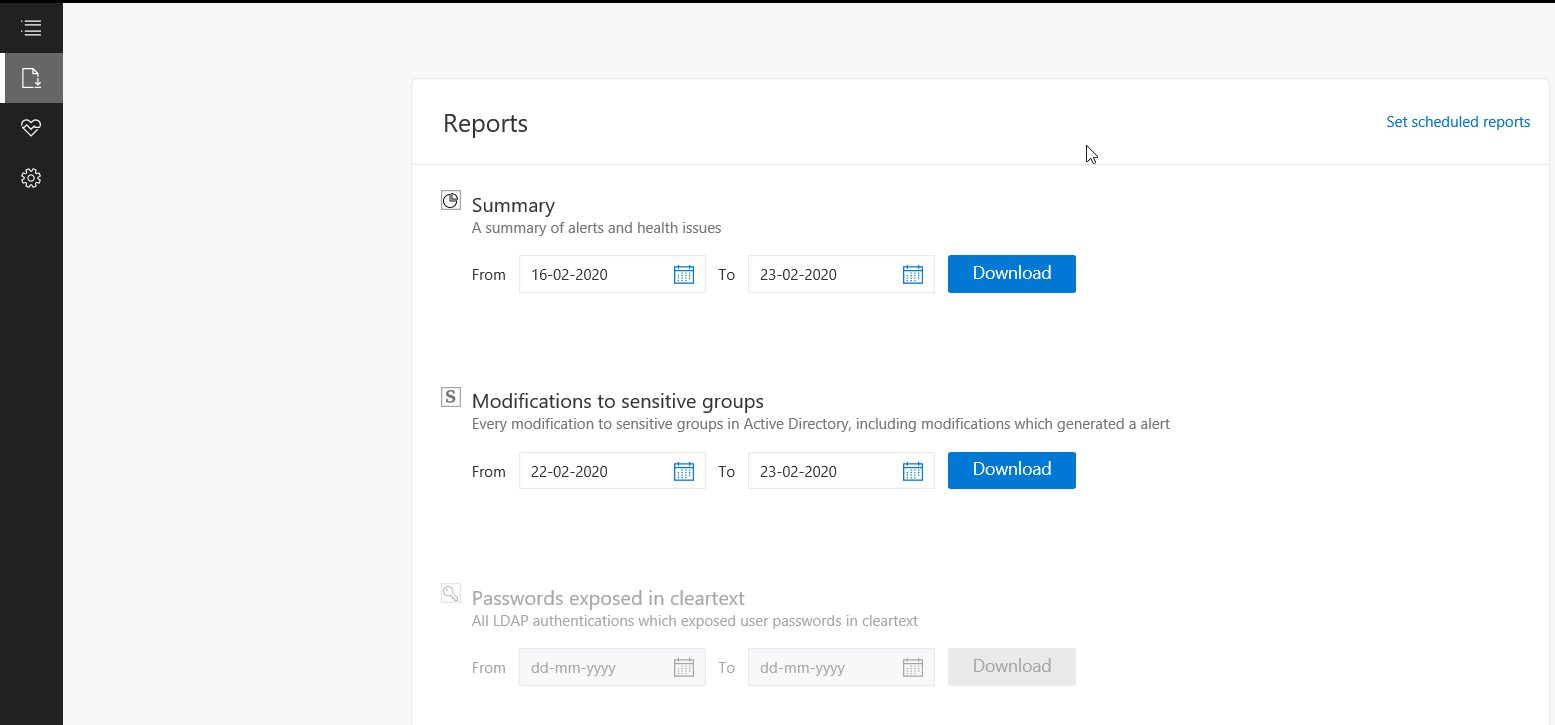 Below is an example of the modification to sensitive groups.
 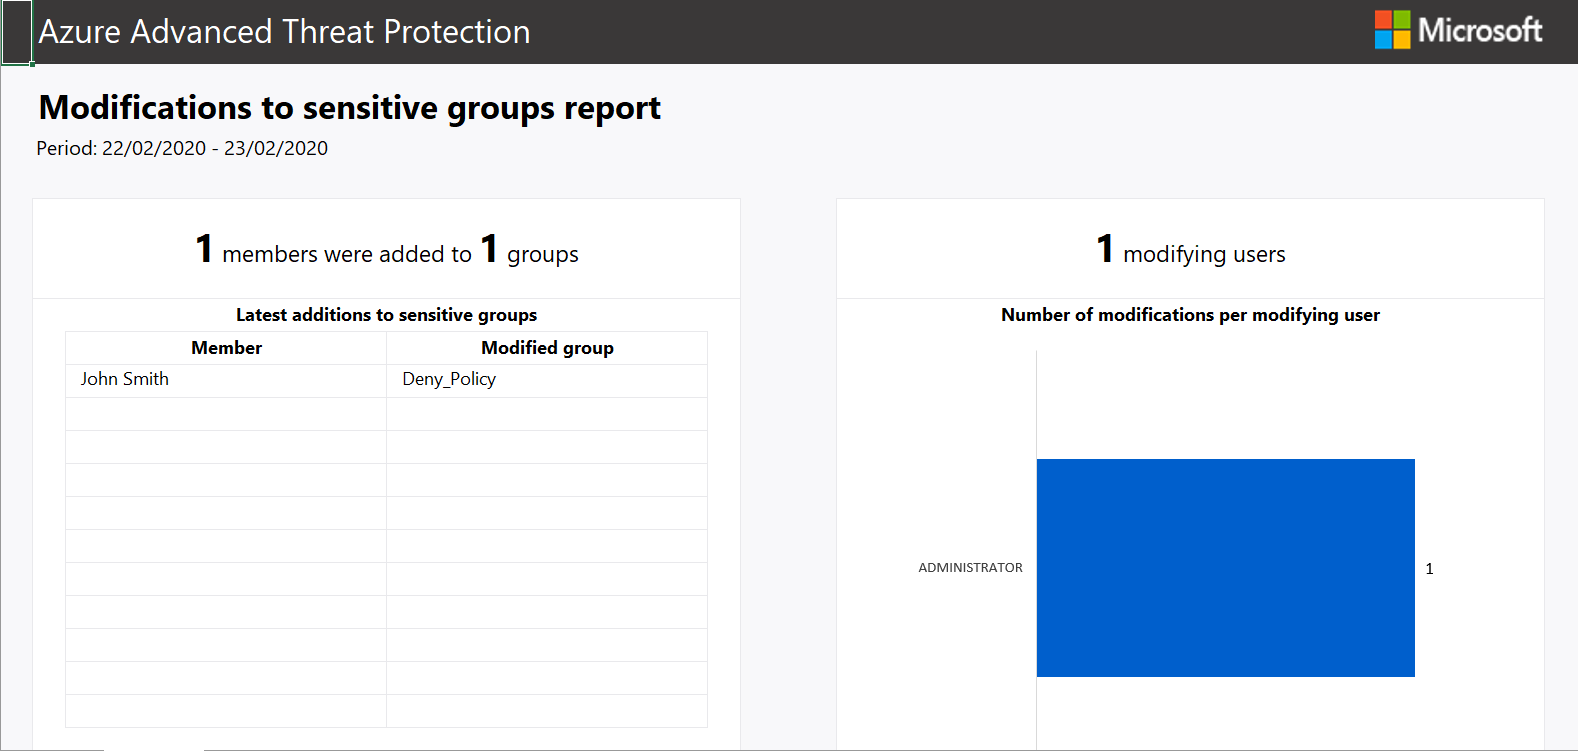 To scheduled reports go to configuration and scheduled reports.

