
VMware are moving away from using Windows vCenter server to only using the vCenter Server Appliance as this give simpler management, lower licensing cost and it integrates VMware update manager (VUM) as part of the appliance. You can still currently download a Windows vCenter server but this is being deprecated and will be removed in the next major release after 6.7. To deploy the vCSA requires the ISO to be downloaded and for the device that will launch the install to have network connectivity with the ESXi host that will run vCenter appliance.
The system requirements for my deployment which is the tiny version is
- Disk: 120GB
- Memory: 8GB
- 2 vCPU
A Tiny Environment can have up to 10 Hosts, 100 Virtual Machines.
Link to download the vCSA is below.
https://my.vmware.com/web/vmware/details?productId=614&downloadGroup=VC65U2C
To deploy the vCSA mount or extract the ISO for 6.5. Go to drive letter for the mounted ISO or the extracted folder and then in to vcsa-ui-installer\win32\ and run the installer.exe.

Select install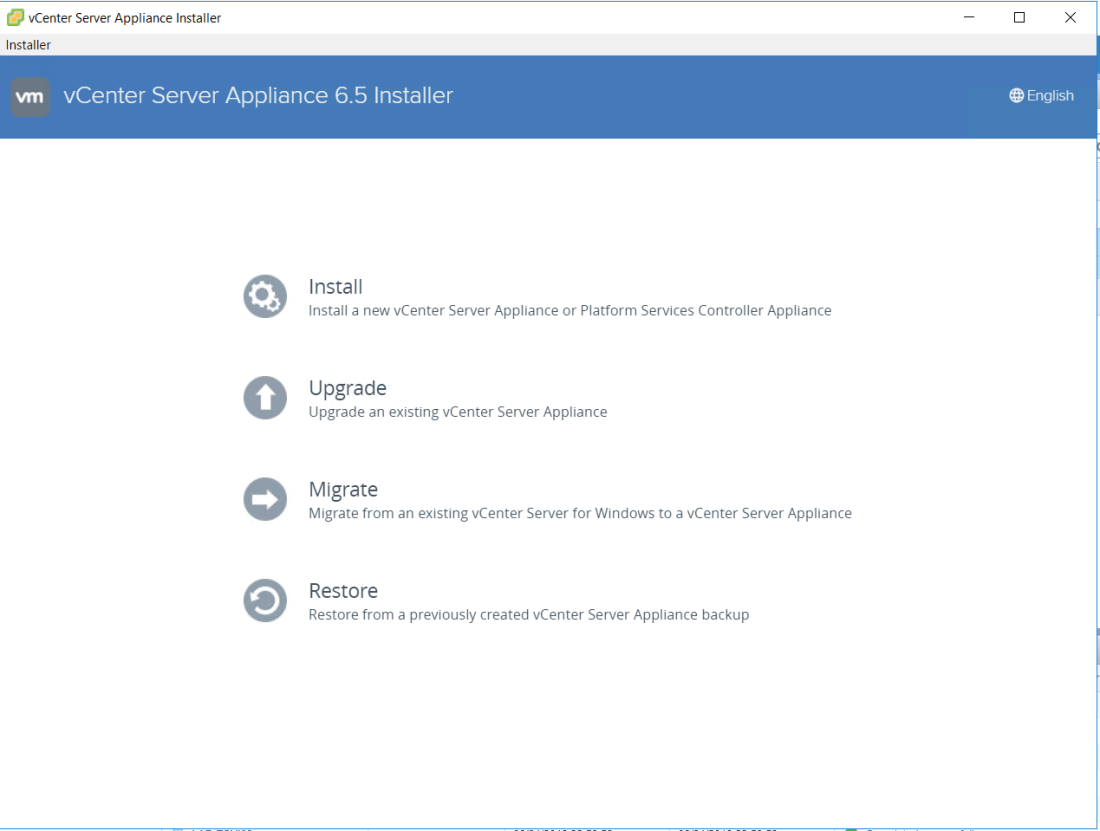
Click next on stage 1 screen, Accept the licence agreement and click next.
Since this is a lab I just went with an embedded PSC and vCenter server. If you want to test enhanced link mode you will need to use an external PSC. 
Select the ESXi host that the appliance will be deployed to.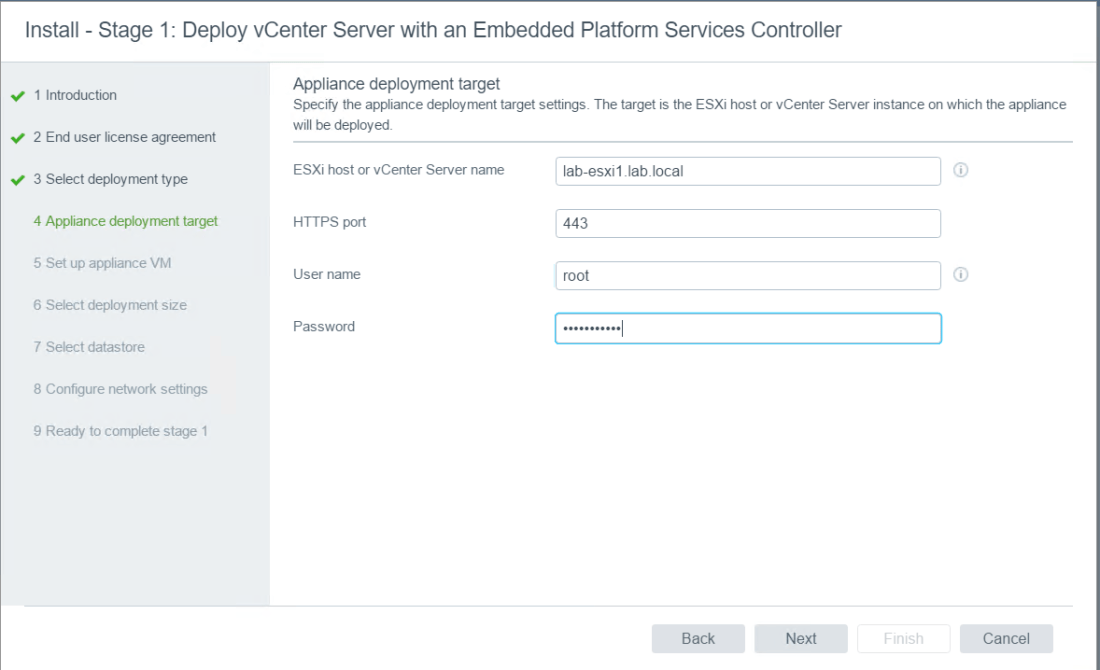
Select the VM name and the root password.
Select the deployment size I went with tiny as I will only have a few nested hosts. 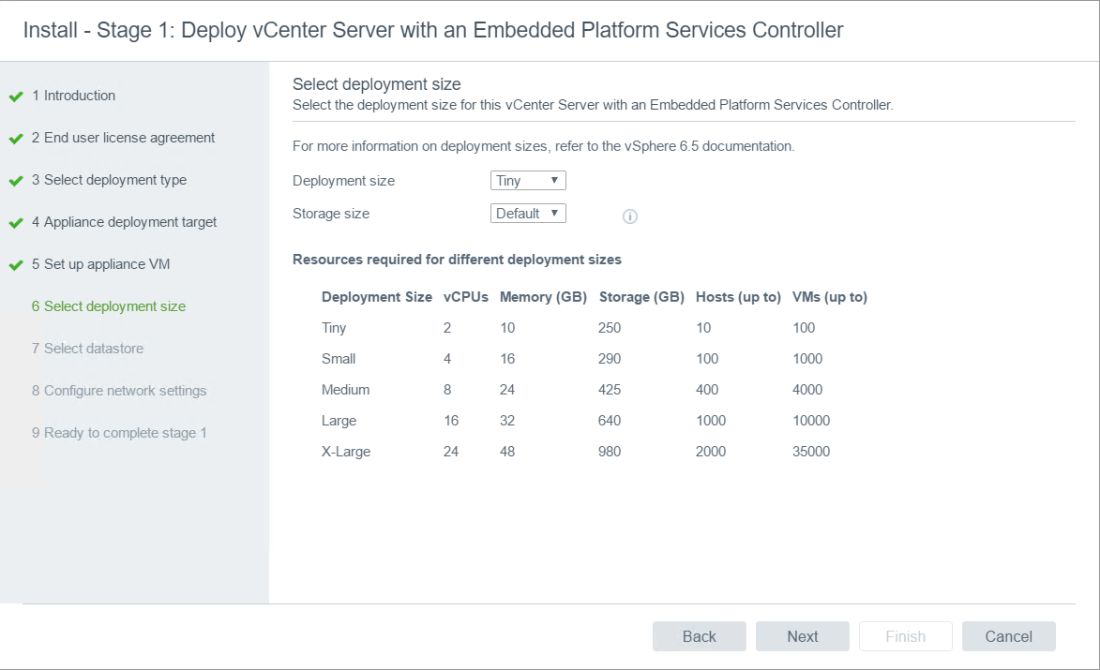
Select the datastore to be used. 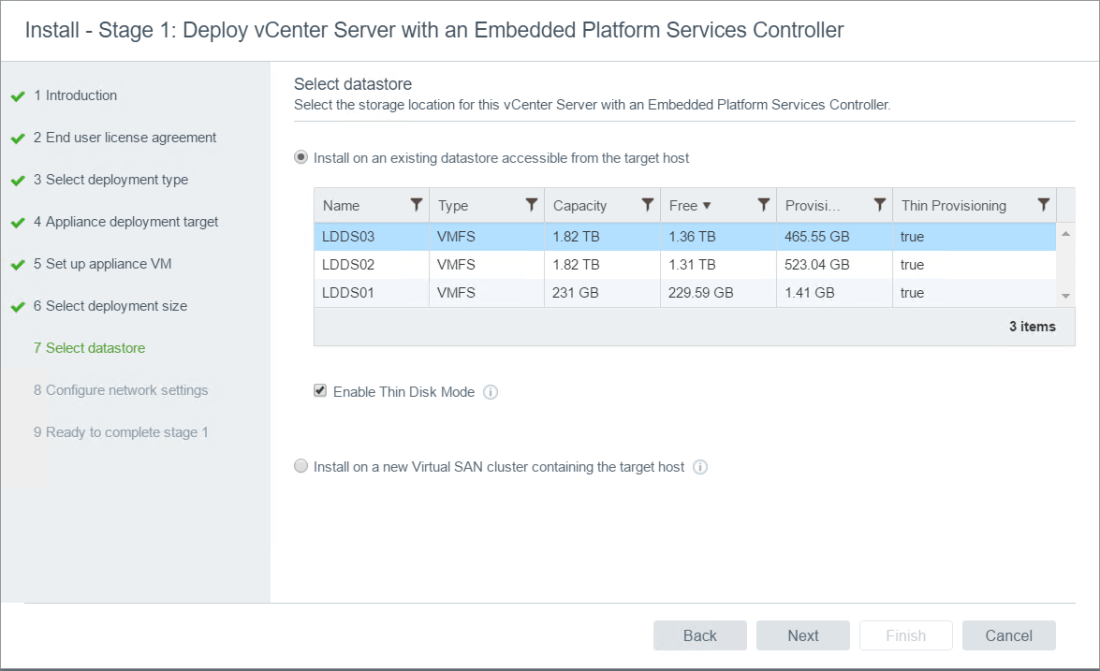
Assign VM Network, a static IP address, System name and DNS server. If a FQDN is used for the appliance name and is not registered in DNS the deployment will fail. So make sure it is done before proceeding with the install. 
Next screen is just to confirm all settings are correct. 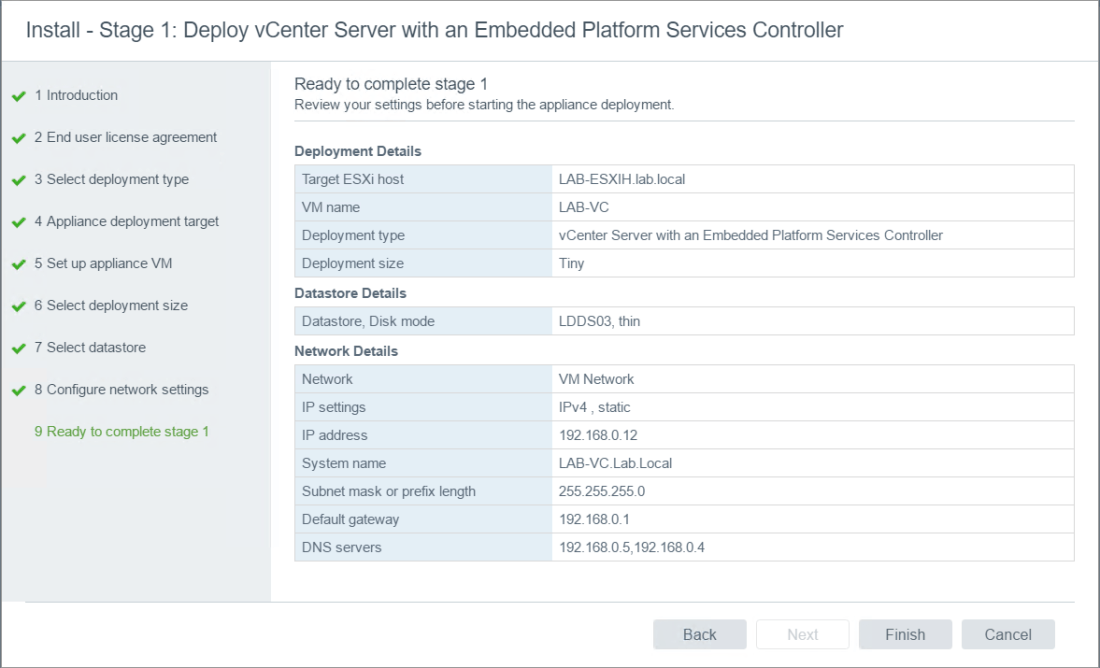
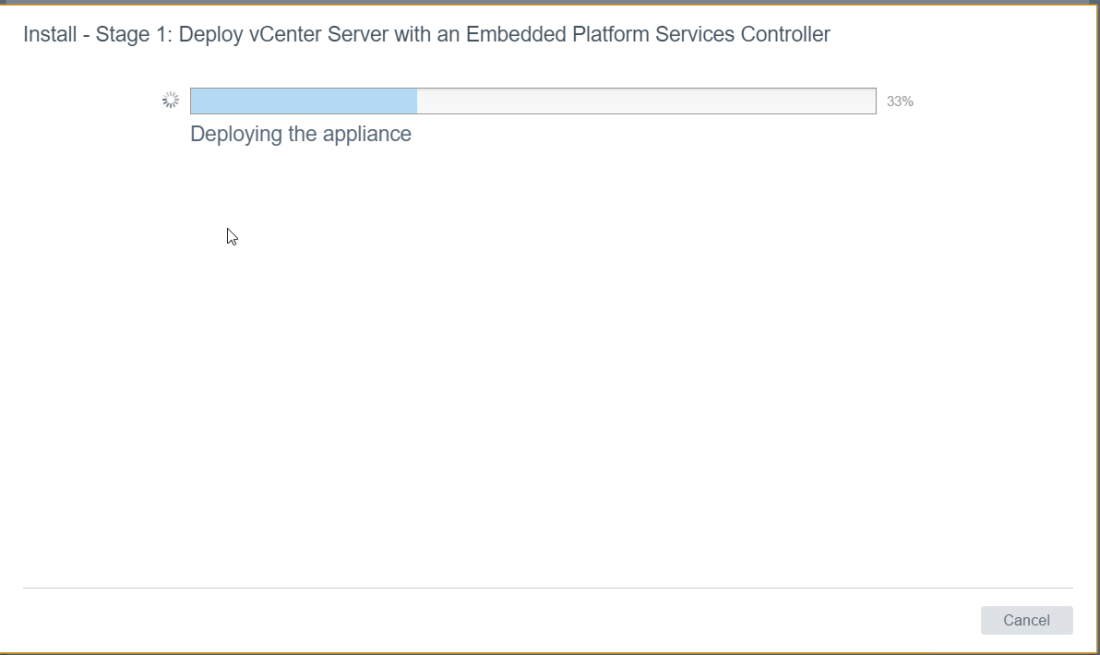
The deployment should promt to start stage 2 of the deployment.
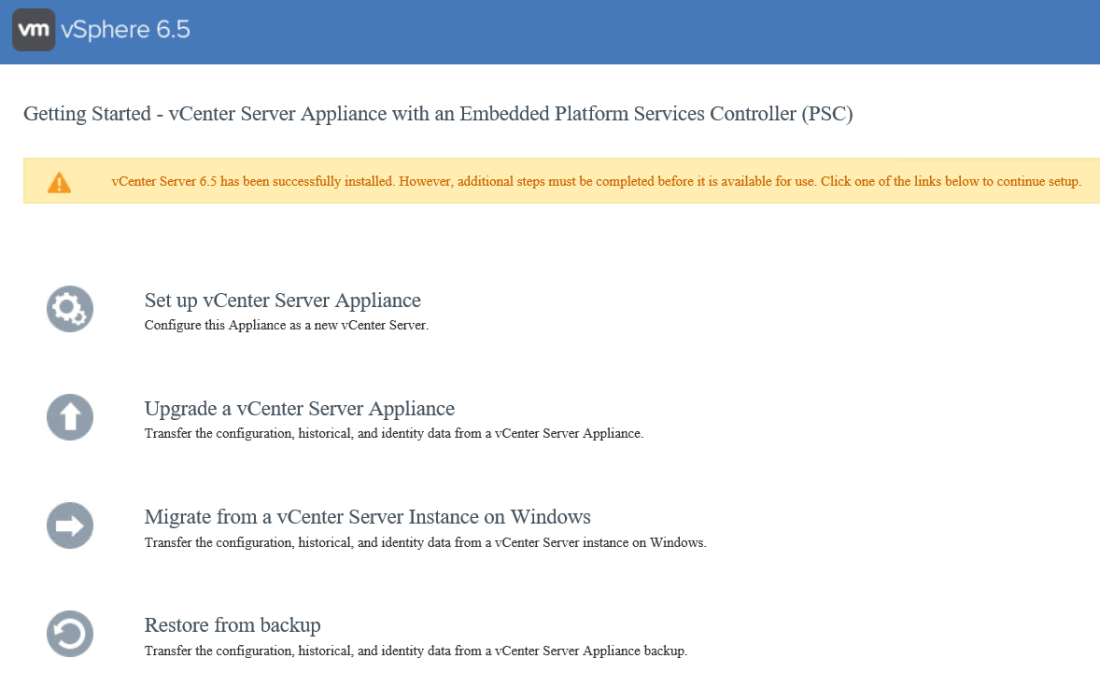
If the appliance doesn’t show the continue screen you can go to stage 2 of the deployed using the admin page for vCenter
go to https://vCentersystemname5480 or https://vCenterIPAddress:5480 and click on set up vCenter server appliance.
Set IP settings for the Embedded PSC.
Set the SSO domain and site-name with administrator password. 
last page will be to confirm details for embedded PSC 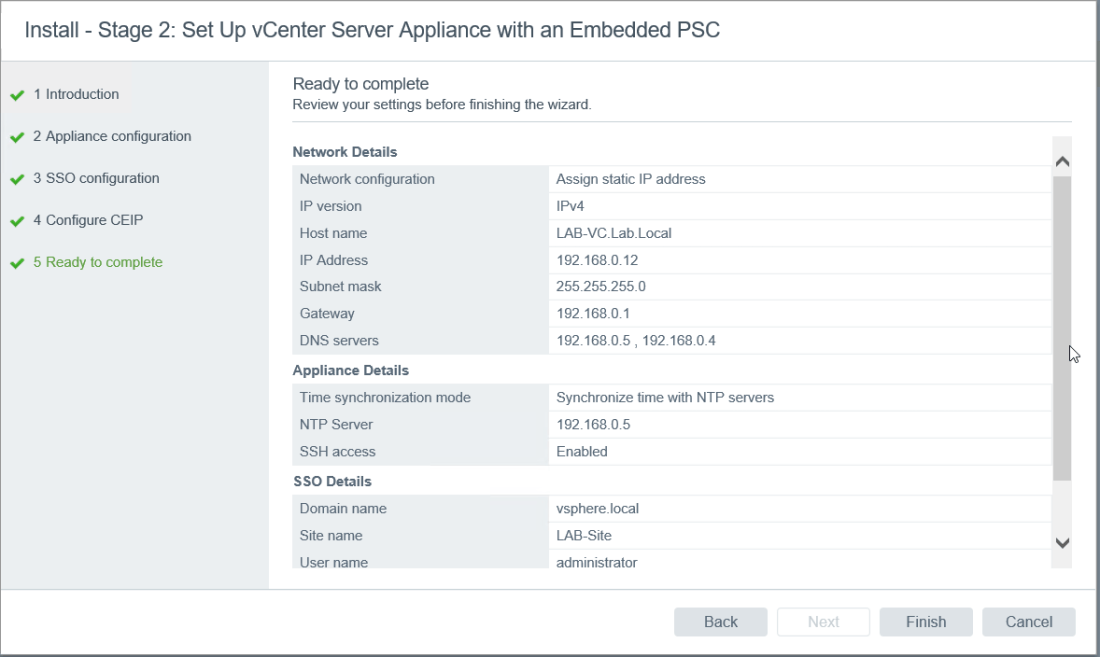
Click finish and the appliance will start to deploy. 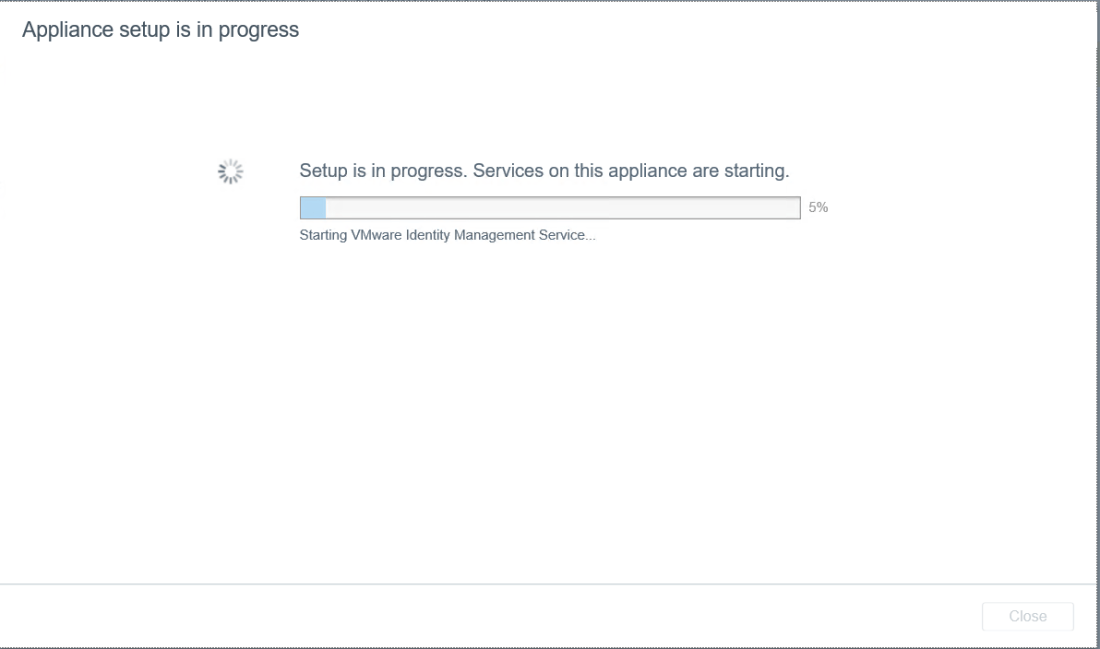
Once completed the URL’s to access will be presented on-screen. You can access either the vSphere web client Flash version or HTML5. HTML5 is not full functional in version 6.5 so certain task will need to be run from the Flash client. 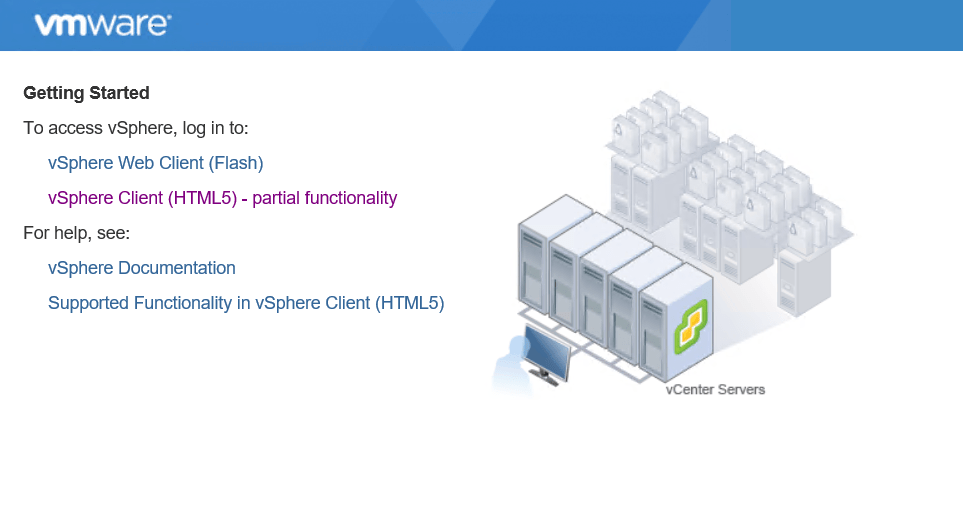
The logon will be the account and password that was set on the PSC SSO setup. In my case the logon name is administrator@vsphere.local. To logon to vCenter either go to
https://vCentersystemname or https://vCenterIPAddress
