
The process of patching vCenter server appliance has become a lot easier in recent years. Keeping vCenter fully up to date is important for stability and security.
In this post we will go through the process of patching for vCenter 7.0 to the latest version using the GUI connecting to the internet. You can also update using command line or by downloading and mounting the ISO image.
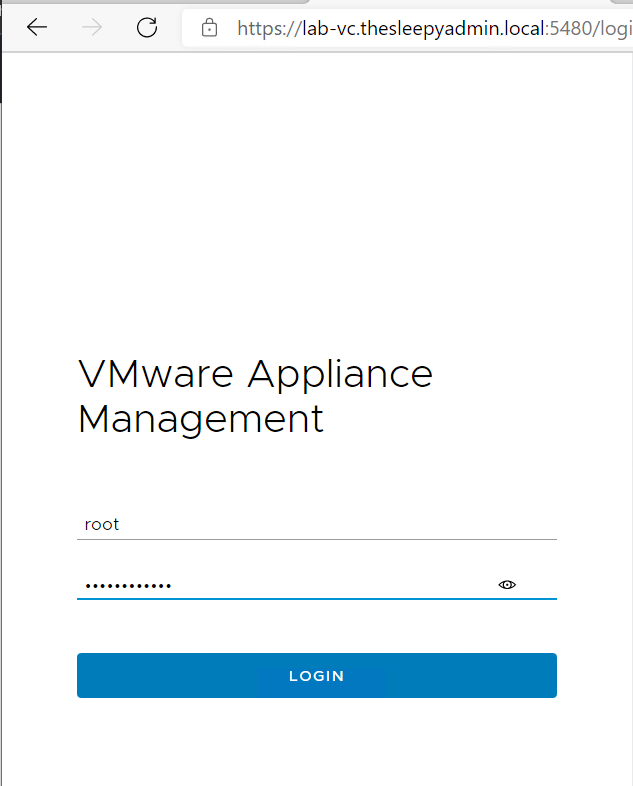
First we need to logon to the admin management console.
https://vcenter.domain.local:5480
Use the root logon that was configure when setting up the appliance.
First steps is to confirm there is a valid backup of the appliance.
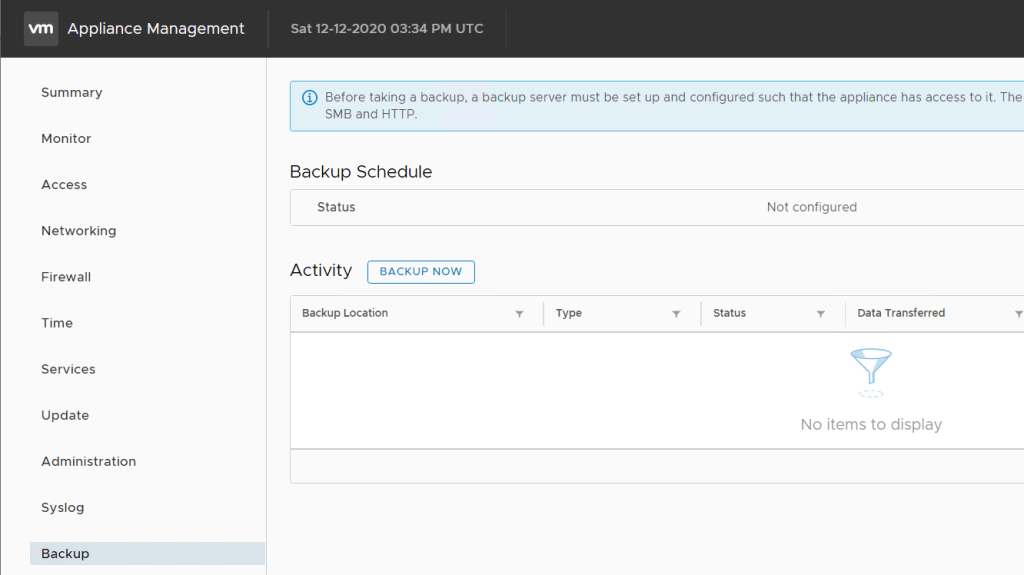
Click backup now.

There is an issue with vCenter 6.7U2 and above where it fails on SMB with SMB location is invalid if SMBv1 is disabled. So if you get that error you can just enabled SMBv1 temporarily or enabled OpenSSH on Windows to allow SSH connection which is what I would do in production.
Once completed the backup should kick off.

I also usually take a snapshot as that is the quickest recover option.
Once we have a back up, we can now continue with the updating the appliance. The current version of the appliance is 7.0.0.10100.
Go to Update and click check updates
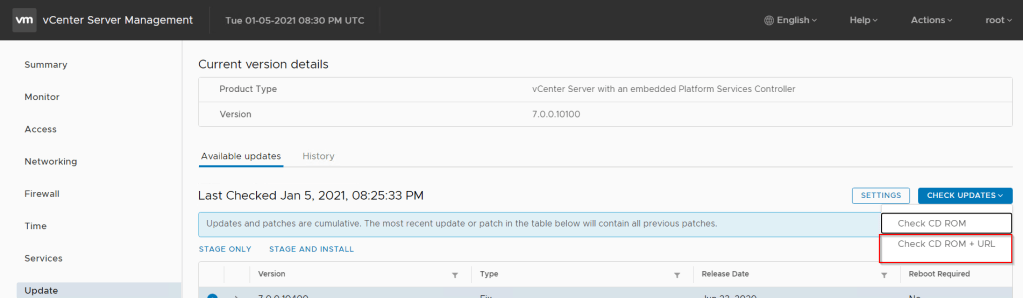
Once the check is completed select the latest patch. Select either stage only or stage and install if you want the update to be installed straight away. The version we will be updating to is 7.0.1.00200.

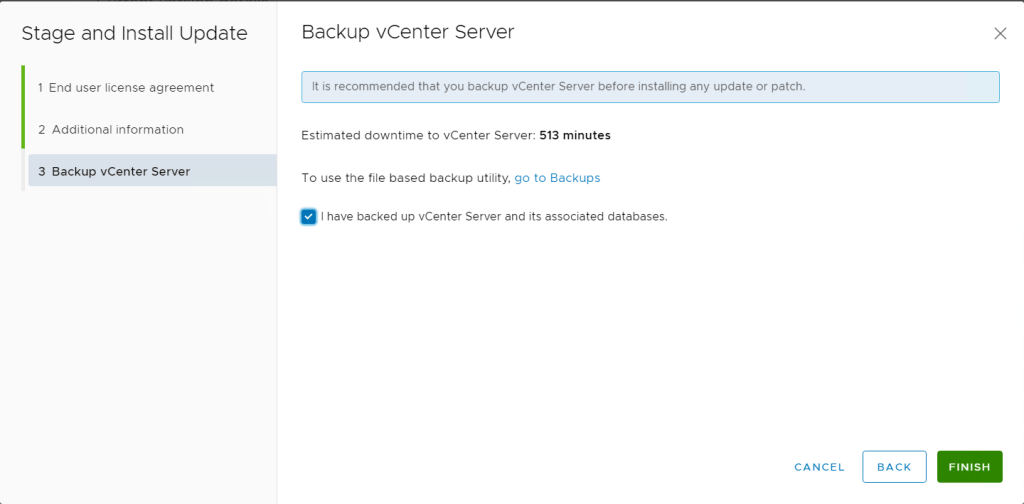
Accept the end user agreement.

This will run a pre-check on vCenter before the upgrade will continue. Once no issue are found put in the administrator’s password.
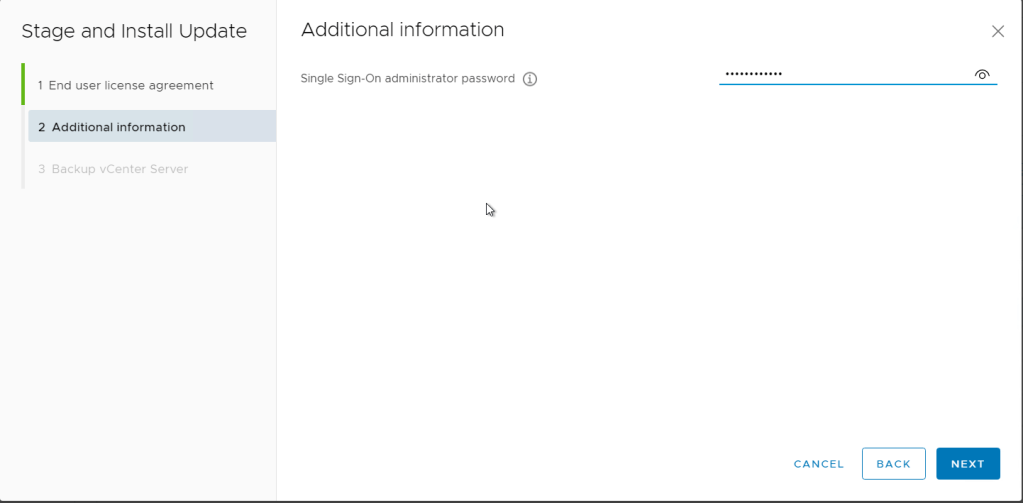
Tick the box to confirm that a backup has been completed.
The install will now start and can take a hour or so to complete.


During the upgrade there will be outages to vCenter while services restart.
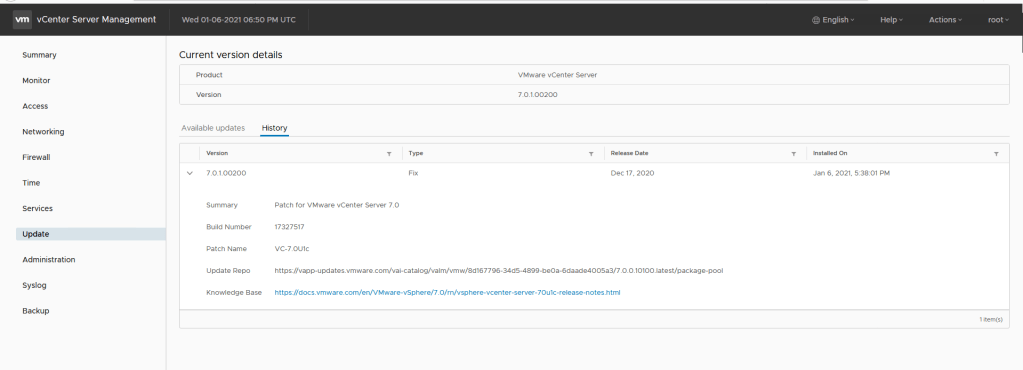
vCenter should now be update to the latest version.
