
In the next few post we will be going through deploying and configuring vRealize Log Insight (vRLI).
Log Insight is a tool from VMware than can be used for log analytics, log management for both infrastructure / application and help with troubleshooting.
I have been looking at deploying this in production so though I would setup in my lab and see how it works and if it would be usefully to deploy in our production environment.
Below is the link to the minimum requirements for vRLI
Minimum Requirements (vmware.com)
Hardware Requirements
Below is the the required hardware depending the size selected
| Preset Size | Log Ingest Rate | Virtual CPUs | Memory | IOPS | Syslog Connections (Active TCP Connections) | Events per Second |
|---|---|---|---|---|---|---|
| Extra Small | 6 GB/day | 2 | 4 GB | 75 | 20 | 400 |
| Small | 30 GB/day | 4 | 8 GB | 500 | 100 | 2000 |
| Medium | 75 GB/day | 8 | 16 GB | 1000 | 250 | 5000 |
| Large | 225 GB/day | 16 | 32 GB | 1500 | 750 | 15,000 |
Network Port Requirements
The following network ports must be externally accessible
| Port | Protocol |
|---|---|
| 22/TCP | SSH |
| 80/TCP | HTTP |
| 443/TCP | HTTPS |
| 514/UDP, 514/TCP | Syslog |
| 1514/TCP | Syslog ingestion via SSL only |
| 9000/TCP | vRealize Log Insight Ingestion API |
| 9543/TCP | vRealize Log Insight Ingestion API (SSL) |
Once all the requirement are checked we can start to deploy the appliance.
First step is to download the appliance OVA below is the link to the current
vRealize Log Insight | Log Analysis Tool | VMware
Create a new VM from VMware web client and upload the OVA file.
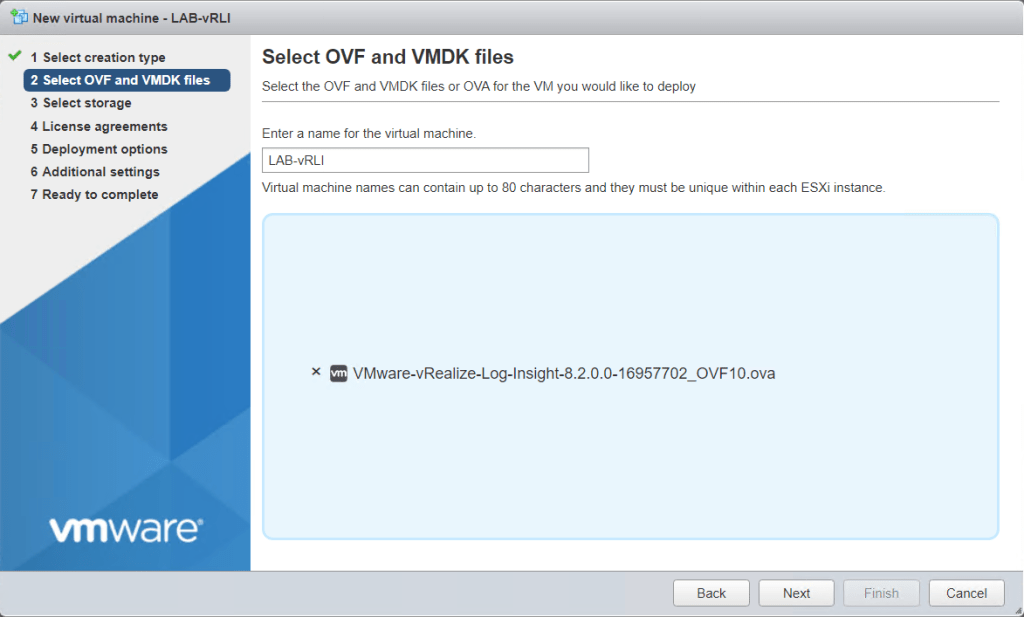
Select a datastore

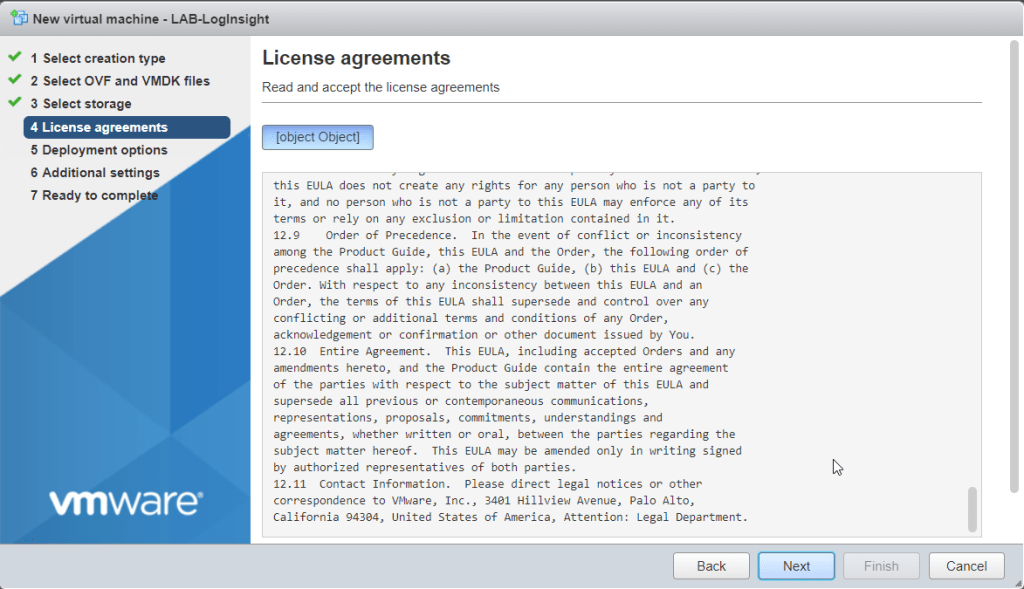
Accept the license agreement
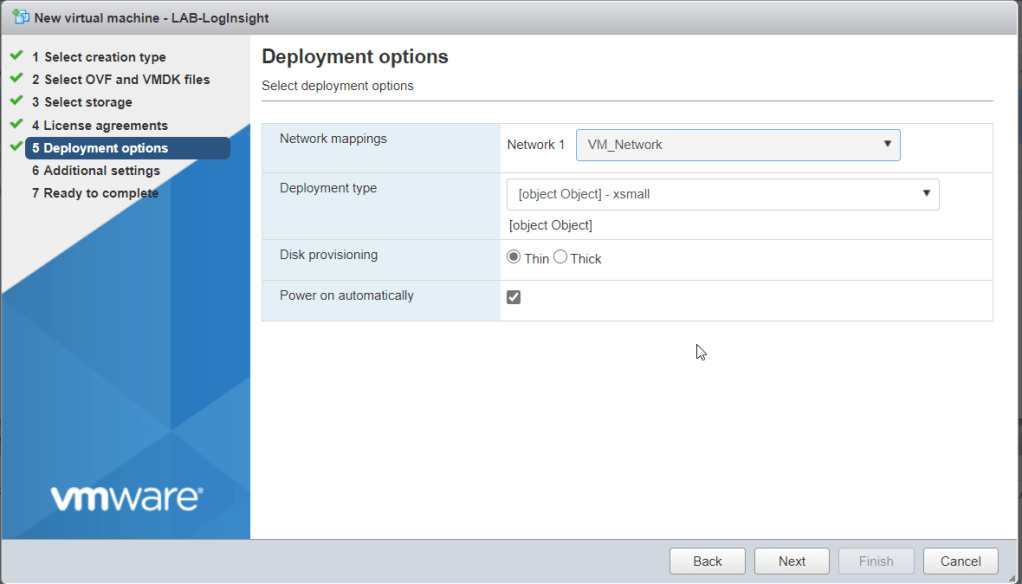
Select a network, deployment type and disk provisioning
Add in the hostname, IP address, gateway, DNS server and root password.

Review the setting to confirm all the settings are correct

The appliance will start to deploy

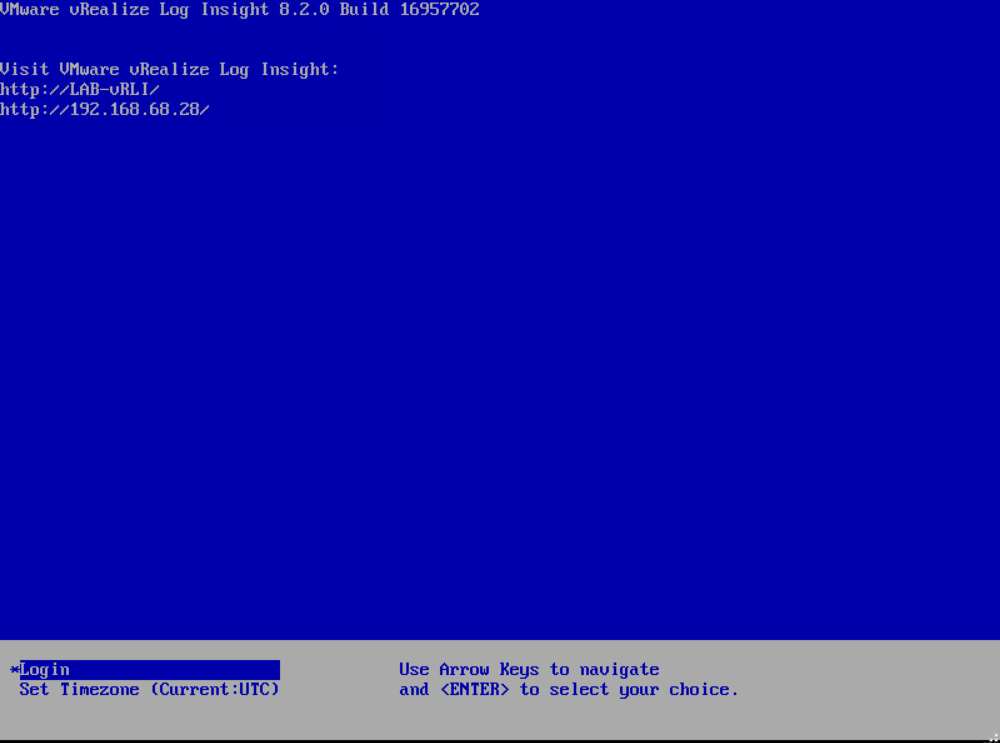
Once the install has finished it should show the DCUI, with the IP / hostname that was assigned during the deployment
Next we have to configure Log insight. Open a browser and either put in the DNS name if created or IP that was assigned to the appliance.
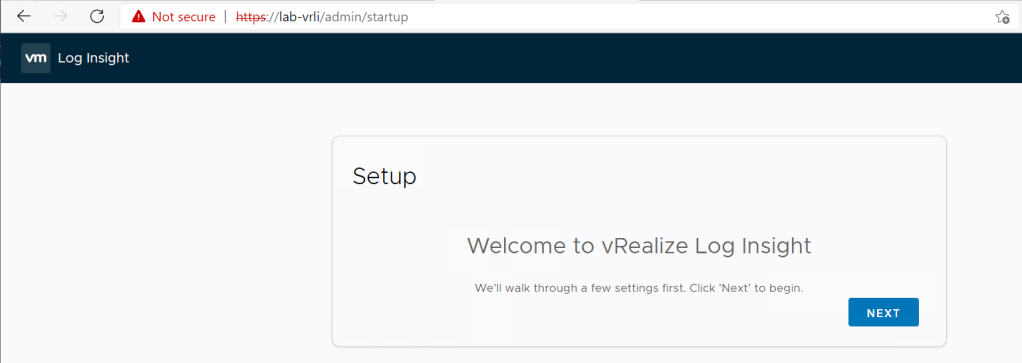
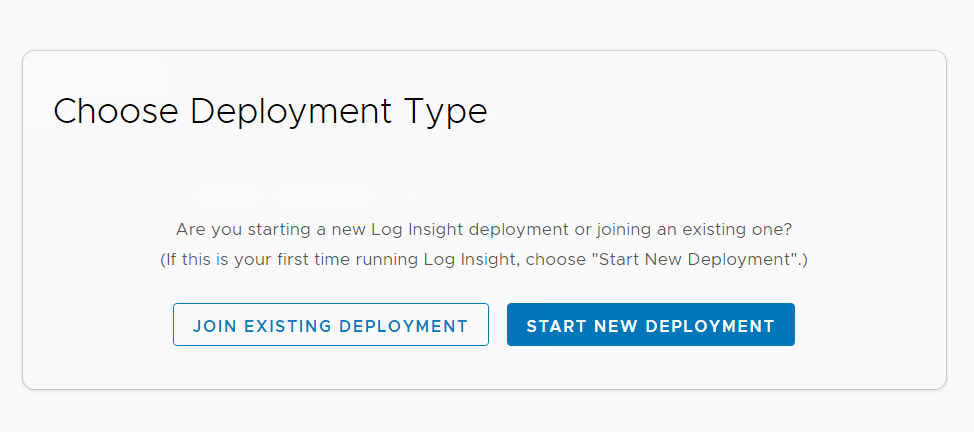
Click start new deployment
Set Admin credentials and email address.

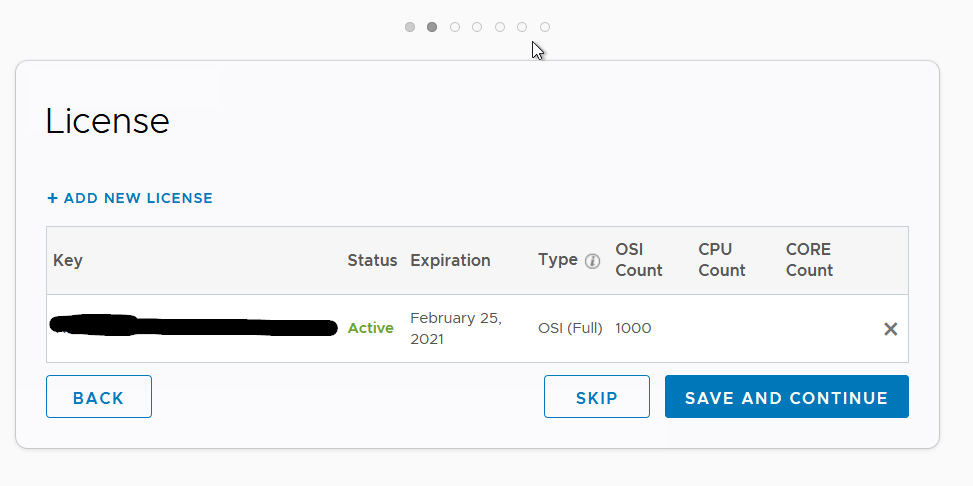
Next screen will ask to put in a license, I will be using a trial license so this will only last for 60 days
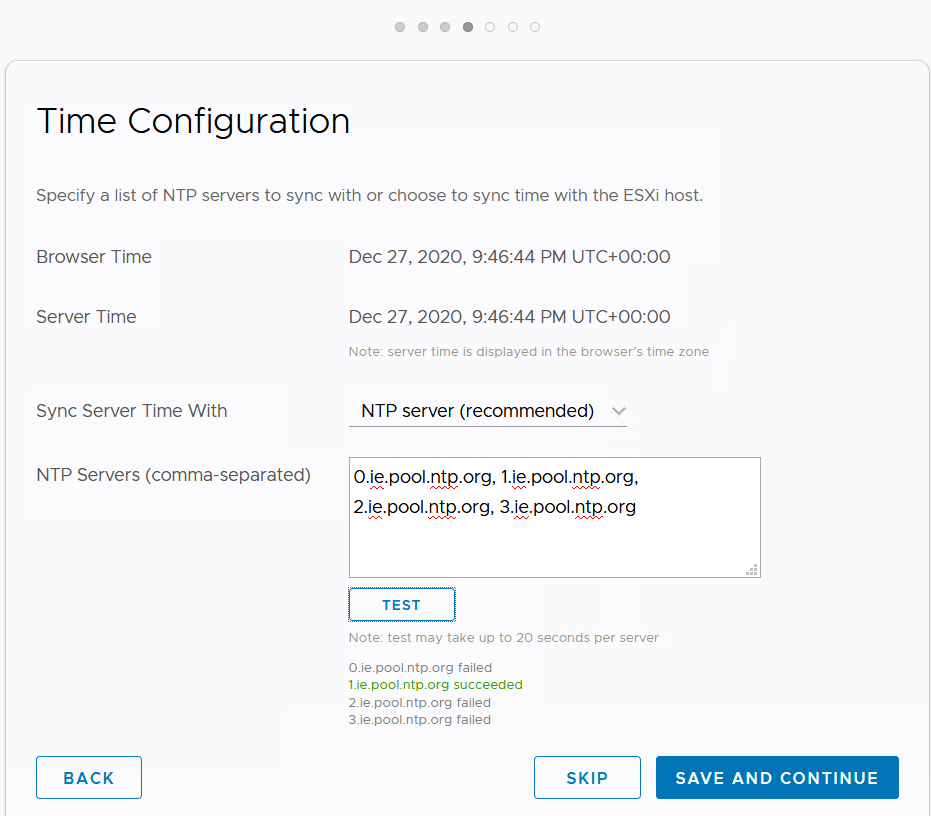
Set the NTP settings.
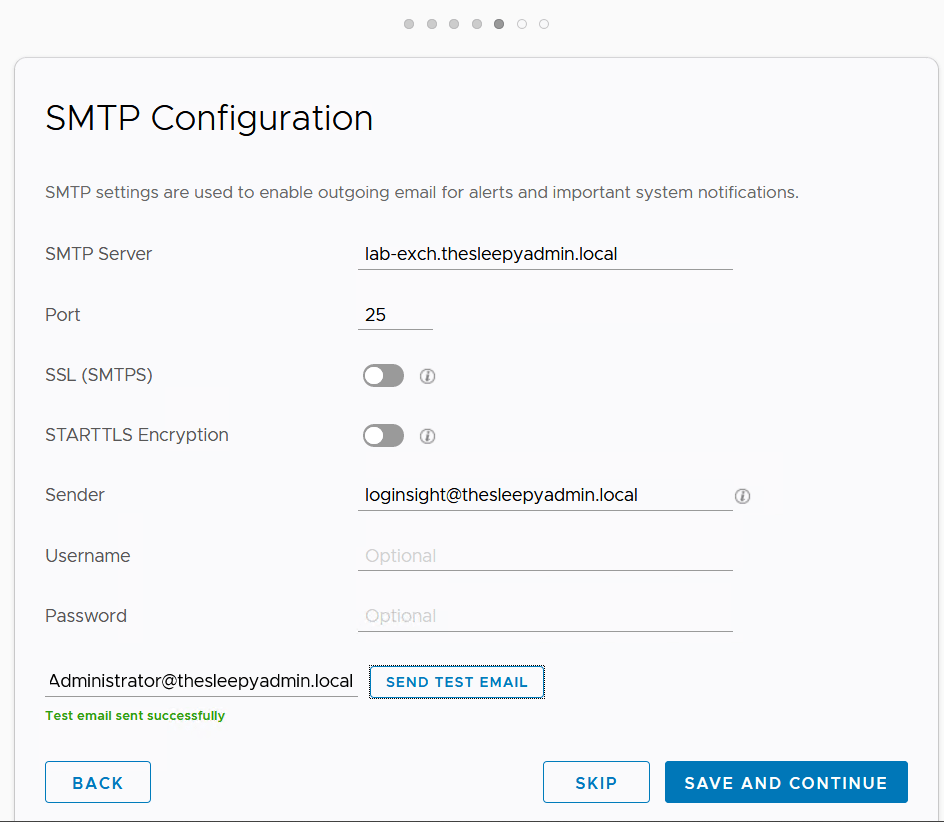
Configure SMTP settings as required. To test if all settings are correct use the send test mail
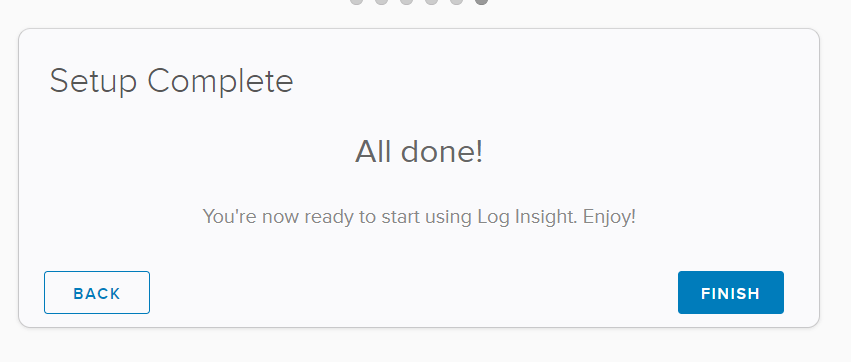
Click finish to complete the install.
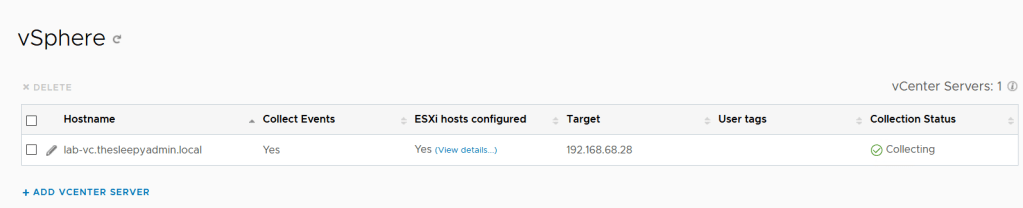
Next we will configure the vSphere integration.

Add in the vCenter details, click test connection to confirm the details are correct
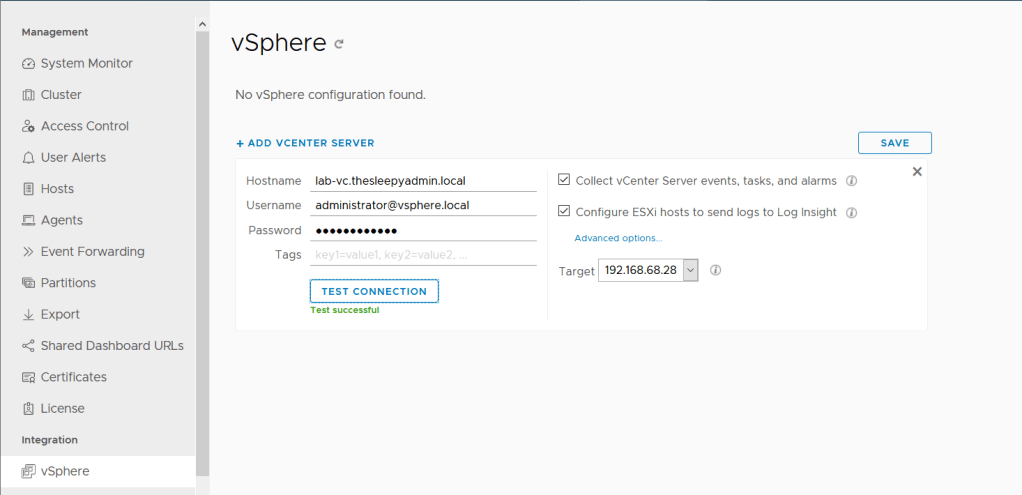
Save vCenter configuration details.
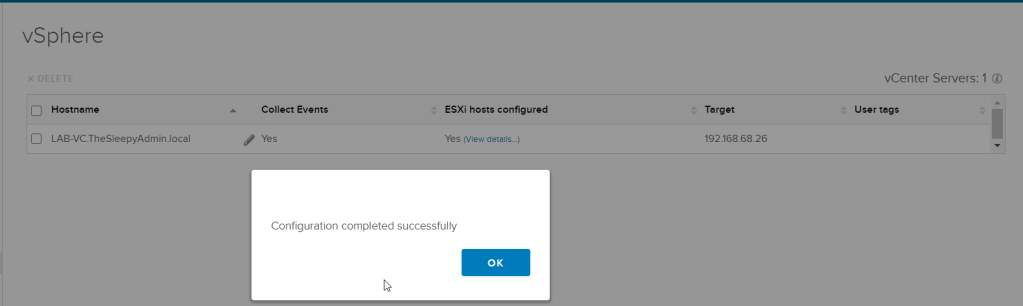
vCenter server will now show and the collection status should show as collecting
In the next post we will go through configure AD integration and using the log insight dashboards.
