In this post we will be going through connecting Windows Admin Center to Azure to allow management of Azure VM’s. To install WAC see previous post.
The Azure integration allows the management of Azure and on-prem servers from a single console.
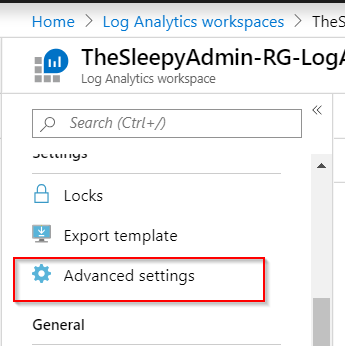
First step is to register WAC with Azure, Open the WAC admin console and go to settings tab. 
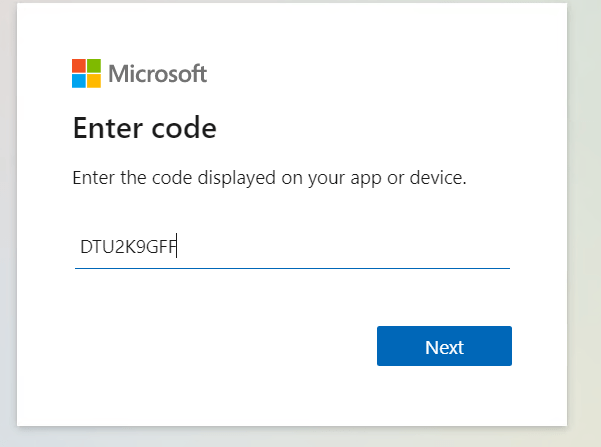
Go to the Azure in the gateway settings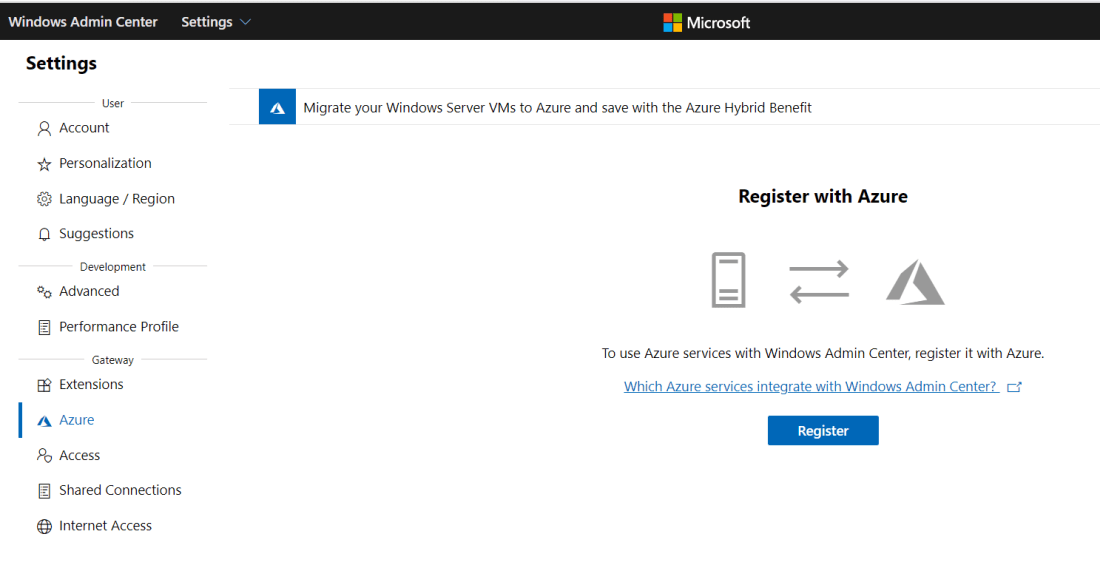 Copy the code and click on the enter code hyperlink and enter the code
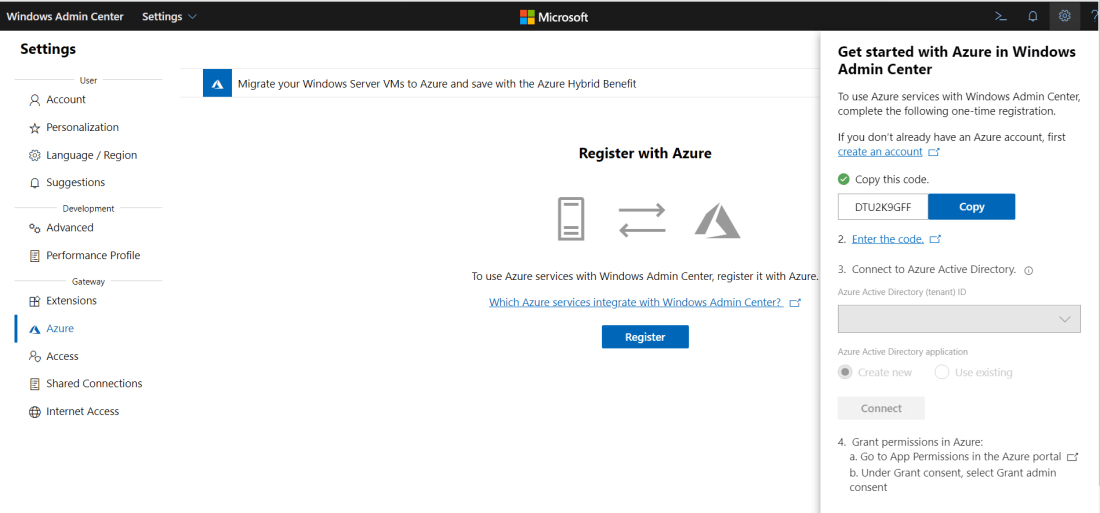
Sign-in using an admin account on the Azure tenant. 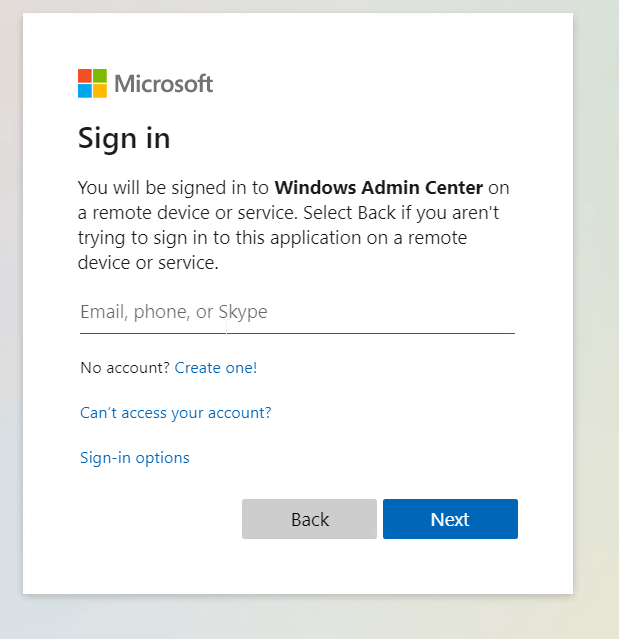

Now go back to WAC and click connect to finish the registration 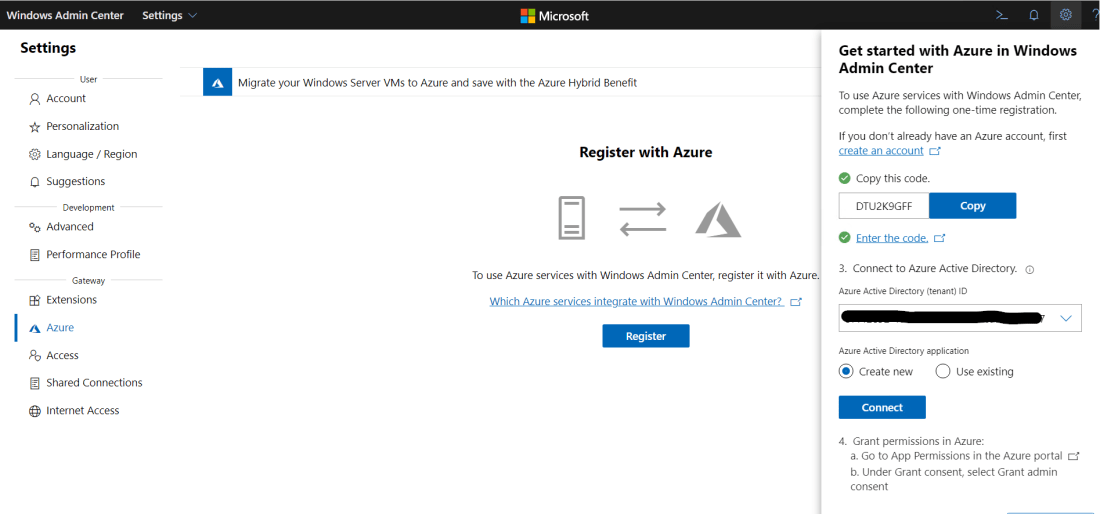
Once WAC is registered it require admin application permission to be granted to the application registration in Azure 
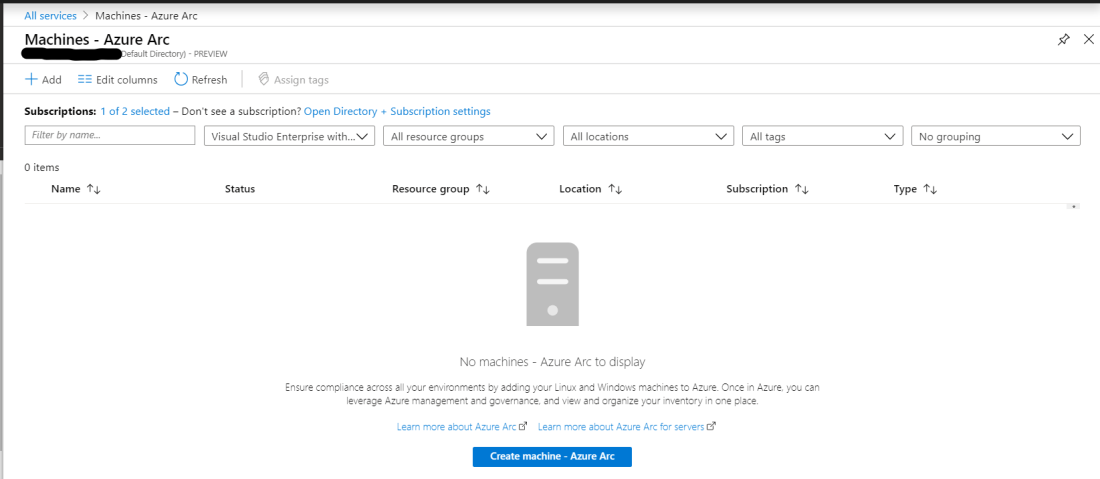
Now that the registration is completed we can now add Azure VM’s to WAC go to add and select Azure VM
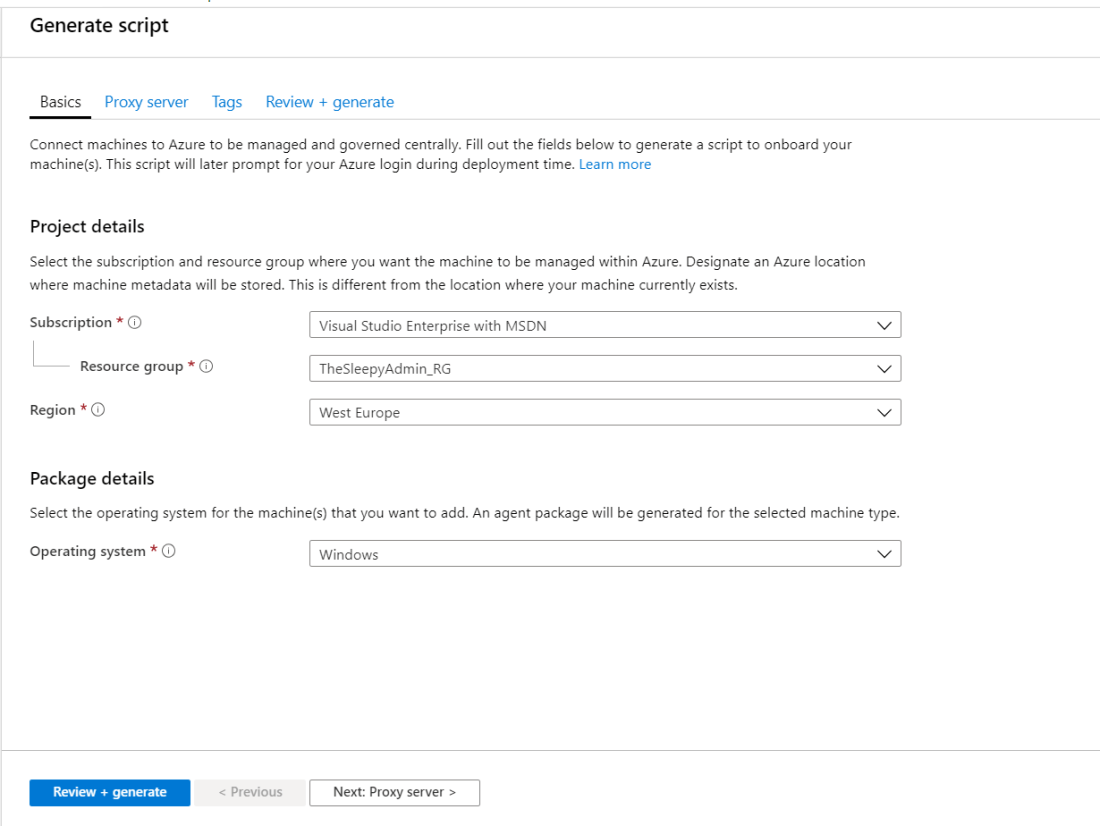
Select the subscription (if there are multiple subscription in your tenant), resource group and VM that will be added. 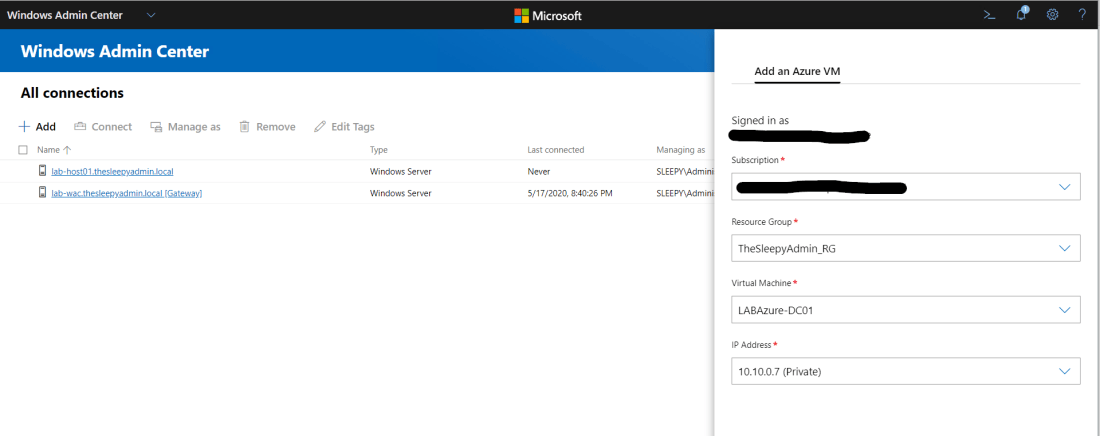
Once the Azure VM is added, to allow management there will need to be management ports opened to allow a connection between WAC and the Azure VM. If you are using a site to site VPN you can just allow the ports over the VPN connection.
I have a public IP associated with my VM and I will be modifying my network security group to allow the ports from my public IP.
I wont be going through configuring an NSG as this was covered in a previous post. 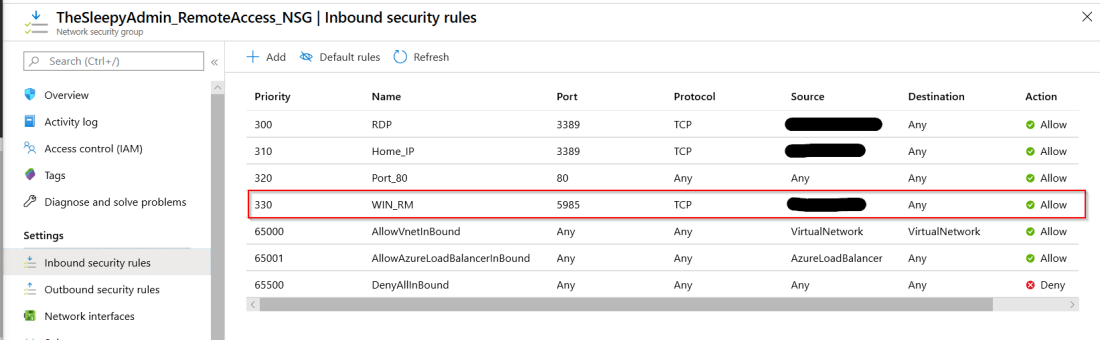
On the VM itself you need to enable winrm and allow port 5985 through the windows firewall if enabled. This can be done by running the two command below from an admin PowerShell session.
winrm quickconfig
Set-NetFirewallRule -Name WINRM-HTTP-In-TCP-PUBLIC -RemoteAddress Any
Once the NSG is configured we should then be able to connect to the VM. 
Below shows the overview of the VM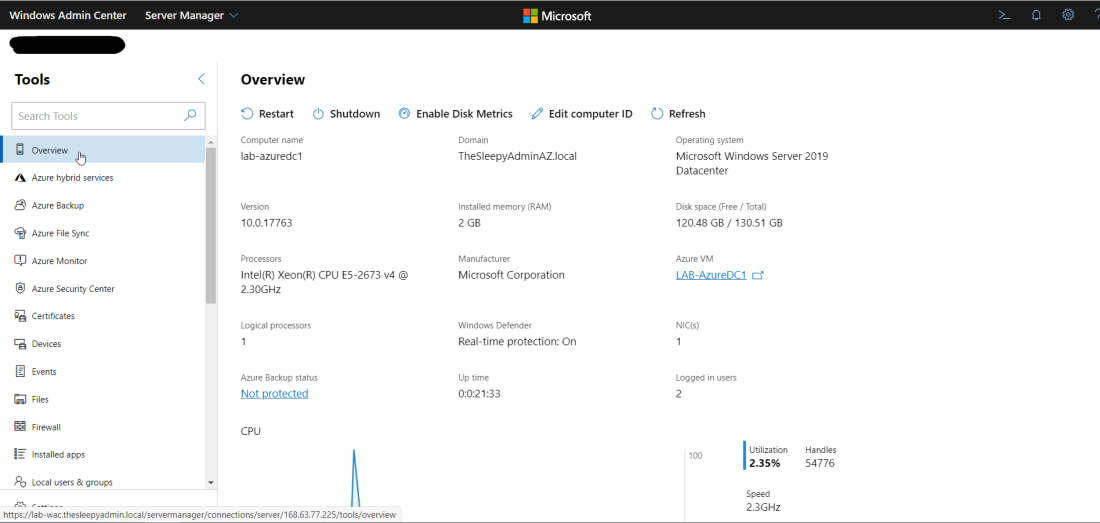 We can also now connect to the VM using integrated RDP console in WAC
WAC also allows us to manage services, scheduled tasks, backups, check event logs and other admin task, along with connecting using remote PowerShell directly from WAC.


 To confirm the query is working we can create a search filter for all software updates to make sure they match.
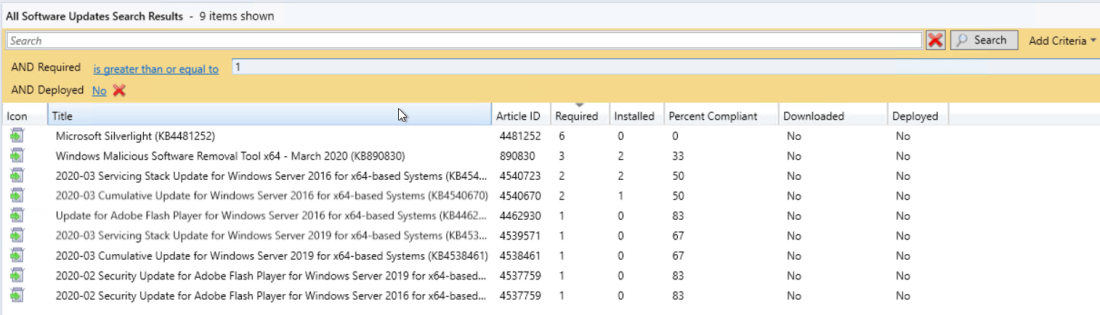 Last step was to create a weekly email report using SQL Server Reporting Services (SSRS).
 I created a custom Reports folder to keep any report I created.
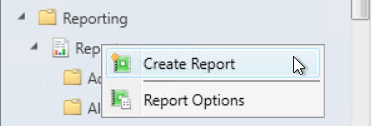
 Follow the report wizard to finish the report creation.
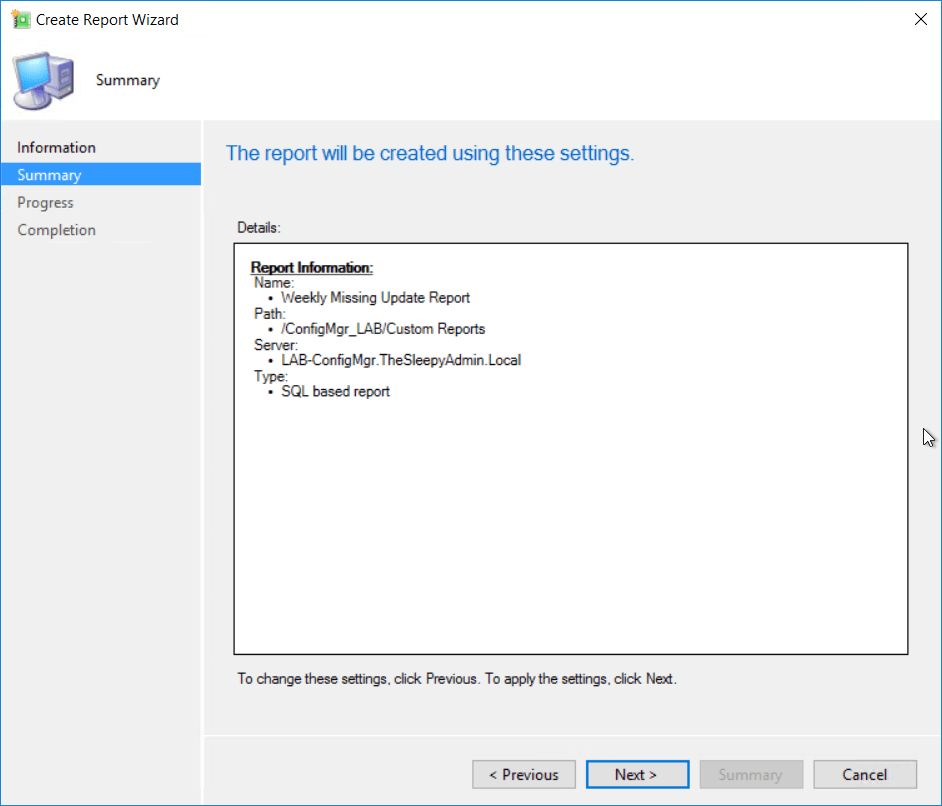
 Once the report wizard completed the report builder should load.
  First create a new dataset. Right click on Datasets > Add Datasets
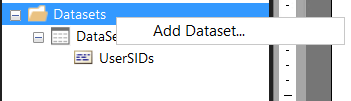
 Once that click ok and the dataset should show under datasets.
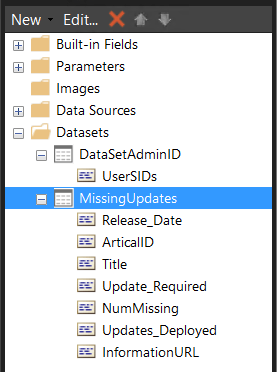
 Select the dataset we create.
 I just wanted to use all values so drag all row to the value box.
 Next just go through the rest of the wizard. Once completed you should see something similar to the below. I added a text box at the top for a tile and added in some grey filling on the table.
 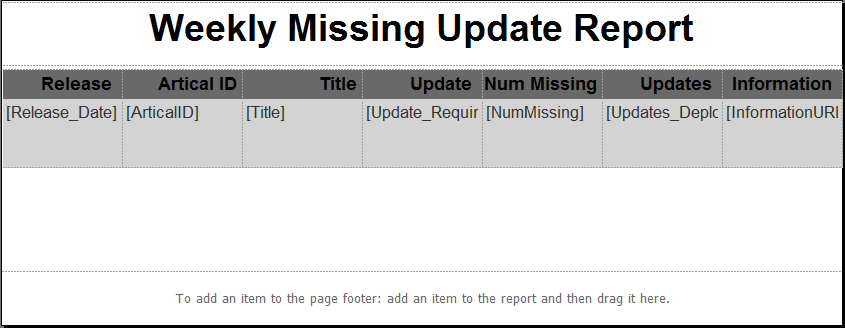 Now save the report and we can run from the MECM console to see what the report will look like.
  Last step is to create subscription to send a the weekly report
 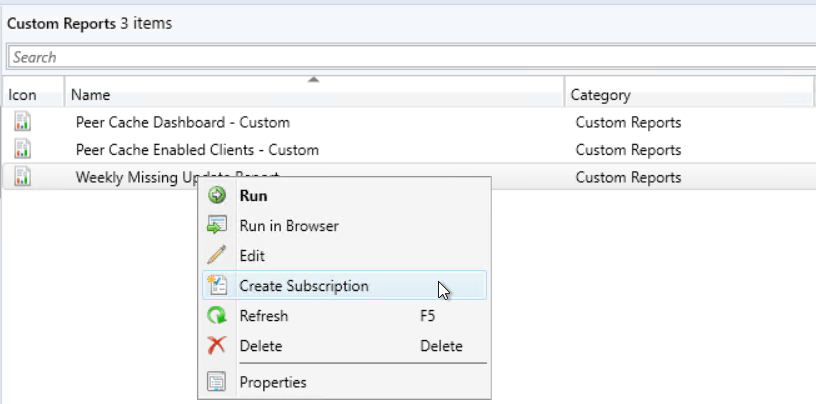 Select report delivered by Email and put in the required detail and report to be included.(Email settings need to be configured in SSRS before you can select email as a deliver option)
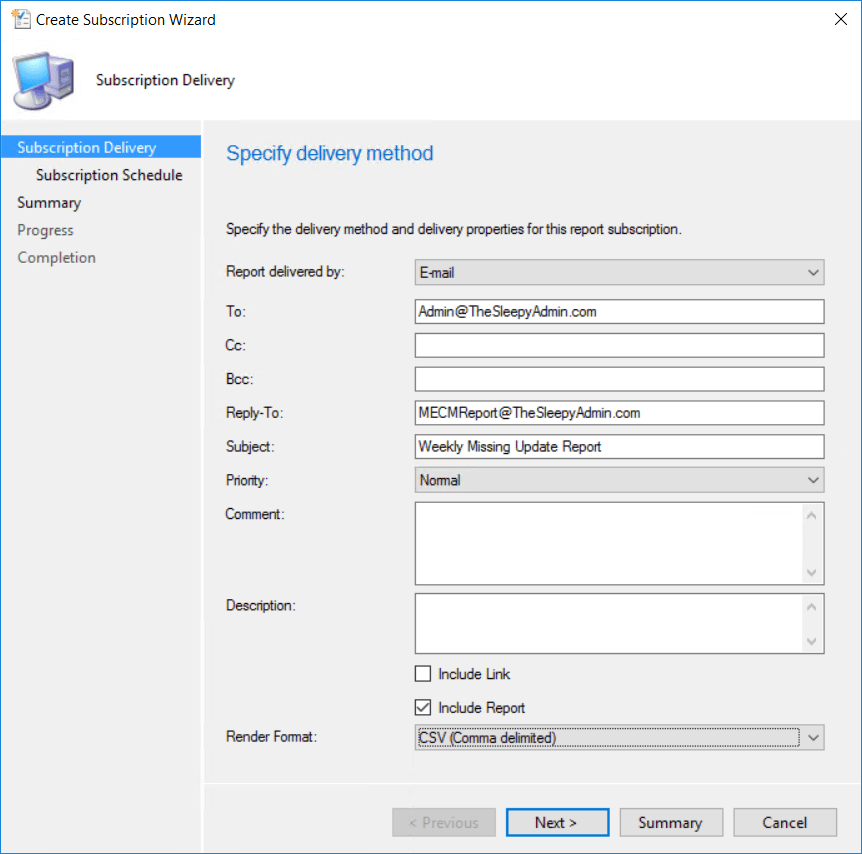 Set the schedule that is required and complete the wizard.
 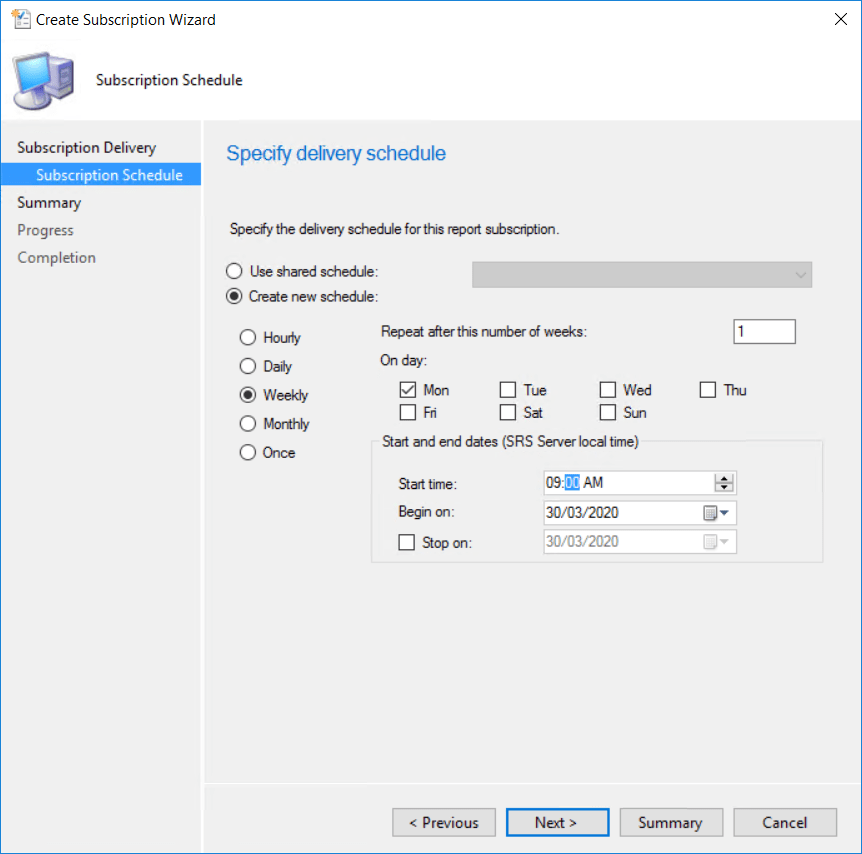 The report should now be sent out weekly as a csv file.
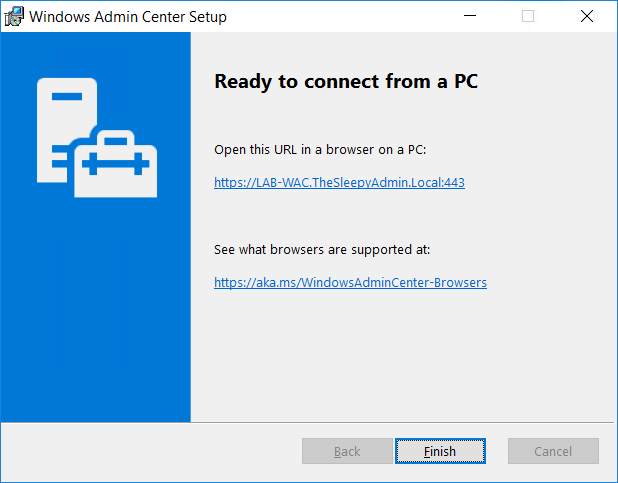
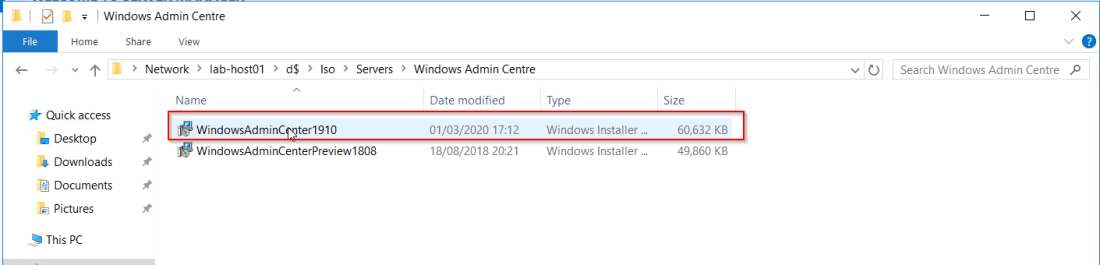 Accept the terms.
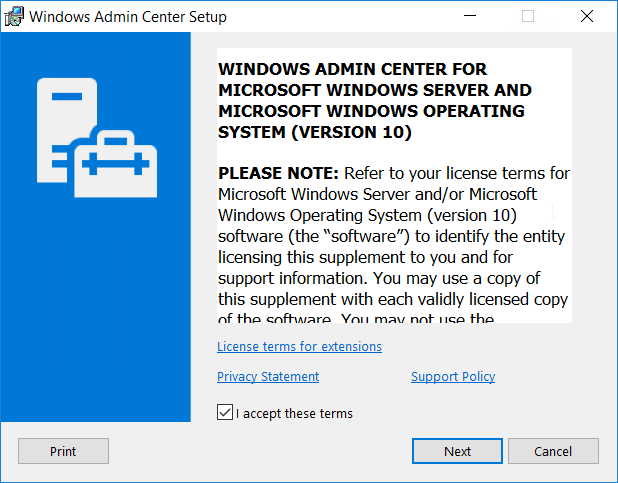

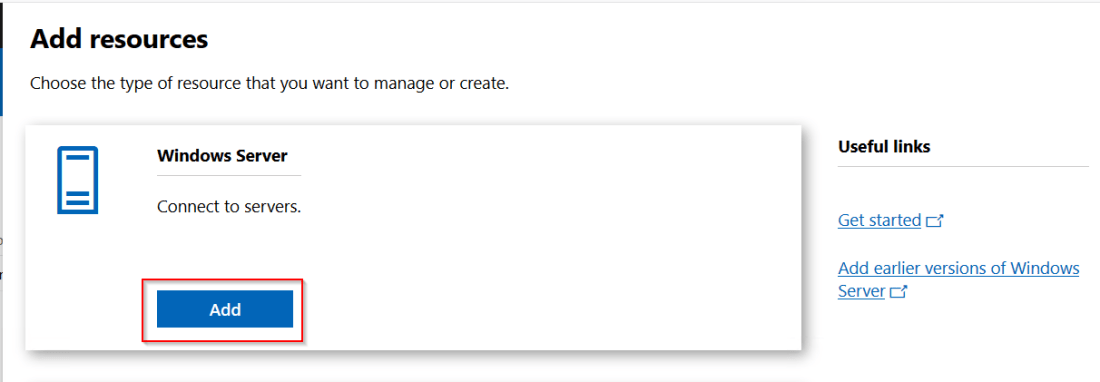
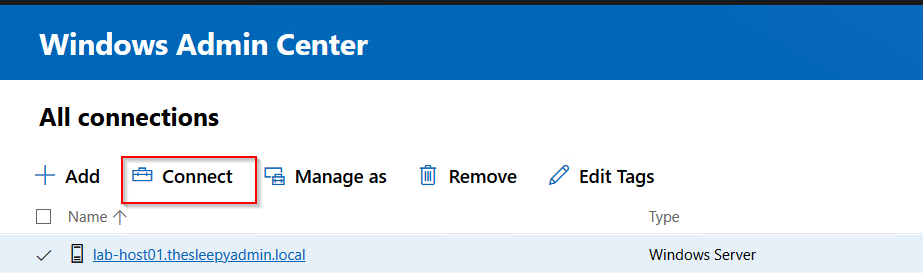
 To add a server click Add.
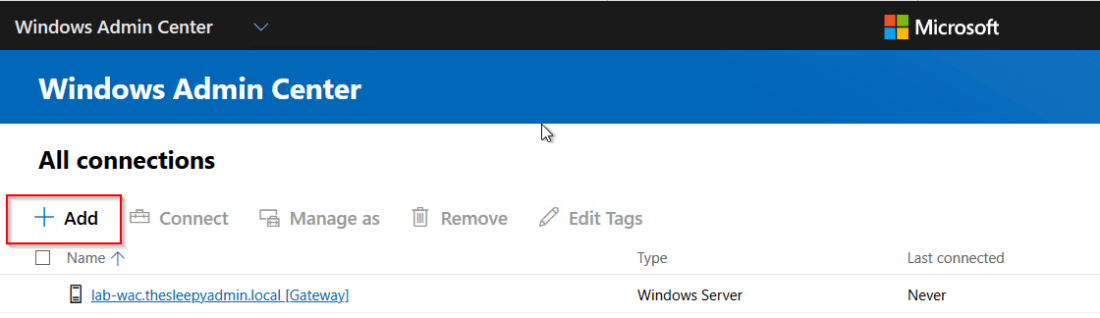
 Click search active directory and put in the server name.
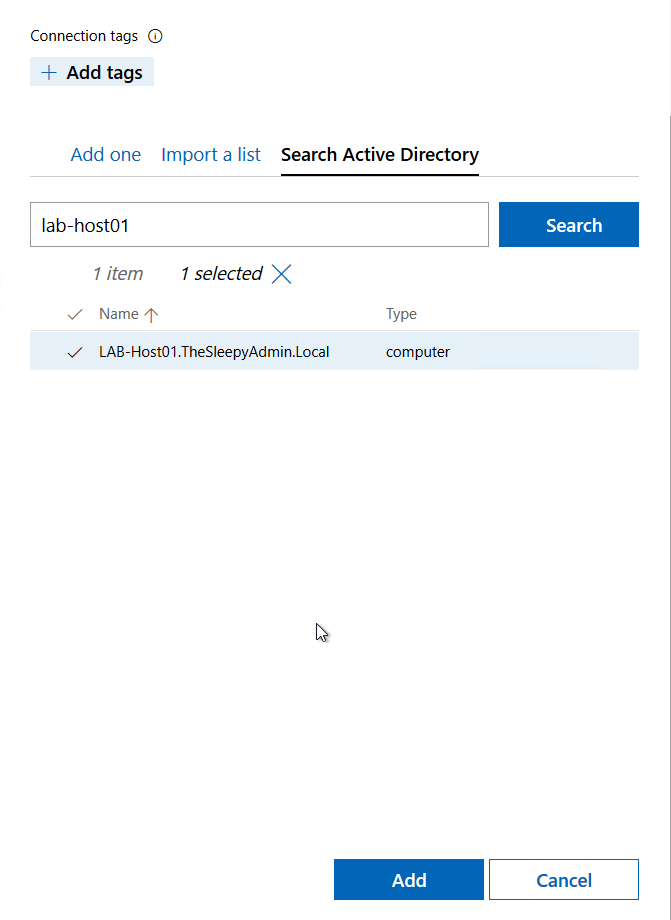
 When connecting to servers, to allow single sign on there is an additional command that need’s to be run. If this is not done you will see the below warning when connecting.
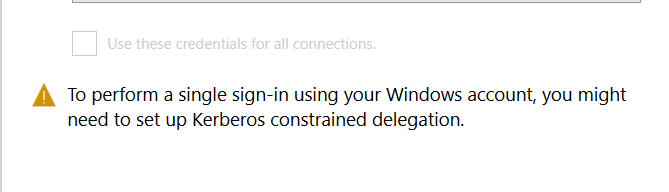
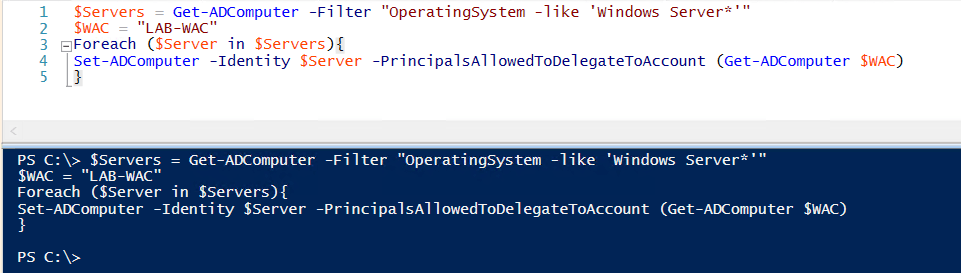 The above command adds the admin server to the below attribute.
  Once this has been done when you click connect it should now use SSO.
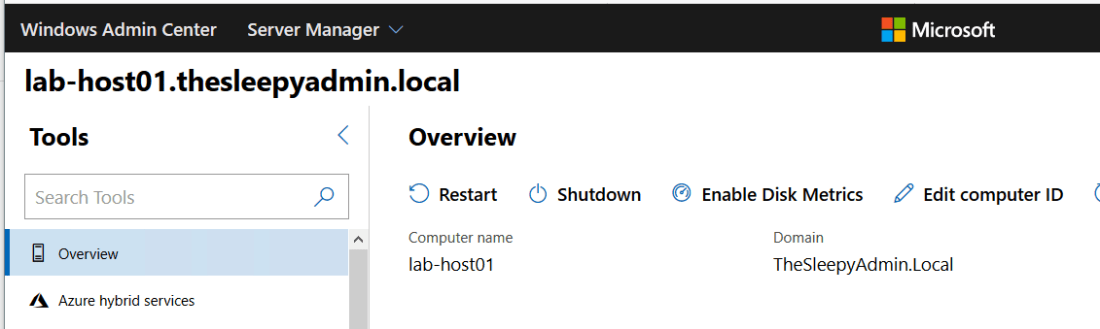
 Once the workspace has been created we need to configure the on-premises connection account.
  Put in details for the domain account, I used a service account that has read access to AD so that I could restricted the logon to the account to only be used for ATP
 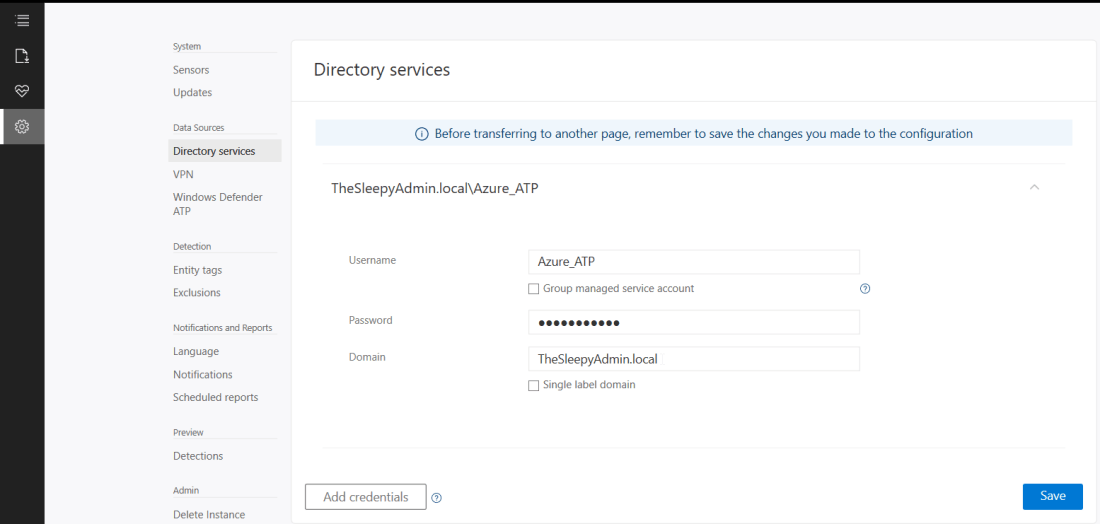 Once AD details are added next step is to download and install the sensor agent. Go to sensors and download the setup exe and copy the access key as this will be required during the install.
 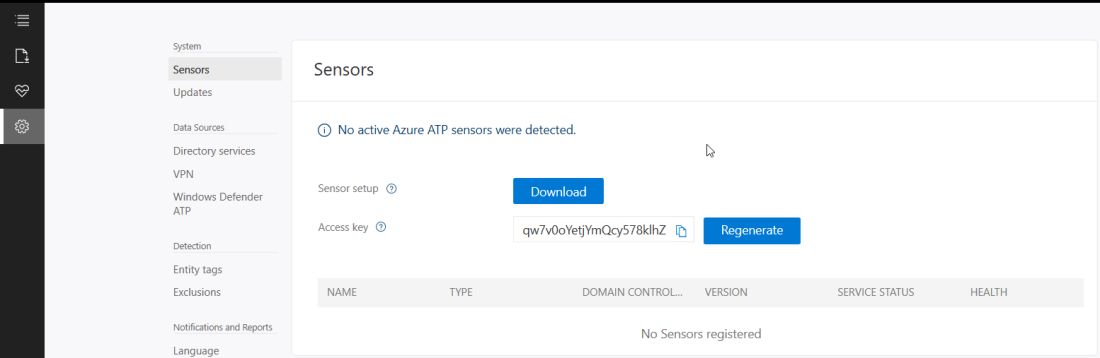 Copy the installer to the DC and run.
  Select required language.
 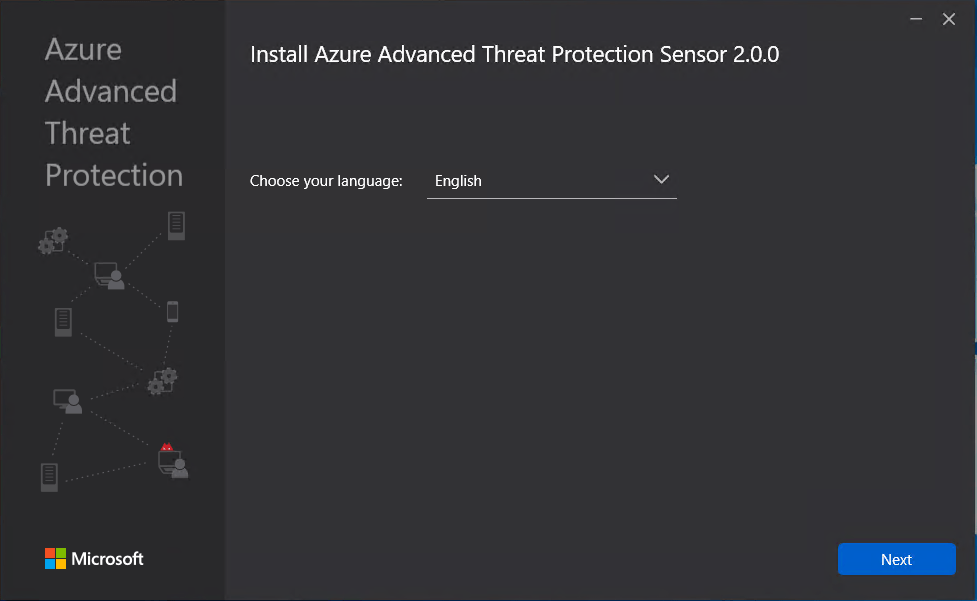 Deployment type will be sensor I am running on VMware and this will generate the below warning which will redirect to a guide to disable IPv4 TSO Offload.
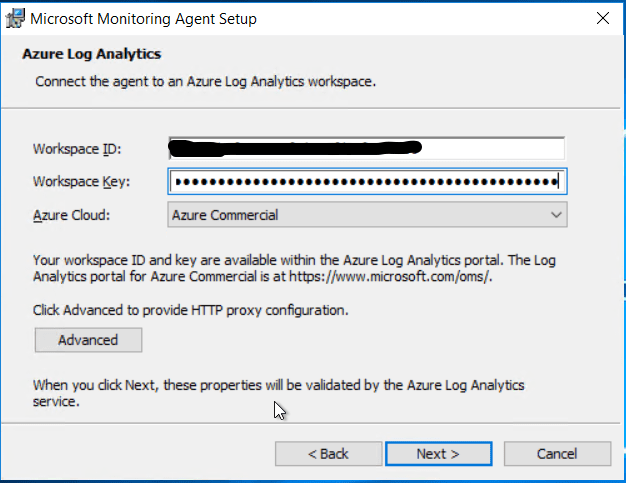
  This is where we need to put in the access key so that the sensor is associated to the correct workspace.
 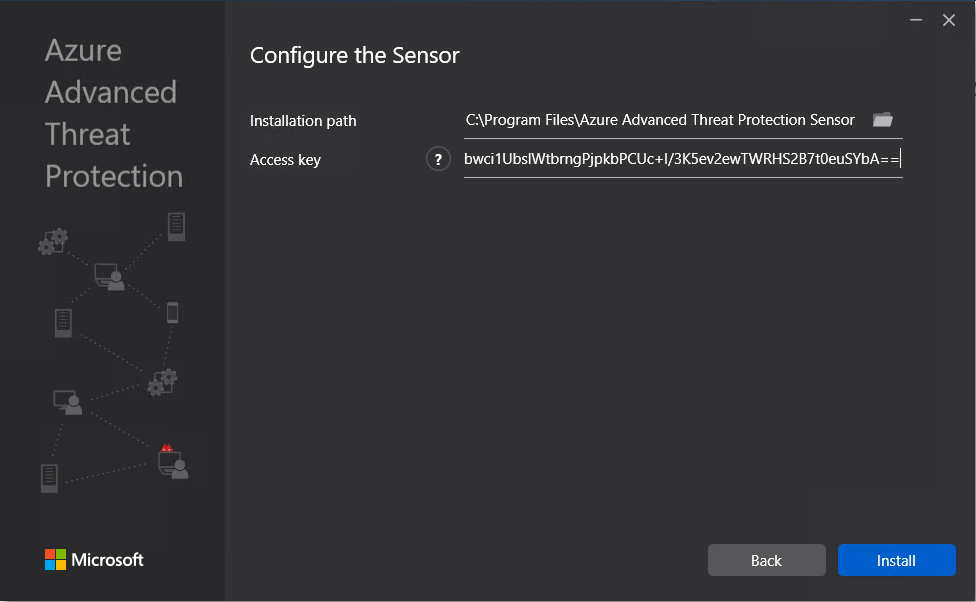 The agent should now start to install.
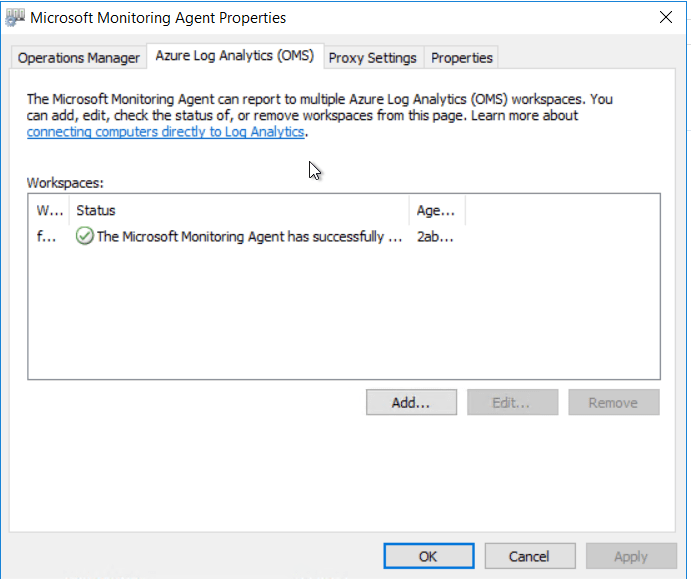
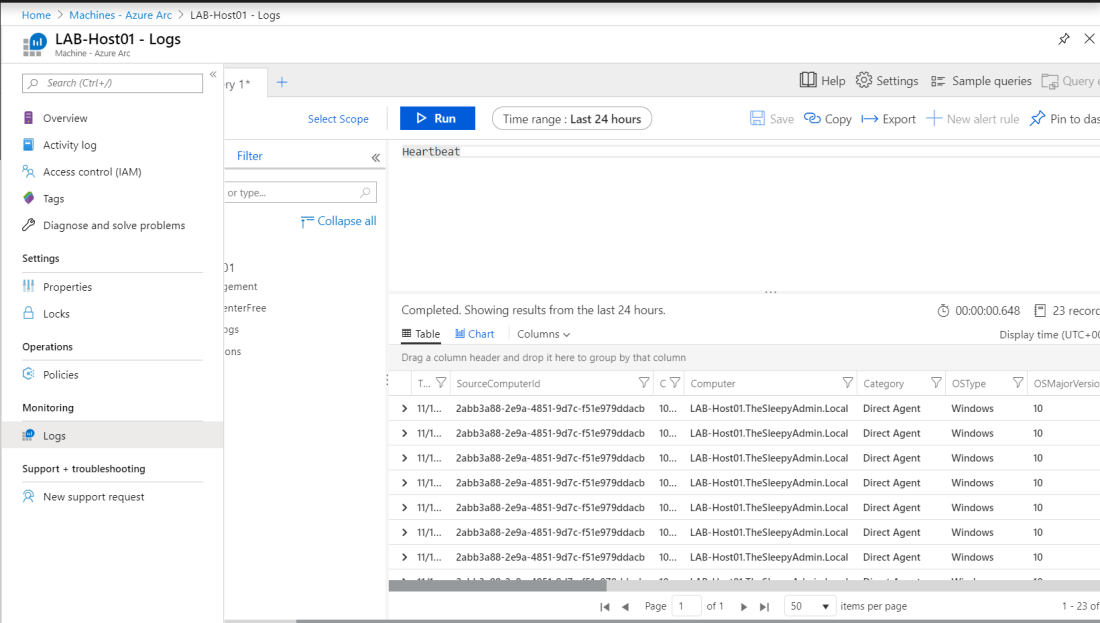
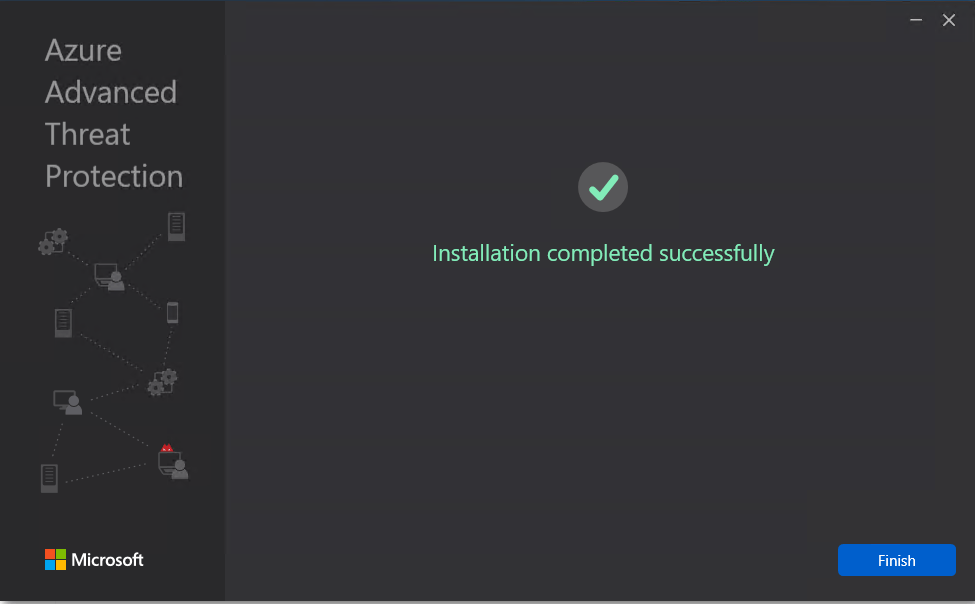 Once the agent has install it can take some time for it to respond in Azure ATP.
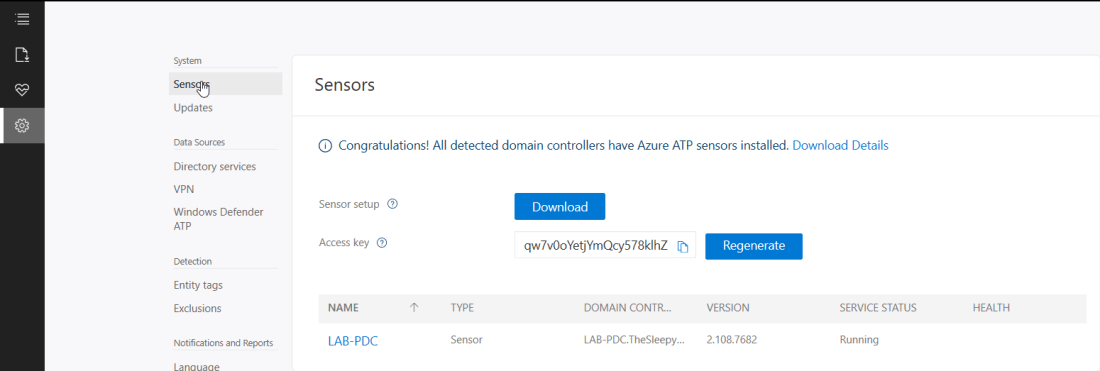 Now the agent should start to notify of any suspicious activity that run’s like reconnaissance on SMB, DNS and other malicious reconnaissance.
 We can also add sensitive account and group, there are default groups/ accounts that are considered sensitive by default like Administrators, Domain admins, Enterprise admins…, a full list of these can be found in the below link.
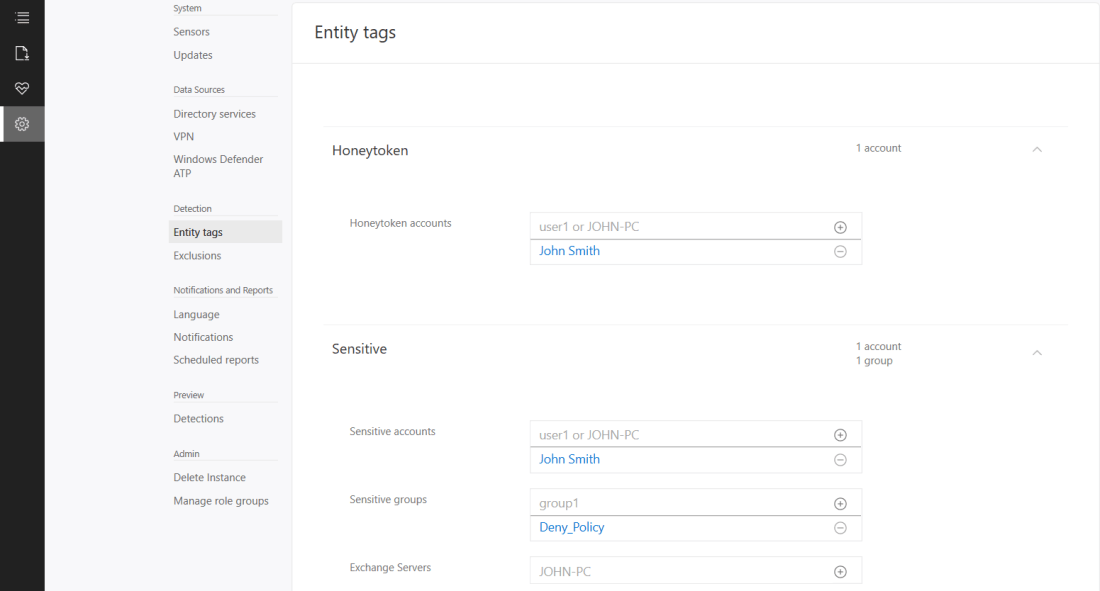 If we now logon with the HoneyToken account it will then alert the activity by this account.
 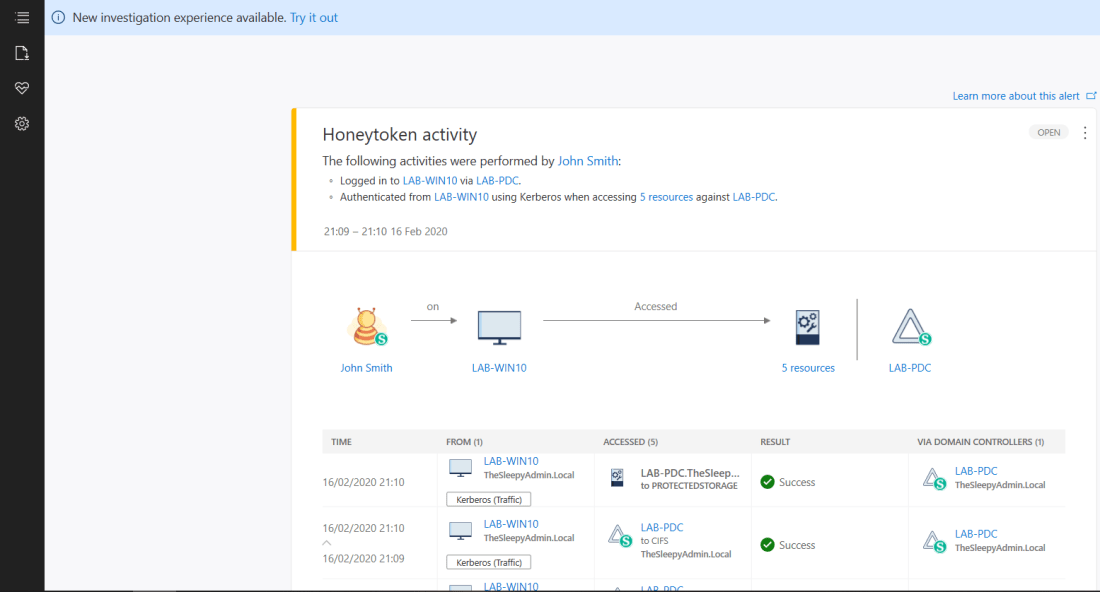 We can also run reports or schedule reports for schedule reports. To run a report go to the reporting blade and change the date to the range you want and click download.
 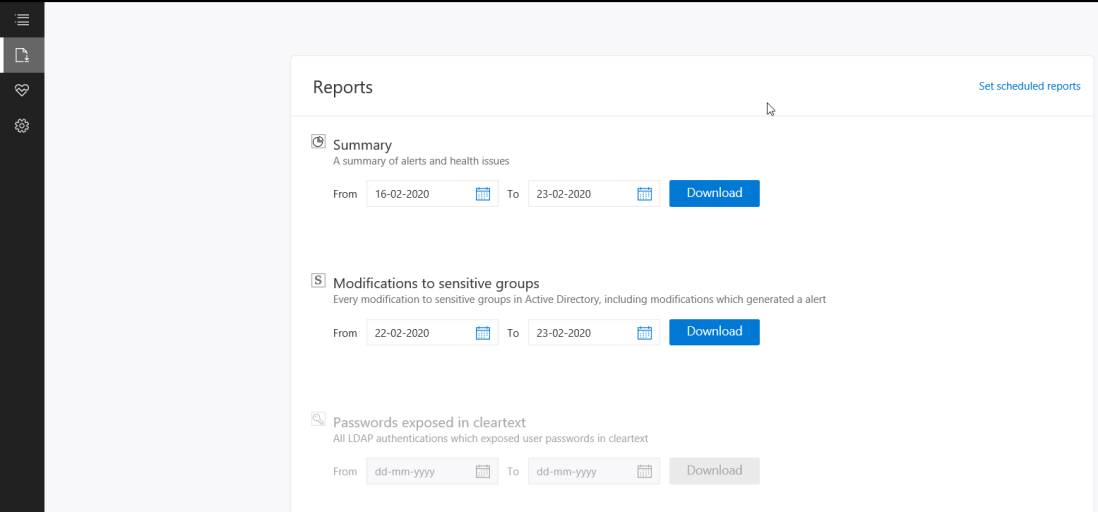 Below is an example of the modification to sensitive groups.
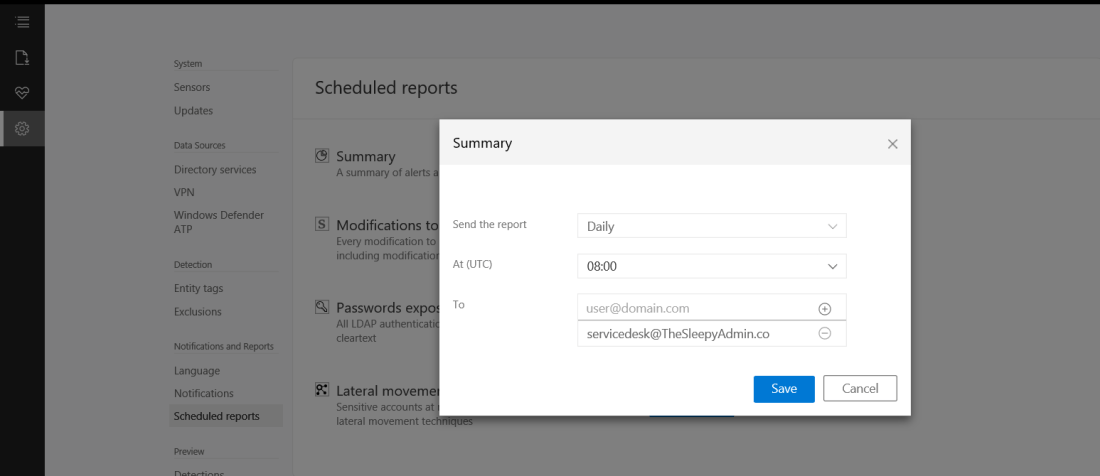
 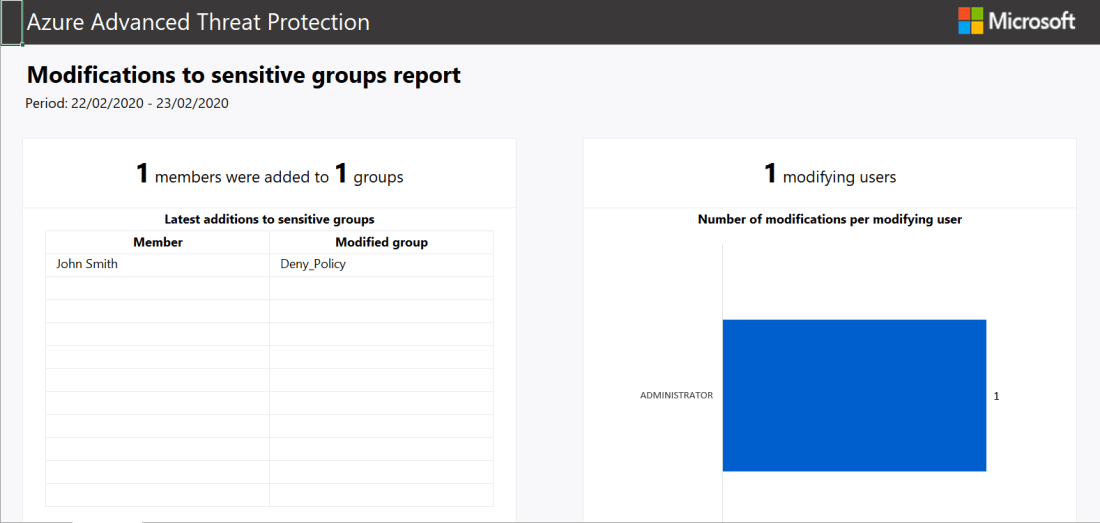 To scheduled reports go to configuration and scheduled reports.
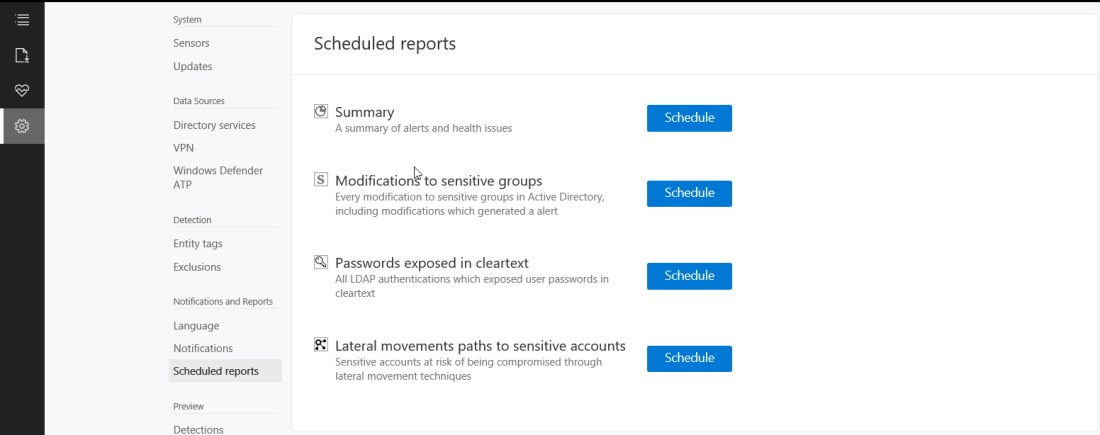
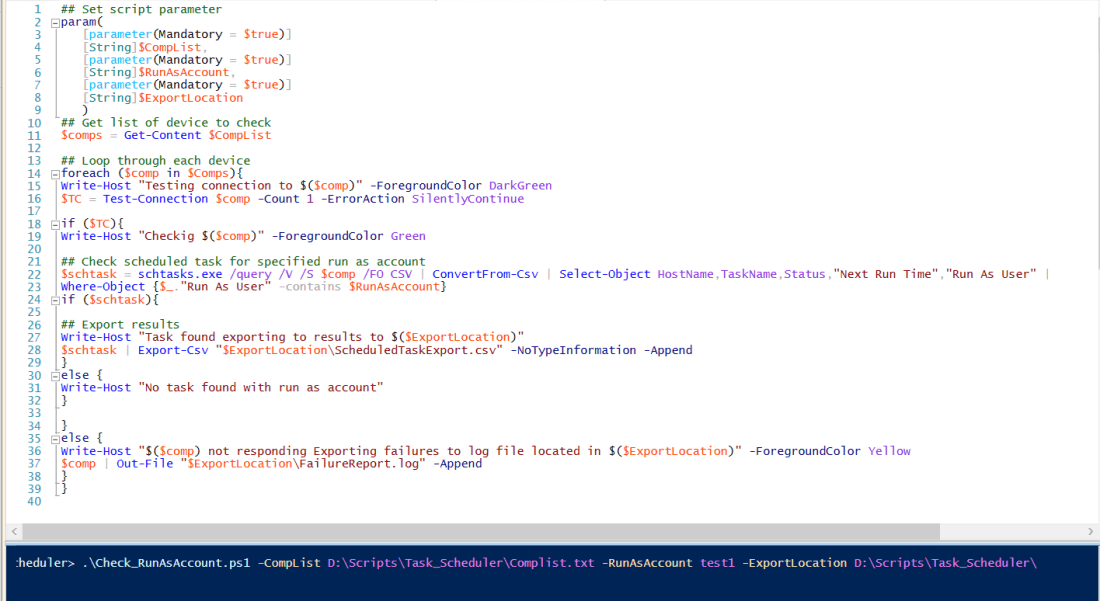
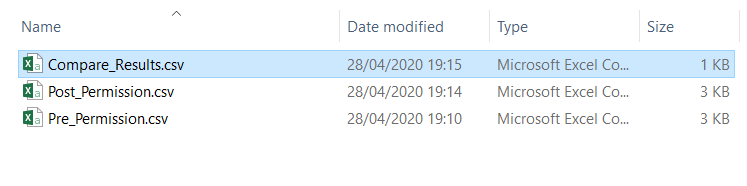
 Once the script has completed there will be a result csv and if there are any non responding devices there will be a second csv.
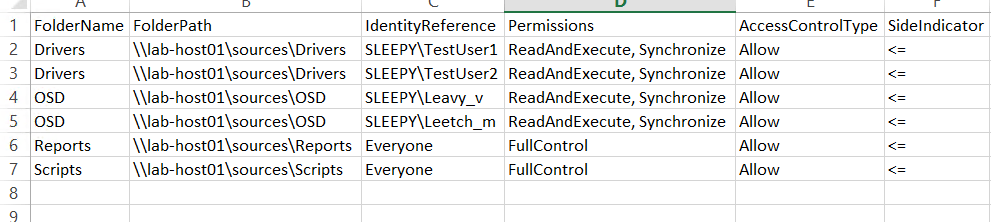
  The export result will look like the below.
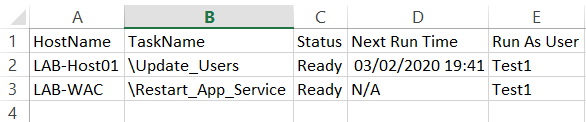
 There are two options add machines using interactive script or add machines at scale. In this post we will be using the scripted method.
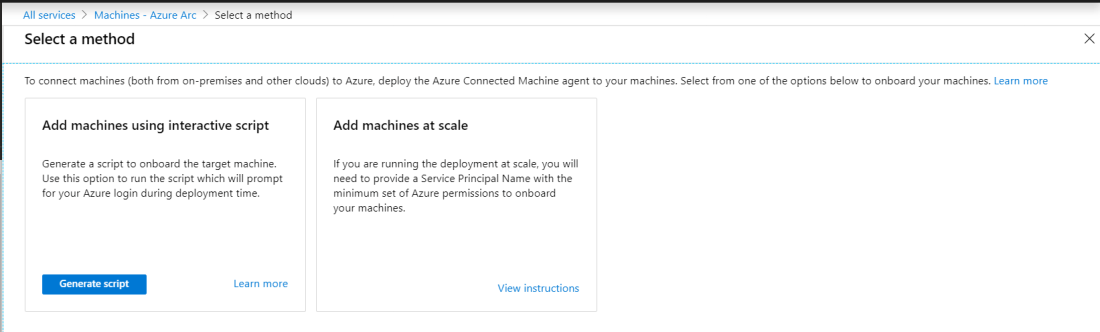
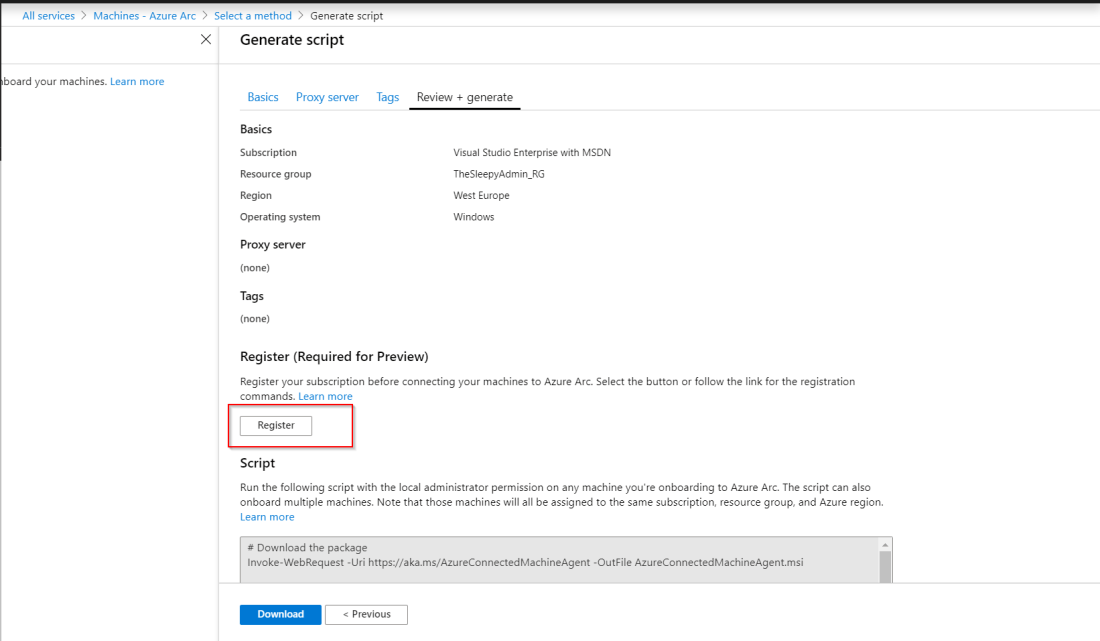
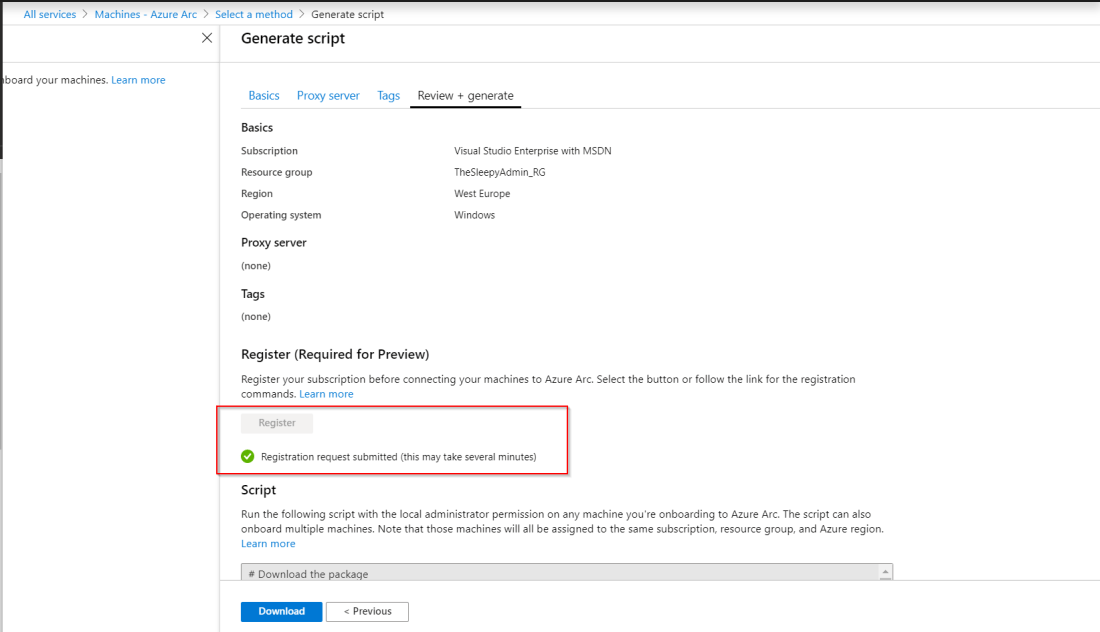 Once the registration is completed, we can either copy the command or click download to get a copy of the PowerShell script. Below is how the script should look the only difference would be the Azure specific setting like resource group, tenantid…
 Once the script has run and the connect command has completed it will request that we connect to the device login site
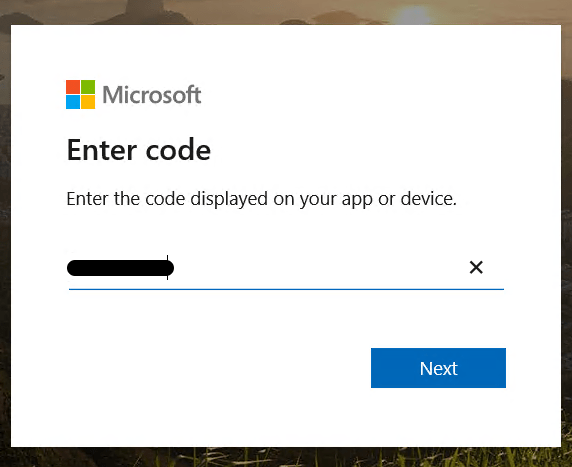


 To remove the WINS IP and set NetBios option, we will use the set method in the WMI class.
 Once the script has run WINS should be removed and NetBios over Tcpip should be disabled this can be checked under the advanced properties on the NIC.


 Once we have the list we can either remove manually or the better option use the CSV and remove the profiles using the invokeset method.


