In this post we will be going through the process of installing and configure Microsoft Entra Connect to sync on premises AD object to Microsoft Entra ID.
We will be syncing users and groups.
We will be using a dedicated server you can co locate on another server but it best to have a dedicated server or Entra Connect. The server must be domain joined.
We will need an account with Global Admin rights on the tenant we want to sync too and Enterprise admin in AD that we will be syncing.
The account can be setup temporary and remove the rights after Entra Connect is setup as we will let it configure its own accounts with required rights during the install.
Entra Connect Pre-reqs
- .NET Framework 4.6.2 or later
- Domain-joined Windows Server 2016 or later
- TLS 1.2 enabled
- SQL (Can select to use SQL Expresses during install or use full SQL)
- Domain we want to sync is external routable not .local and has been verified in the M365.
To view the prerequisites for see below link .
https://learn.microsoft.com/en-us/entra/identity/hybrid/connect/how-to-connect-install-prerequisites
TLS script to check and enabled required TLS settings.
https://learn.microsoft.com/en-us/entra/identity/hybrid/connect/reference-connect-tls-enforcement
We can download the Entra Connect installer from here.
https://www.microsoft.com/en-ie/download/details.aspx?id=47594
Once we confirm all permission, pre req and firewall rules are in place we can start to configure Entra ID.
Run the AzureADConnect.msi installer and agree to the license terms and click Continue.

We can either select custom or express install. We will use custom to select a specify install location but this can be use to set an existing SQL server or use pre configure service accounts also.
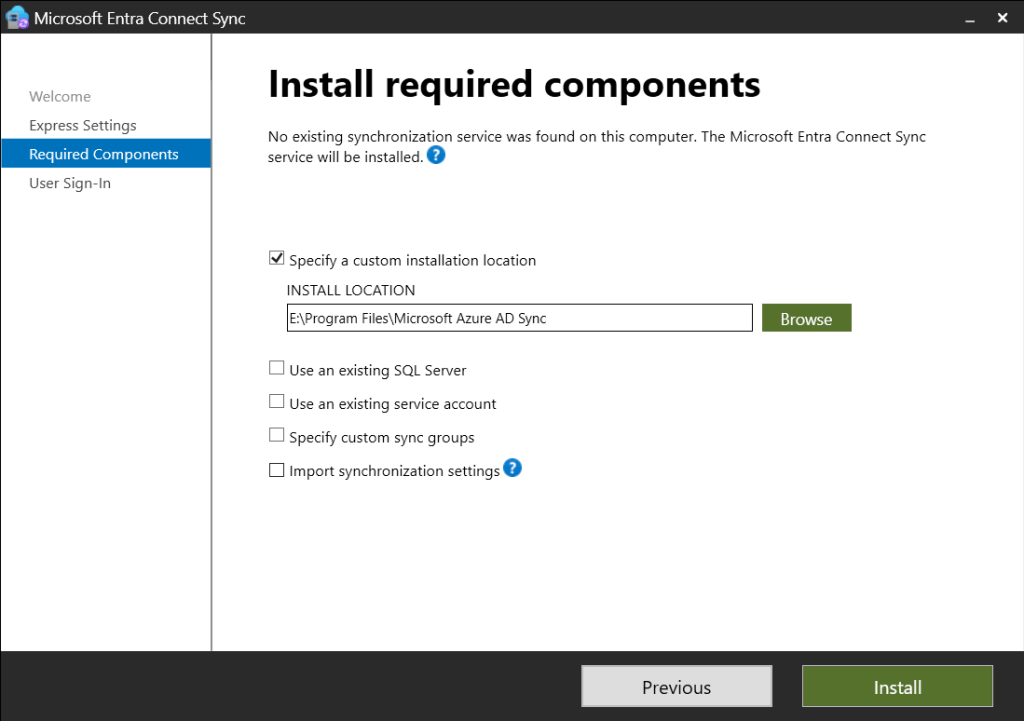
Click install once all settings are configured.
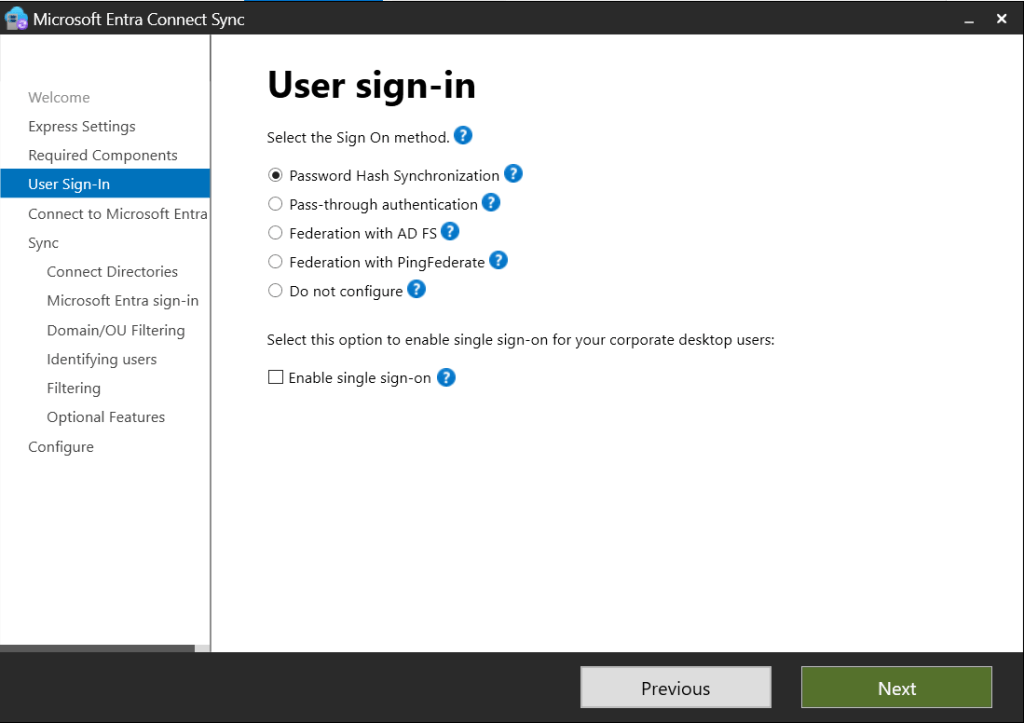
Next we need to configure the sign in options. We will be using Password hash synchronization below link outlines each type.
https://learn.microsoft.com/en-us/entra/identity/hybrid/connect/plan-connect-user-signin
Next enter the account with Hybrid Identity Administrator or Global Administrator.
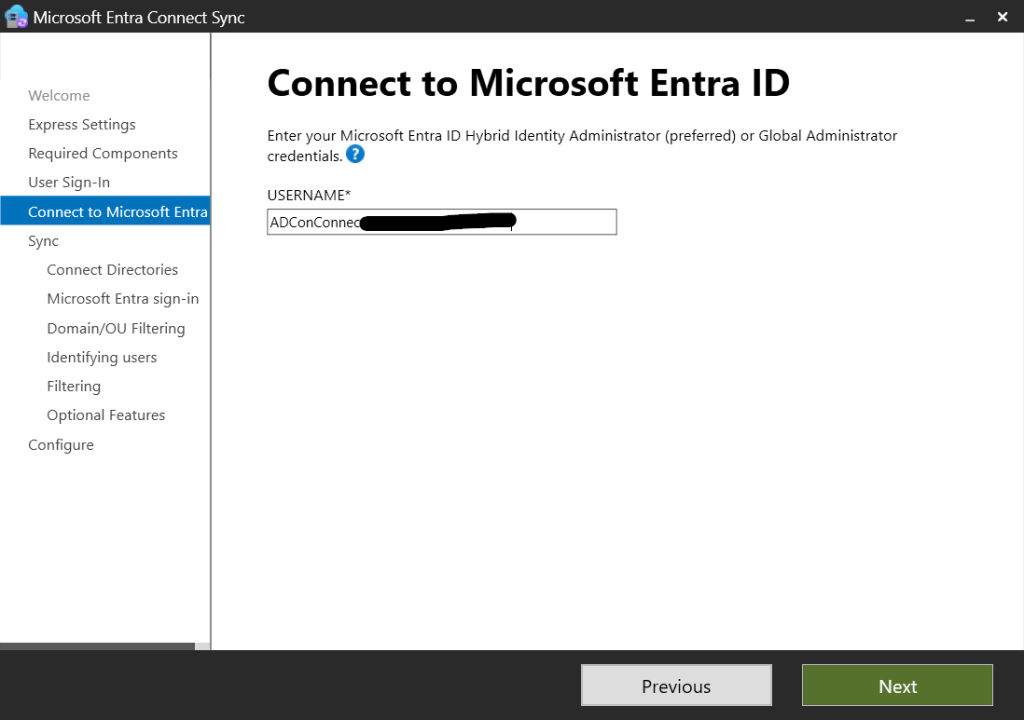
Enter the password and MFA prompt if required.
Next we need to select the domain and click add directory.
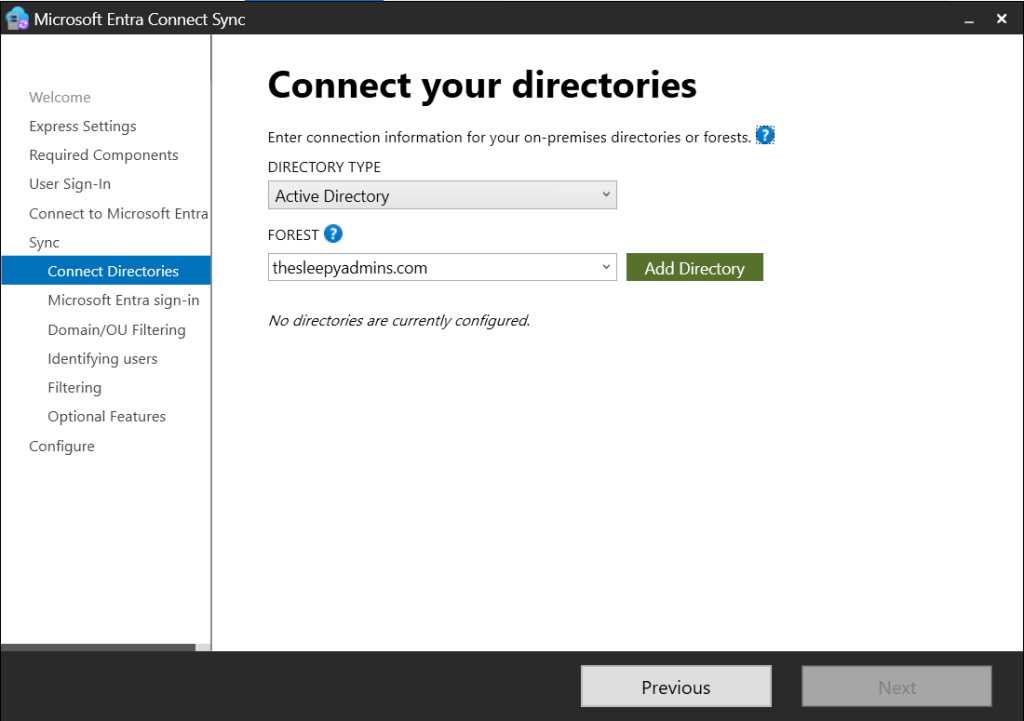
Enter the credentials for the enterprise admin and select to create a new account or use an existing account.

Click ok and the domain now show as configured.

Leave attribute at UPN unless there is a requirement to change.

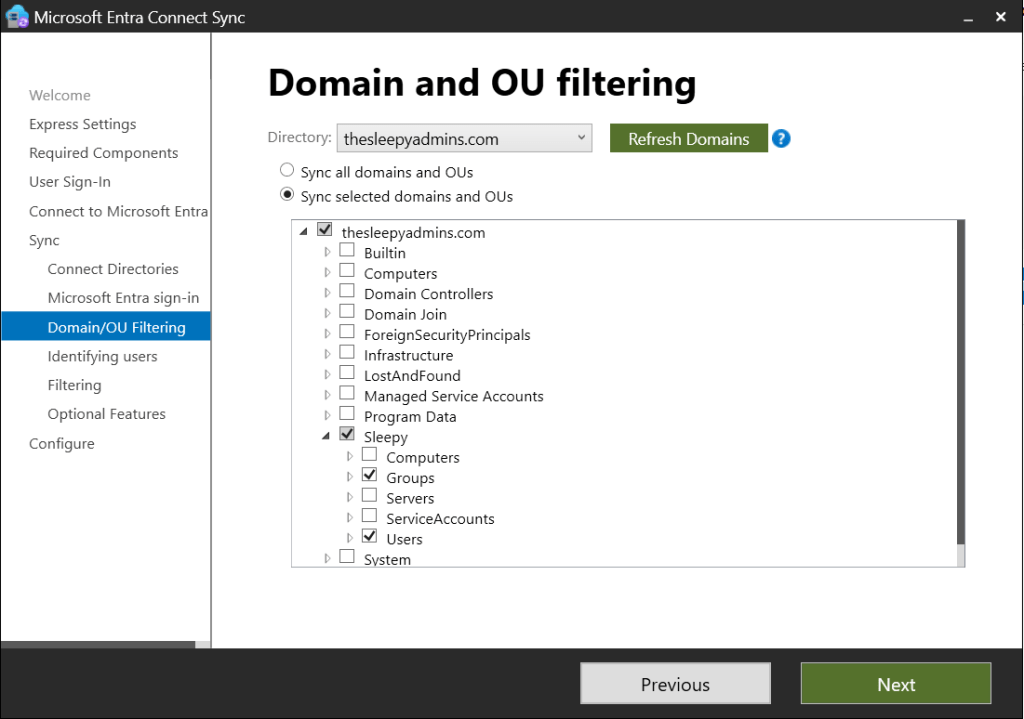
Select the required OU’s to sync.
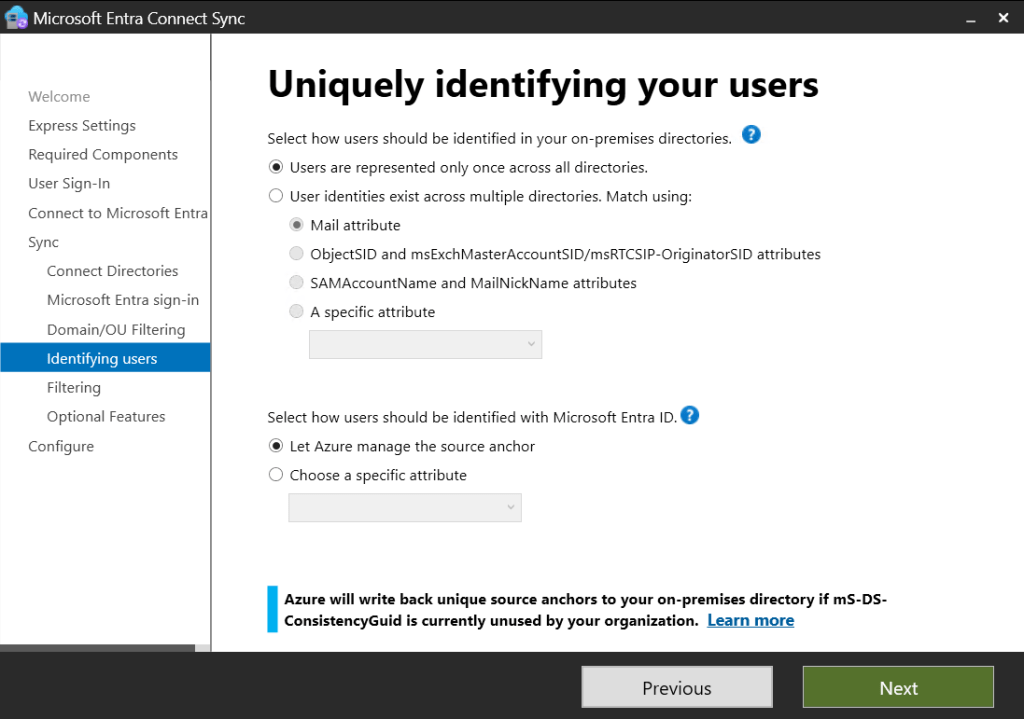
Leave identifying users as default.
We can either sync sub set of users or all users we will go for all users.

We can enabled option features, we will be leaving this at password hash sync.

Next we can start the sync process and enabled staging mode if we only want to write the details to the Entra Connect database but not M365 or AD. We will be starting the sync process.
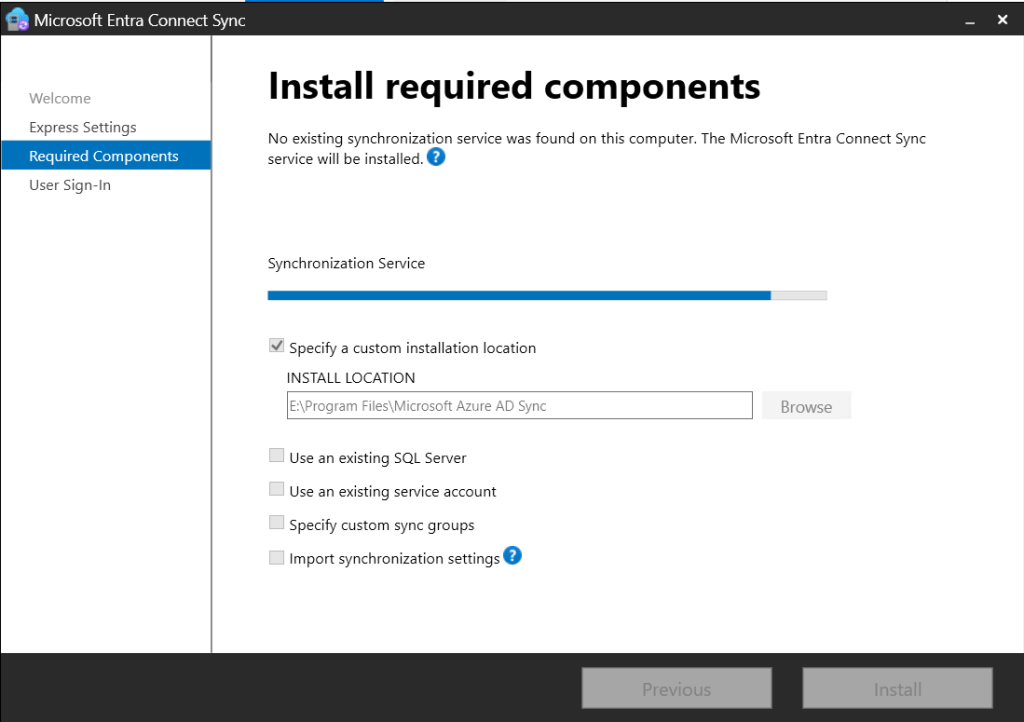
Click install to start.

Wait for the install to complete.

We can launch Synchronization Service to verify the sync
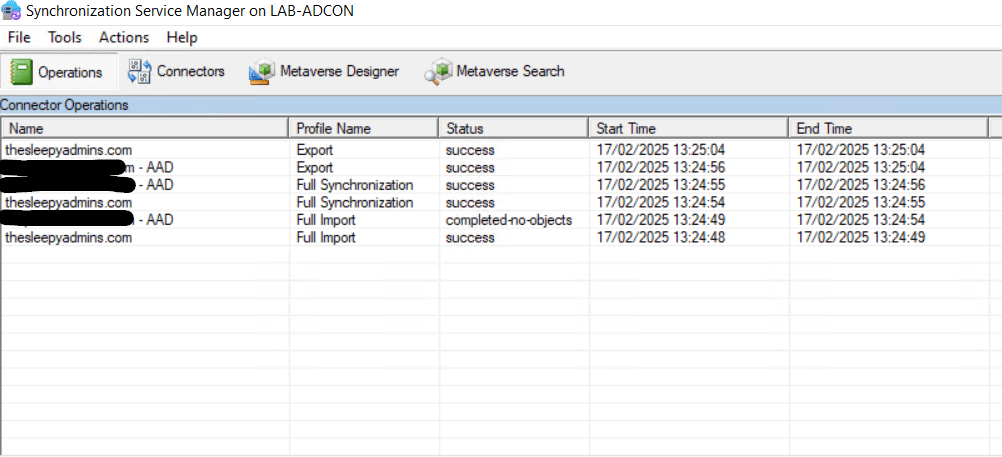
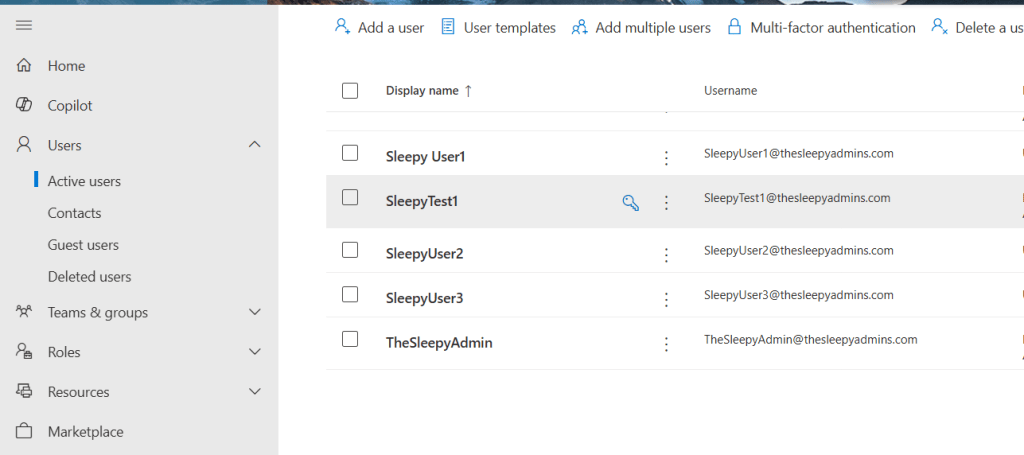
We can also check and verify that on-prem users have been created.
We can also verify the sync account service accounts have been created these should have names like
On-Premises Directory Synchronization Service Account on Entra
and
MSOL_numbers in AD.
We have now successfully configured Entra Connect. The sync will now happen every 30 minutes.
