In this post we will be going through the process of migrating a VM in to an availability zone.
Azure availability zones are designed to help with availability for business-critical workloads. Using availability zone allow VMs to be replicated to different datacenter within the same Azure region.
There is not currently an easy process to move a VM in to an availability zone as this needs to be configured when the VM is originally deployed.
The process to migrate does required down time for the VM as we will need to snapshot the VM, create new disks from the snapshot and deploy in to an availability zone.
We will be using PowerShell to create a snapshot of the existing VM disks , create the new disks from the snapshots and create a new VM using the existing VM config.
I will be doing this on test VM with no live data but for an live server make sure to have a full backup as we will be deleting the VM and use the existing configuration to recreate the VM with disk in the availability zone.
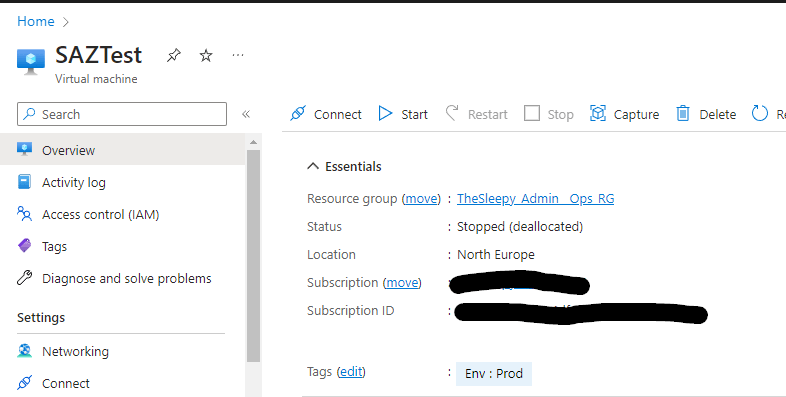
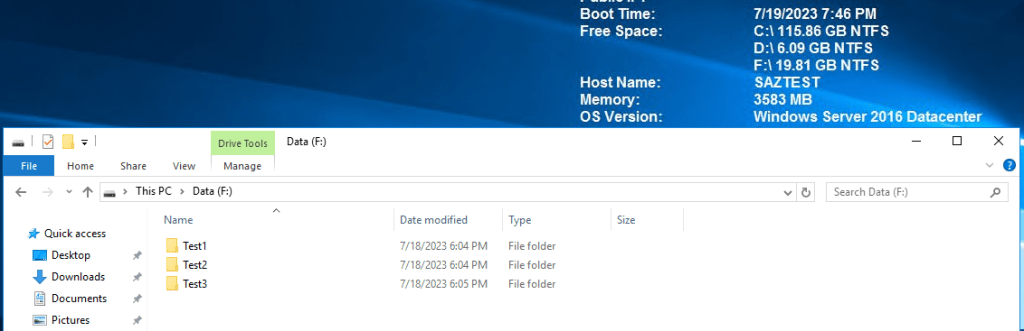
I created a test VM call SAZTest with one data disk, that is not in an availability zone.
First we need to connect to AZ PowerShell and select the correct subscription if there are multiple.
Next we get the VM that we will create a snapshot of the disk. We will be using the $vm variable to get the disk and for recreating the VM later to keep the existing configuration.
$resourceGroup = "Resource Group"
$vmName = "VMName"
$vm = Get-AzVM -ResourceGroupName $resourceGroup -Name $vmName
First we need to power off the VM if it running either through the Azure portal or running the below command.
Stop-AzVM -ResourceGroupName resourceGroup -Name vmName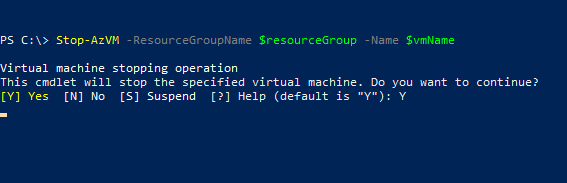
Next we can create the snapshot I used the below link for reference.
https://learn.microsoft.com/en-us/azure/virtual-machines/snapshot-copy-managed-disk?tabs=portal
$location = "location"
$snapshotName = "$($vm.StorageProfile.OsDisk.Name)-snapshot"

$snapshot =  New-AzSnapshotConfig -SourceUri $vm.StorageProfile.OsDisk.ManagedDisk.Id -Location $location -CreateOption copy

$vmossnapshot = New-AzSnapshot -Snapshot $snapshot -SnapshotName $snapshotName -ResourceGroupName $resourceGroup

$snapshot = Get-AzSnapshot -ResourceGroupName $resourceGroup -SnapshotName $snapshotName 
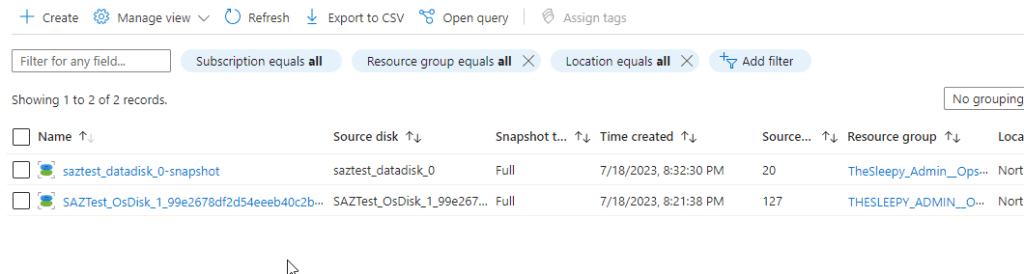
If we check under snapshots in the Azure portal we will see the newly create snapshot disk.

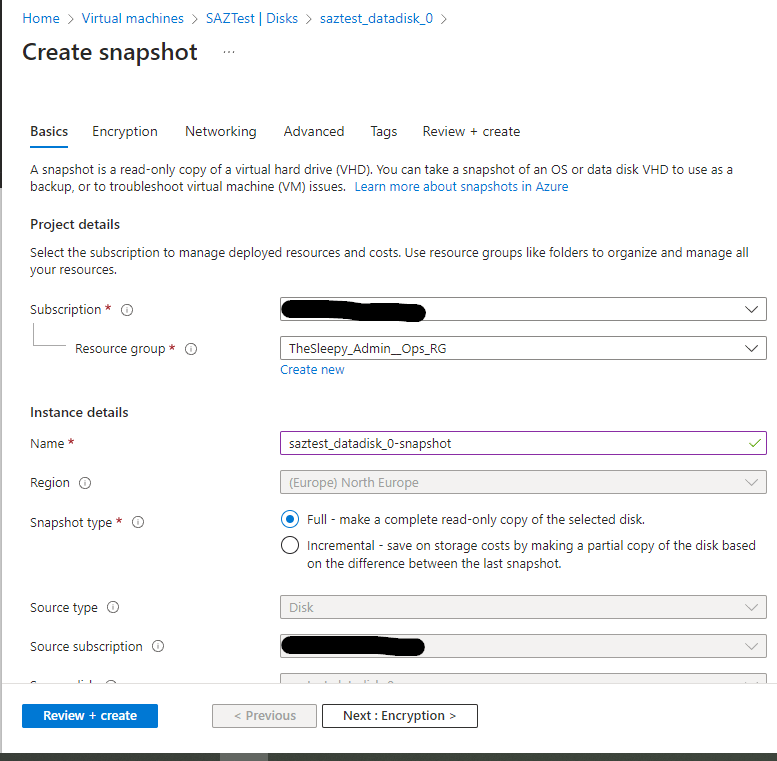
We could also create the snapshot disk directly from the Azure portal using snapshots blade,
We will use this method for the data disk, go to the VM and select the data disk.
Select create snapshot.

Add in the details
Go through and leave setting as default

Wait for the deployment to complete and the second snapshot should show.
To create the data disk using PowerShell it pretty much the same process as the OS disk.
To view the disk attached to the VM we can use the data disk sub property.
$vm.StorageProfile.DataDisks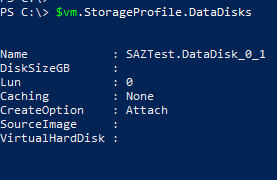
Since we only have one disk we can run the set of commands once but if there where a few disks it would be easier to loop through them.
$datadisk = $vm.StorageProfile.DataDisks

$snapshotdataconfig = New-AzSnapshotConfig -SourceUri $datadisk.ManagedDisk.Id -Location $location -CreateOption copy -SkuName Standard_ZRS

$snapshot_data = New-AzSnapshot -Snapshot $snapshotdataconfig -SnapshotName ($datadisk.Name + '-snapshot') -ResourceGroupName $resourceGroup
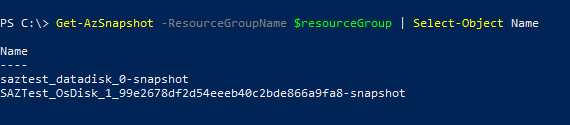
We can run the below to show the snapshots.
Get-AzSnapshot -ResourceGroupName resourceGroup | Select-Object Name
Next we need to create a new managed disk from the snapshots.
We should have the snapshot already in the $snapshot but if not we can run again before create the new disk config and disk.
$snapshot = Get-AzSnapshot -ResourceGroupName $resourceGroup -SnapshotName $snapshotName

$diskconfig = New-AzDiskConfig -Location $snapshot.Location -SourceResourceId $snapshot.Id -CreateOption Copy -SkuName Standard_LRS -Zone 1

$OSdisk = New-AzDisk -Disk $diskConfig -ResourceGroupName $resourceGroup -DiskName ($vm.StorageProfile.OsDisk.Name +"_1")
We need to run the same set of command for all the data disks.
$datasnapshot = Get-AzSnapshot -ResourceGroupName $resourceGroup -SnapshotName $snapshot_data.Name

$datadiskConfig = New-AzDiskConfig -Location $datasnapshot.Location -SourceResourceId $datasnapshot.Id -CreateOption Copy -SkuName Standard_LRS -Zone 1

$datadisk = New-AzDisk -Disk $datadiskConfig -ResourceGroupName $resourceGroup -DiskName ($datadisk.Name + "_1")
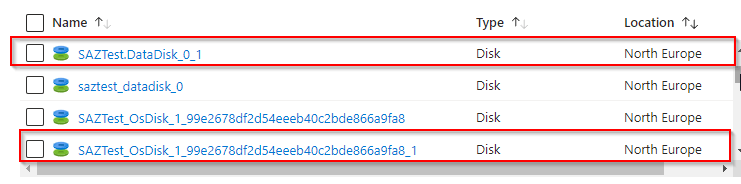
Now if we check the resource group we should see the new disk.
Now we need to delete the original VM so that we create a new VM using the existing configuration with newly created disk in zone 1.
Either delete the VM from the Azure Portal or run
Remove-AzVM -ResourceGroupName resourceGroup -Name vmName 
We need to use New-AzVMConfig, copy the existing SKU size, attach the OS / data disks that we created and add the existing network interface.
I used the below learn article as reference.
https://learn.microsoft.com/en-us/powershell/module/az.compute/new-azvmconfig?view=azps-10.1.0
$createvm = New-AzVMConfig -VMName $vm.Name -VMSize $vm.HardwareProfile.VmSize -Zone 1

Set-AzVMOSDisk -VM $createvm -CreateOption Attach -ManagedDiskId $OSdisk.Id -Name $OSdisk.Name -Windows

$vmdatadisk = Get-AzDisk -ResourceGroupName $resourceGroup -DiskName $datadisk.Name

Add-AzVMDataDisk -VM $createvm -Name $vmdatadisk.Name -ManagedDiskId $vmdatadisk.Id -Lun 0 -DiskSizeInGB $vmdatadisk.DiskSizeGB -CreateOption Attach 
Next we can add the existing network adapter.
Add-AzVMNetworkInterface -VM $createvm -Id $vm.NetworkProfile.NetworkInterfaces.id -Primary
Next we set the VM boot diagnostic if this is not set the VM will default to create a storage account to use for boot.
Set-AzVMBootDiagnostic -VM $createvm -EnableWe can also change this after by going to boot diagnostics on the VM and changing to enabled with managed storage account.

Last step is to create the new VM. If you have Azure Hybrid Benefit licensing you can enabled this on the by adding the -LicenseType Windows_Server (I don’t so I wont be on this example).
New-AzVM -ResourceGroupName $resourceGroup -Location $vm.Location -VM $createvm -DisableBginfoExtension
Now when the deployment finishes we can see the VM is now running in Zone 1.

Once its confirmed that the VM is running and that all date is available.
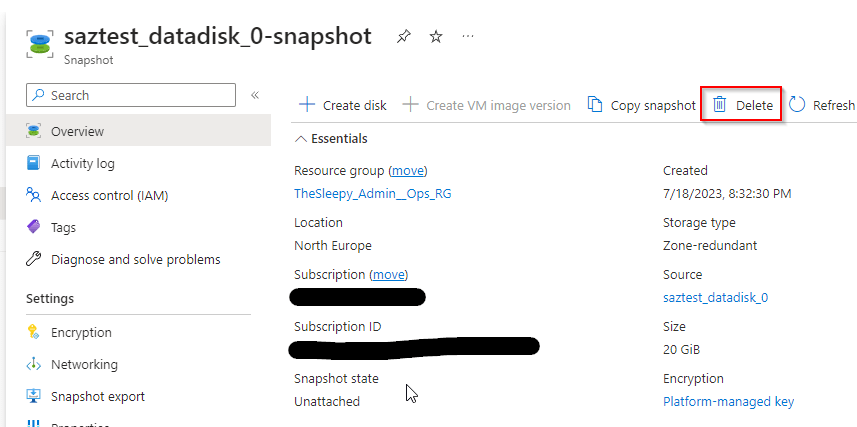
The last step is to remove the old disk and snapshots so that we don’t get charged for them.
Go to each disk / Snapshot and delete the original VM disk and snapshots.